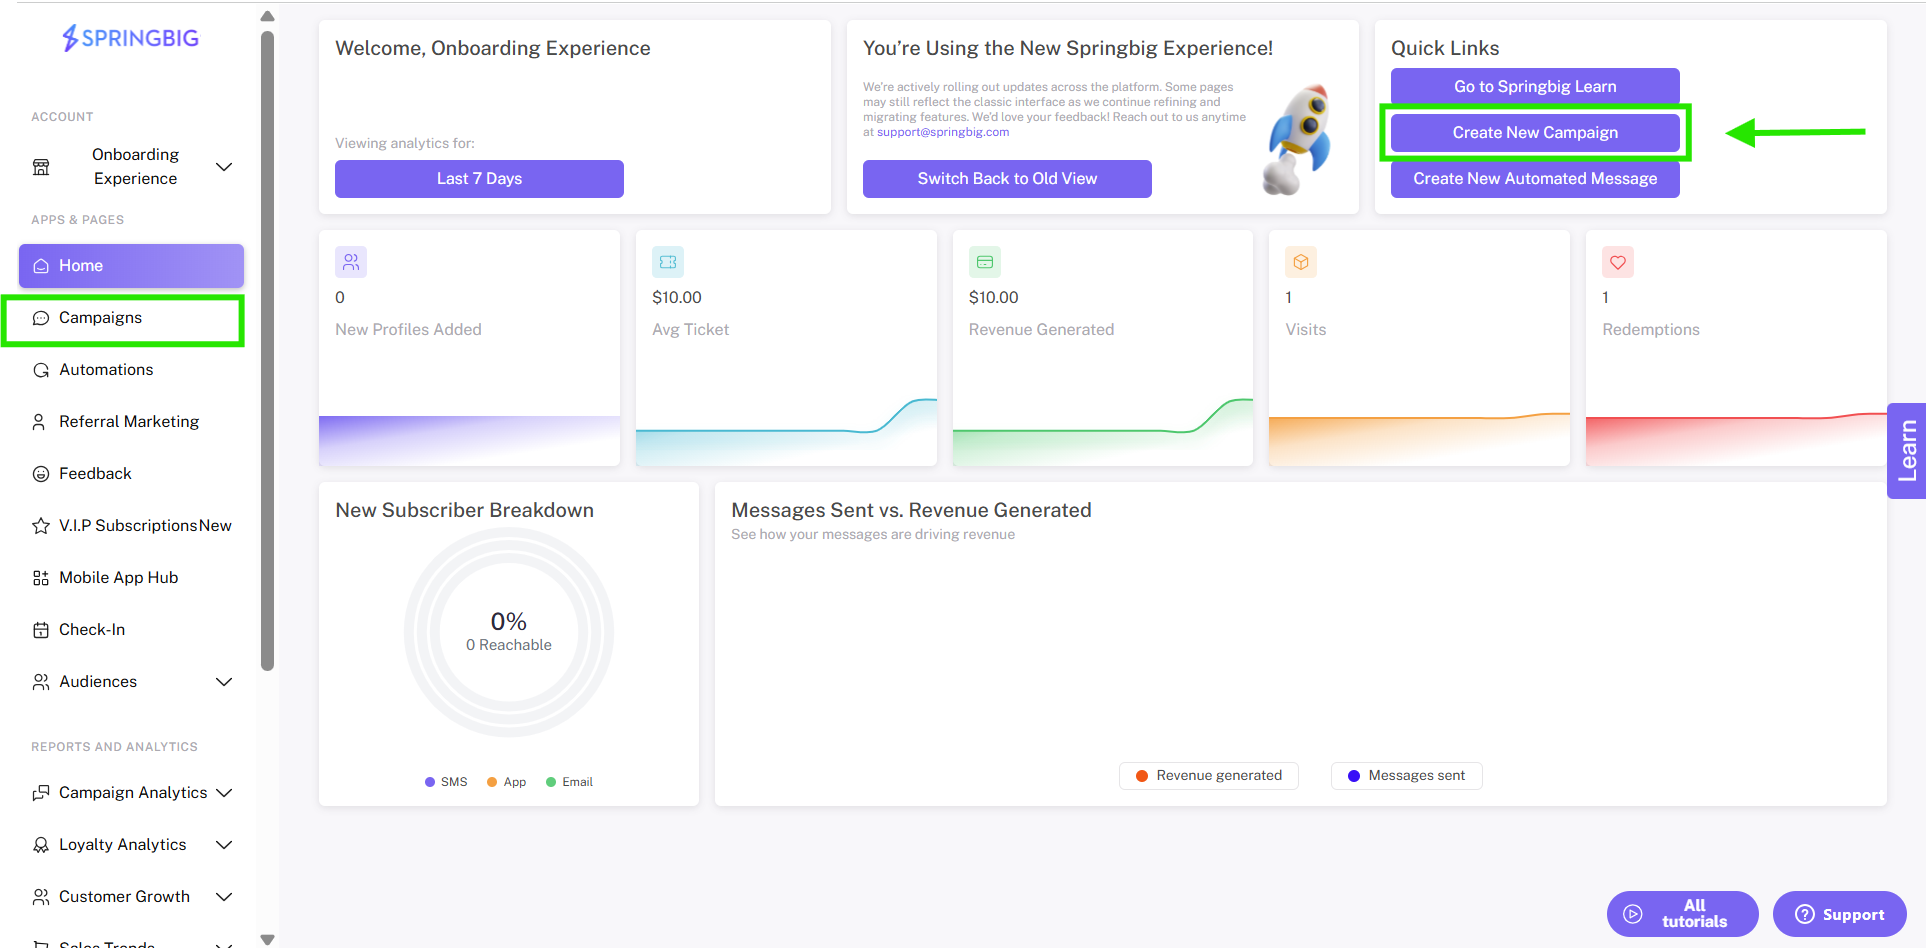
Step 1: From the home dashboard, you can click new campaign button located at the top of the home dashboard. You can also select campaigns from the main menu on any page of the platform, and then click the new campaign button from the campaigns page.
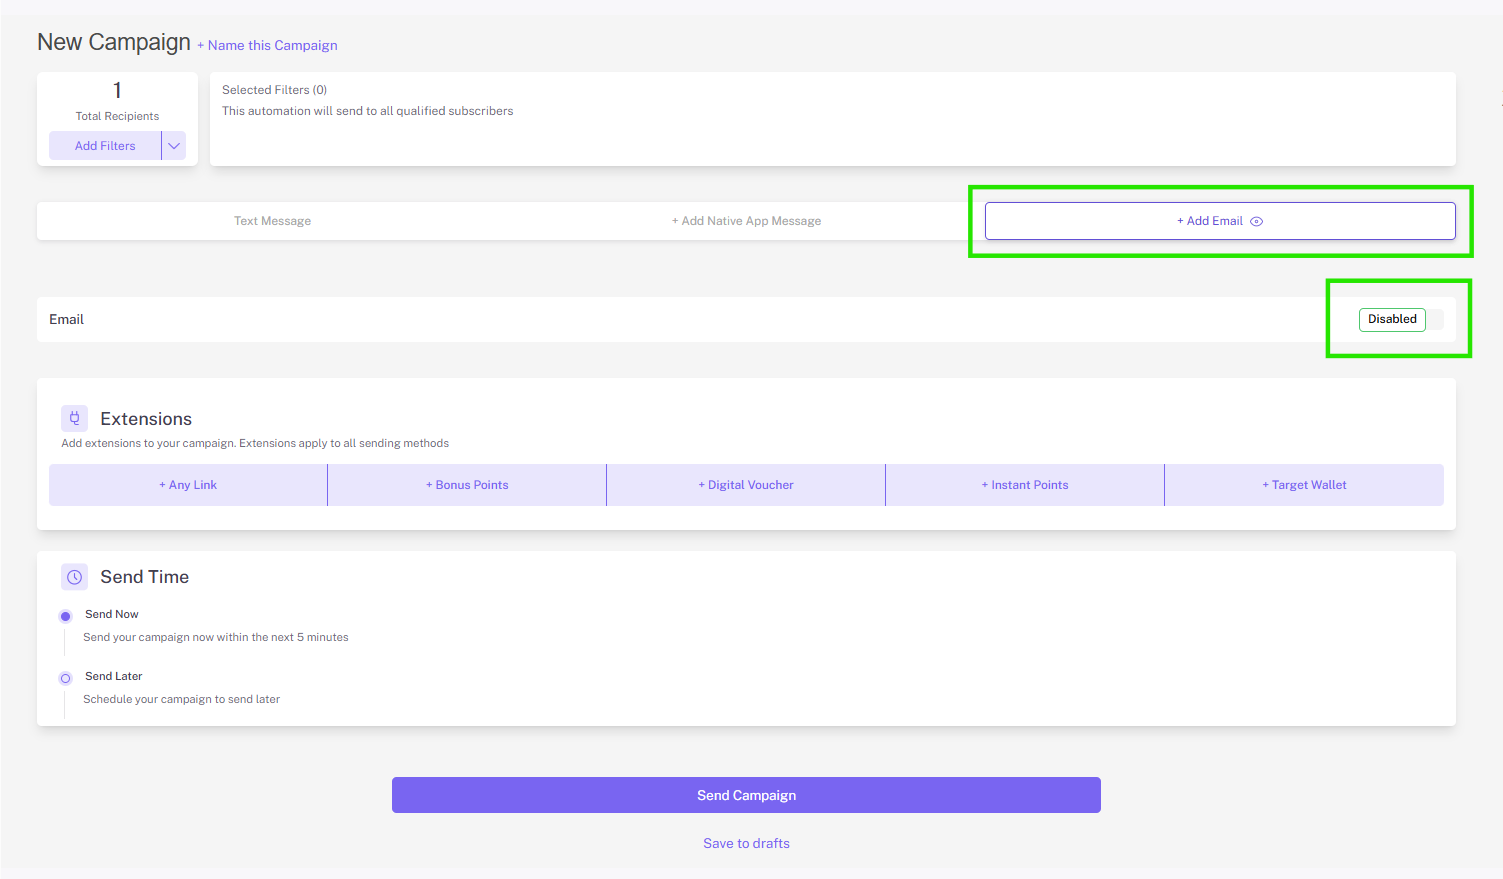
Step 2: From the campaign creator, click +add email and toggle the disabled option (this will change the toggle to enable).
Note: If you only want to send an email campaign, remember to toggle the enable option before step 2 to disable the text campaign box.
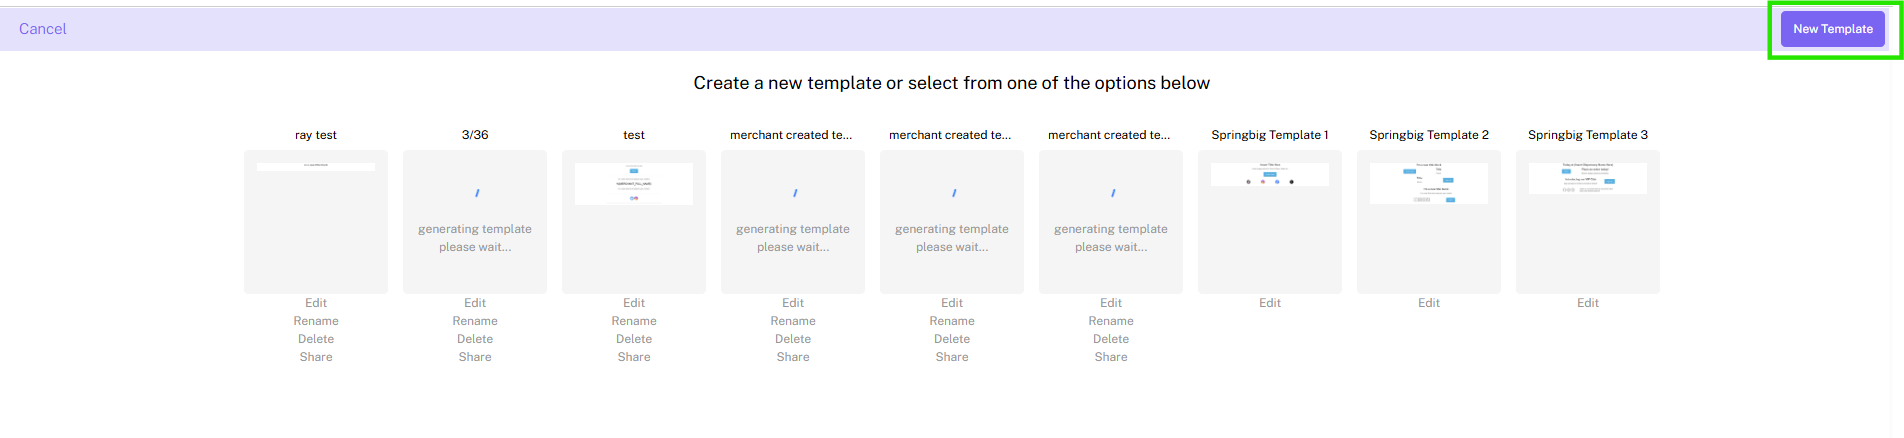
Step 3: The Springbig email editor will open up and allow you to select a template or create a new template.
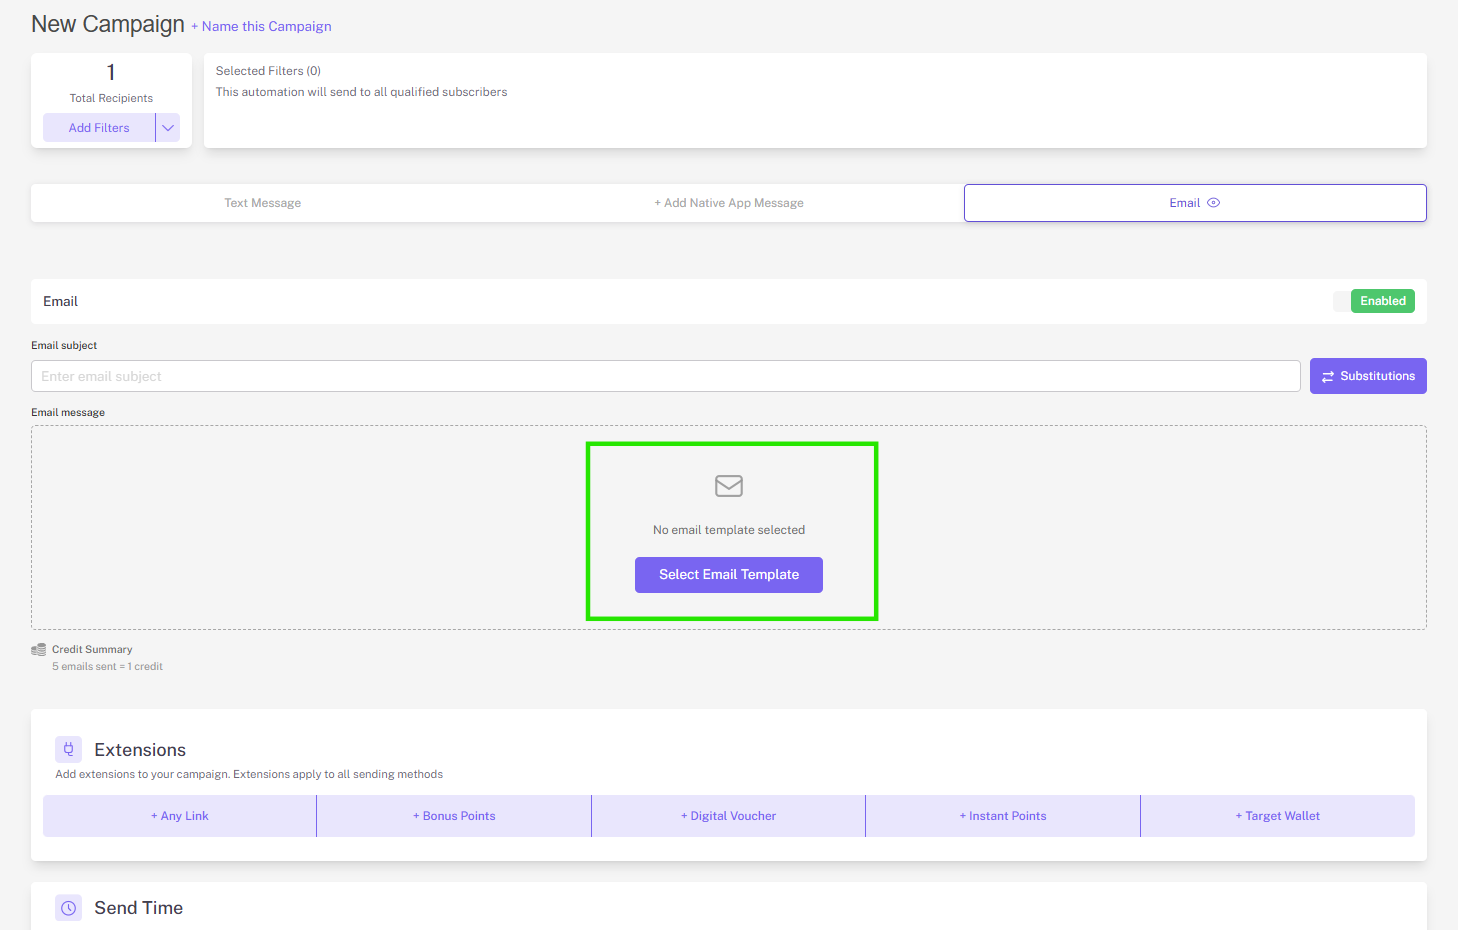
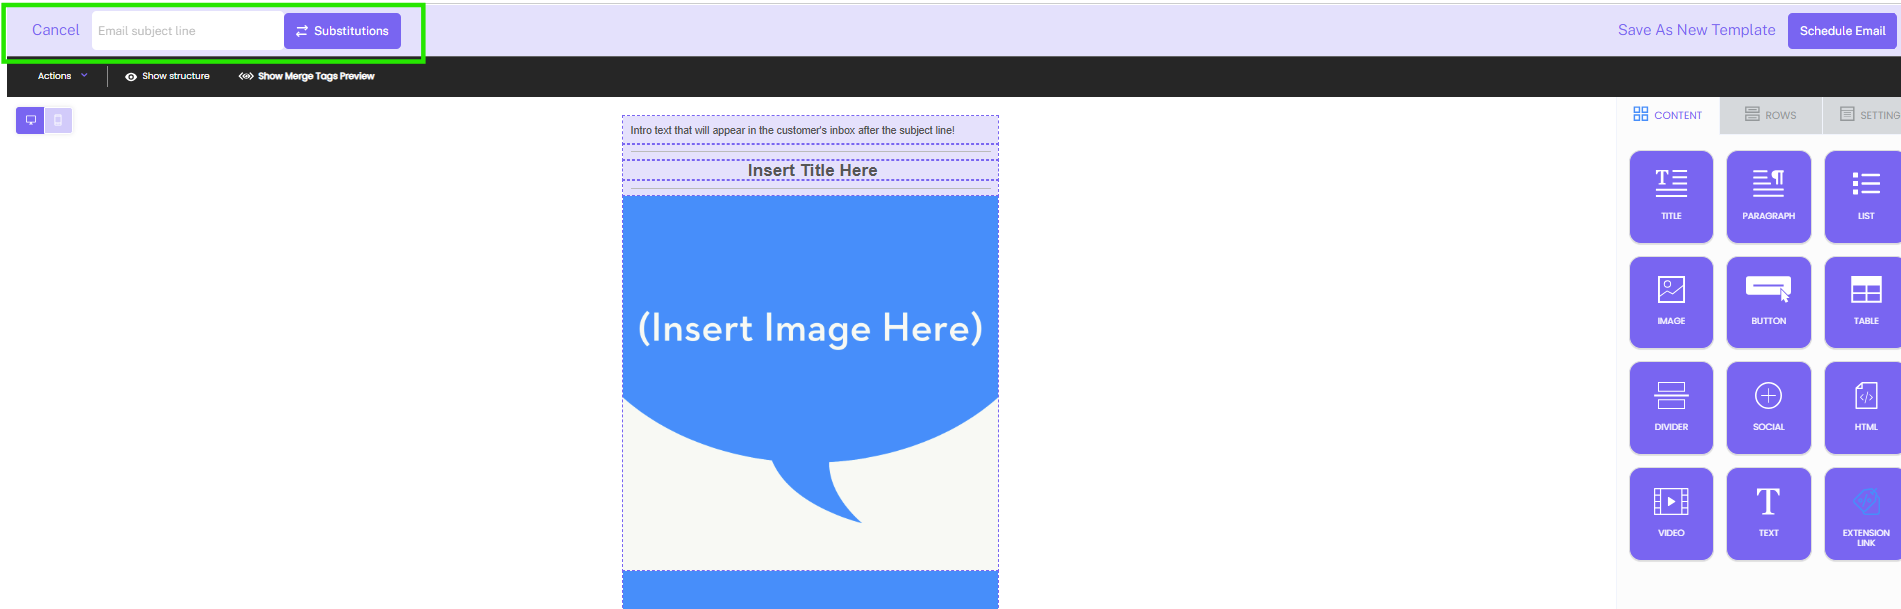
Step 4: Fill in your email subject located on the top of the page. You can also utilize the substitution options.
Tip: Title this template or test if you want to save as a template that you can return to later.
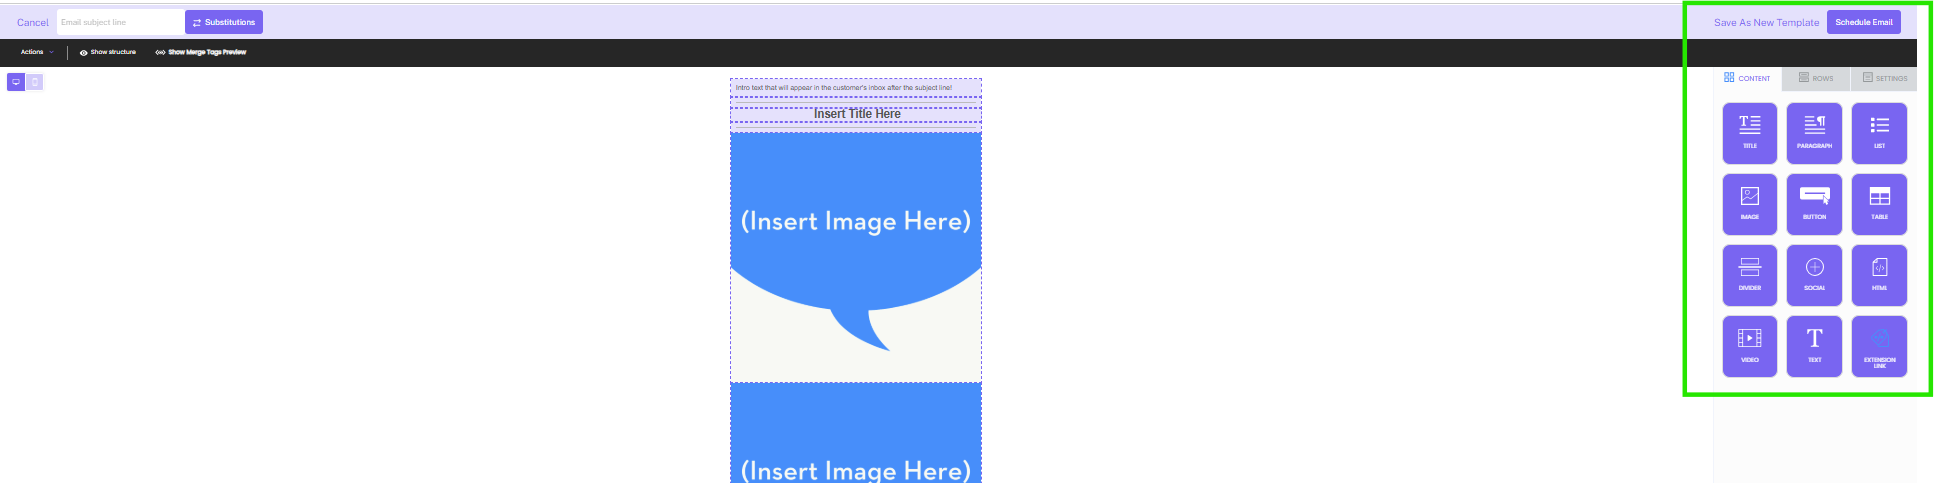
Step 5: Next, build your email by selecting fields on the template to edit, or drag and drop new block items from the content menu of the right side of the page.
Note: Toggle through Content, Rows and Settings for further customizations.
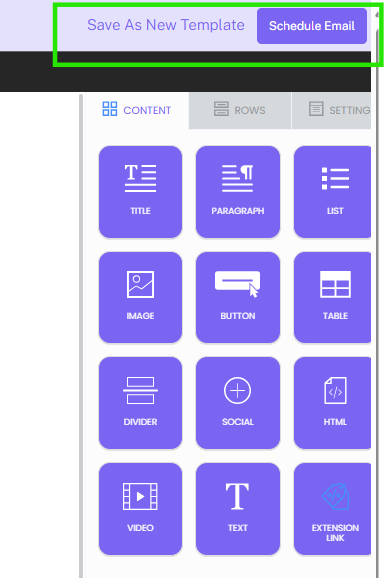
Step 6: When you are done editing, click save as new template or schedule email.
For more information around Springbig’s Email Builder, check out the Springbig Email Builder here.
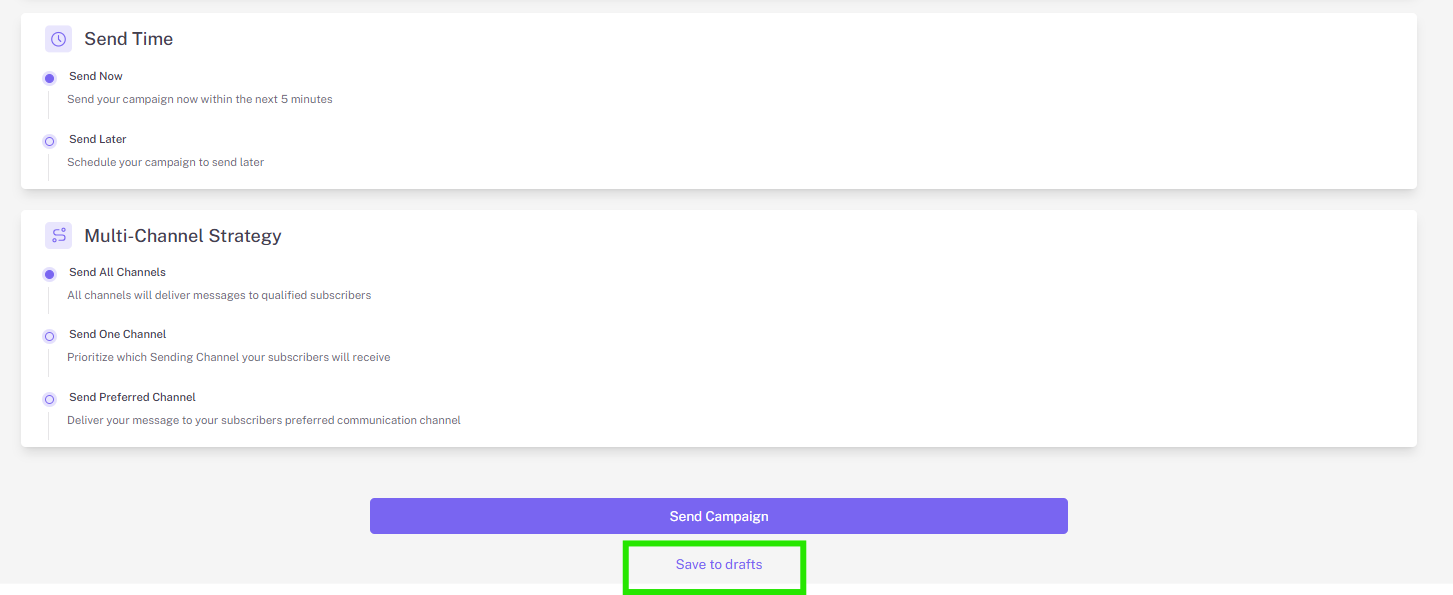
With campaign drafts, you can save your campaign creation progress and come back to them later. Simply click save to drafts under the send campaign button to save your text, images, video, extensions, and all details of the campaign you’re working on.
Note: If you don’t click save to drafts and instead try to simply exit out of the campaign creator, you’ll be given the option to save the campaign as a draft via a pop-up.
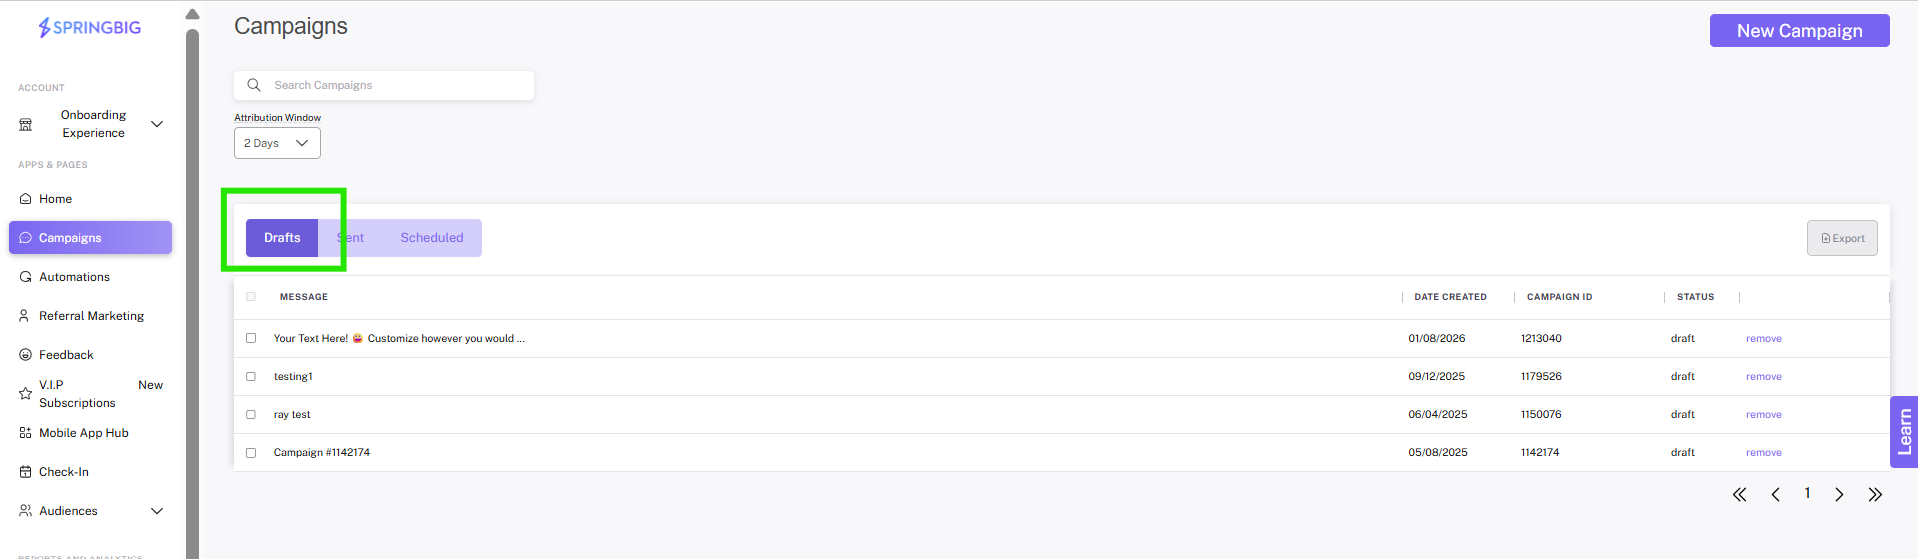
Once you’ve saved the campaign as a draft, you’ll be able to find it within the drafts tab of the campaigns page next to the other tabs: sending, sent, and scheduled. To start working on the draft again, simply click edit to resume working where you left off!
Click here to view how you can share email templates from one Merchant account to another!

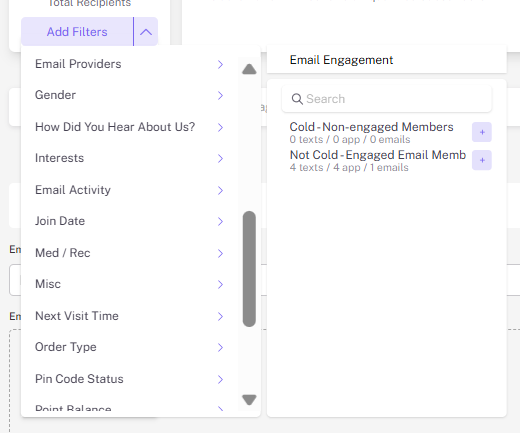
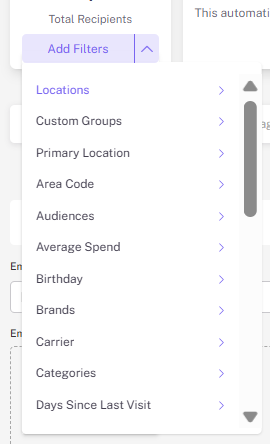
Step 1: Open the recipient filters dropdown to segment your campaign.
Note: This is how you are able to reach specific audiences, and customer groups.
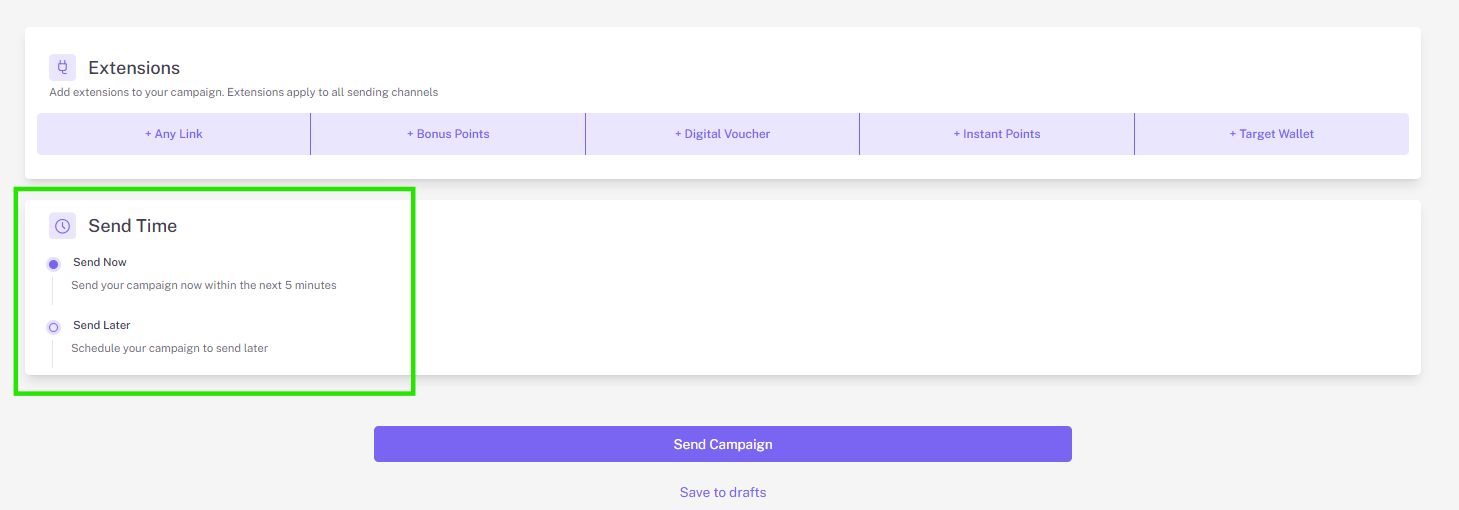
Step 2: To further customize your campaign, open the + add extension menu and choose from one of our extensions to attach to your email.
For more information around extensions, check out the Springbig Extension Guide here.
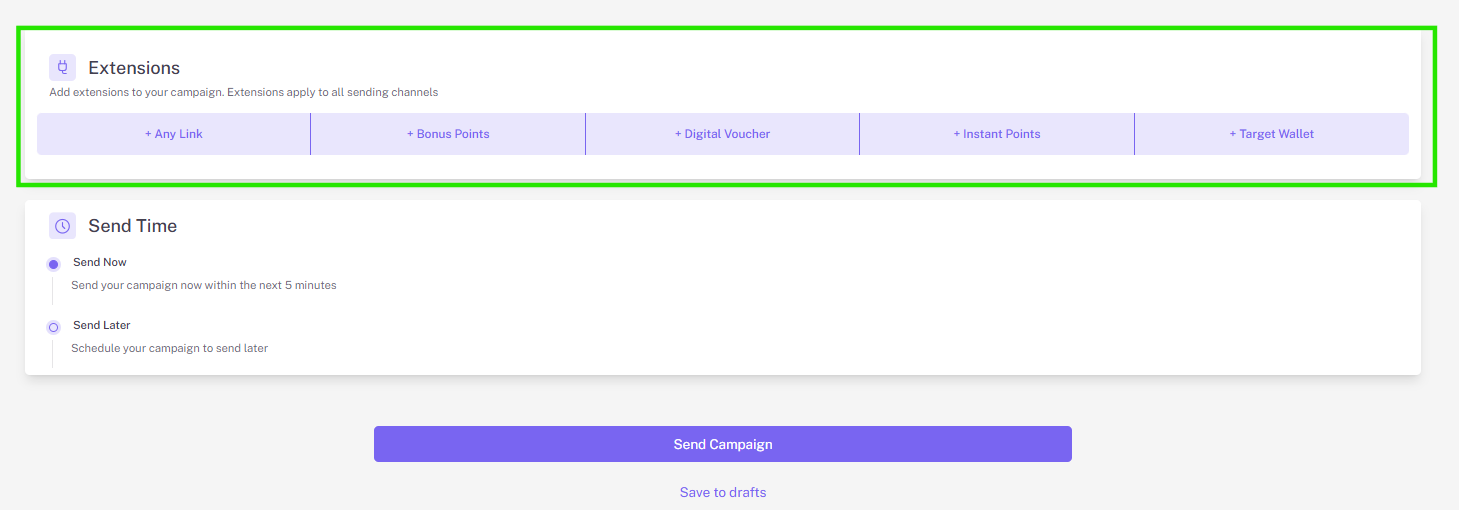
Step 3: Click Send now, or click schedule your email for another date / time.
Note: If you are sending more than one method of campaign, you will see the send all methods option which allows you to either send campaigns to all methods or prioritize what type of campaign to send to members that may be opted in for multiple send methods.