STAY IN CONTACT WITH YOUR CUSTOMERS AT THE MOST RELEVANT TIMES
Core Communication Automations are designed to keep you connected with your customers at the most relevant moments, helping to kickstart their journey on the right foot. Whether it’s sending a birthday message, re-engaging with a winback offer, sharing daily deals, or following up after a visit or sign-up, these automated messages ensure consistent and meaningful touchpoints.
With Core Communications, you can maintain an ongoing relationship with your customers, delivering timely and personalized outreach that keeps your store top of mind.
If you’re interested in learning more about other Automations, such as Desired Action Taken, Customer Milestone Reached, or Reminders, click below to explore how they can enhance your customer engagement.
The Win Back automation allows you to automatically send a message to members who haven’t shopped in a defined amount of days.
Tips:
You can set up multiple winback automations with different time frames / configuration.
Many merchants utilize 30 / 60 / 90 day winback automations with varying or increasing offers.
Set smaller date ranges to target specific members groups.
CREATING A WINBACK AUTOMATION
SELECT, NAME AND SET TIME
Step 1. Select Win Back.
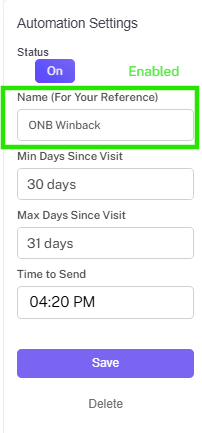
Step 2. Name your automation (this name is for internal reference only).
SET TIME FRAME
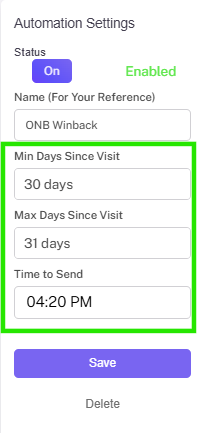
Step 3. Set the minimum days since visit.
Step 4. Set the maximum days since visit.
Step 5. Set time to send message.
CREATE MESSAGE
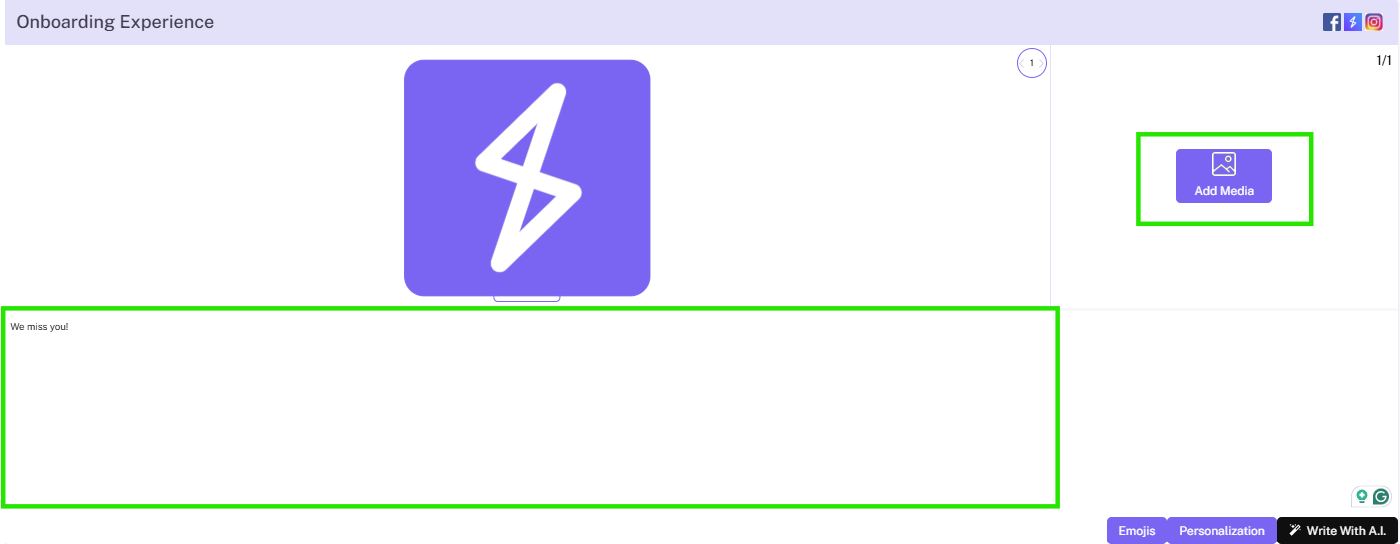
Step 6. Set up stashboard content with text as well as stashboard images, emojis, and/or value substitutions.
Step 7. Select a SMS notification message and (if desired) a MMS notification image.
ADD EXTENSION & ENABLE
Step 8. Set up an extension to add an offer or link.
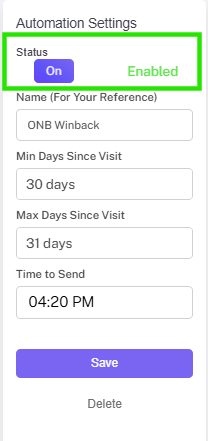
Step 9. Remember to toggle the automation to enabled when you are ready to go!
BIRTHDAY AUTOMATION
CELEBRATE YOUR CUSTOMERS
The Birthday Automation allows you to set up an automated message to reward members on their birthday.
Tips:
This Automation will trigger to your customers on their birthday.
This is different from the Birthday Add Automation
The Birthday Add Automation sends an automated message to your customers when they add their birthday into their profile.
Learn more in the Desired Action Taken Auomations page here.
CREATING A BIRTHDAY AUTOMATION
SELECT, NAME AND SET TIME
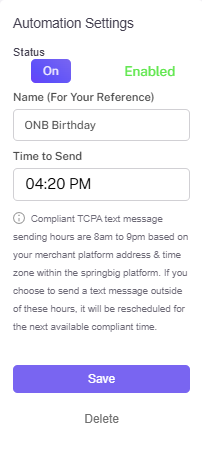
Step 1. Select Birthday.
Step 2. Name your automation (this name is for internal reference only).
Step 3. Select a time to send the message.
CREATE MESSAGE
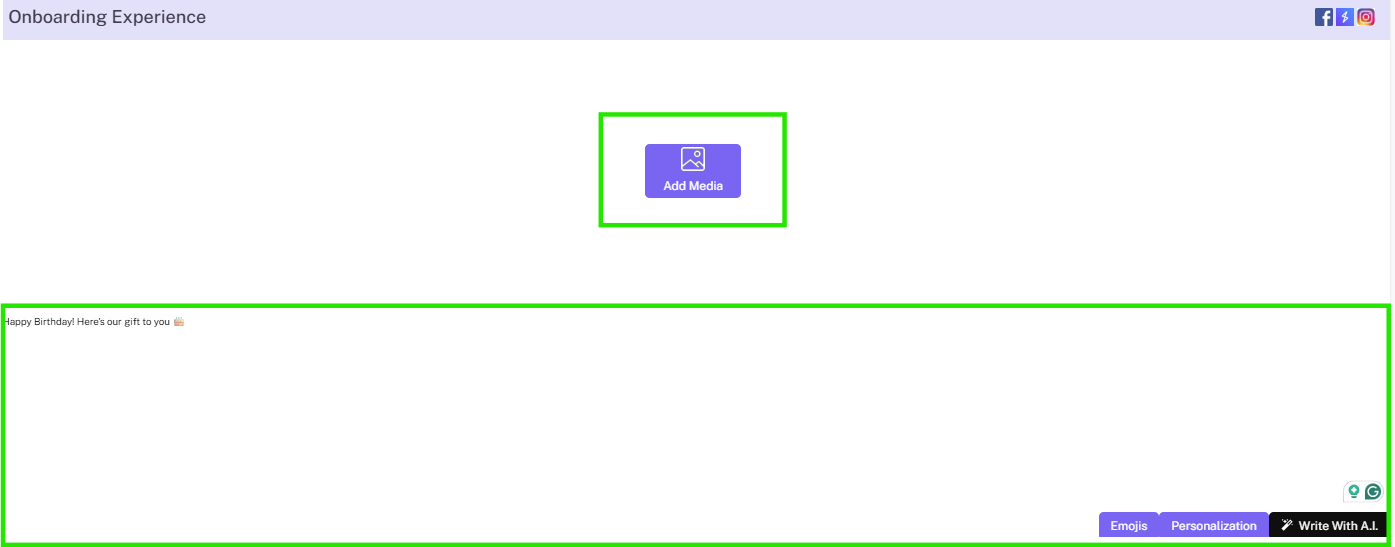
Step 4. Set up stashboard content with text as well as stashboard images, emojis, and/or value substitutions.
Step 5. Select a SMS notification message and (if desired) a MMS notification image.
ADD EXTENSION & ENABLE
Step 6. Set up an extension to add an offer or link.
Step 7. Remember to toggle the autoconnect to enabled when you are ready to go!
DAILY DEALS AUTOMATION
ENTICE YOUR CUSTOMERS
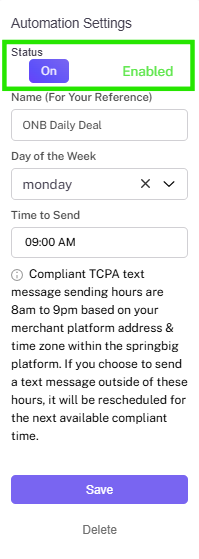
The Daily Deals Automation allows you to set up a recurring message that sends out on a specific day of the week at a specific time.
Tips:
You can set up daily deals for every day of the week.
You can edit the content of this automation weekly, or disable and create a new automation weekly to maintain reporting around different deals.
Creating a daily deals AUTOMATION
Select & name
Step 1. Select Daily Deals.
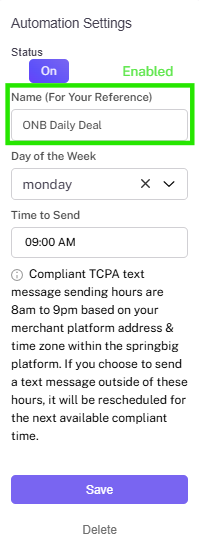
Step 2. Name your automation (this name is for internal reference only).
Set Cadence
Step 3. Select day of the week you want this message to send out on.
Step 4. Select time of the day to send the message.
Create Message
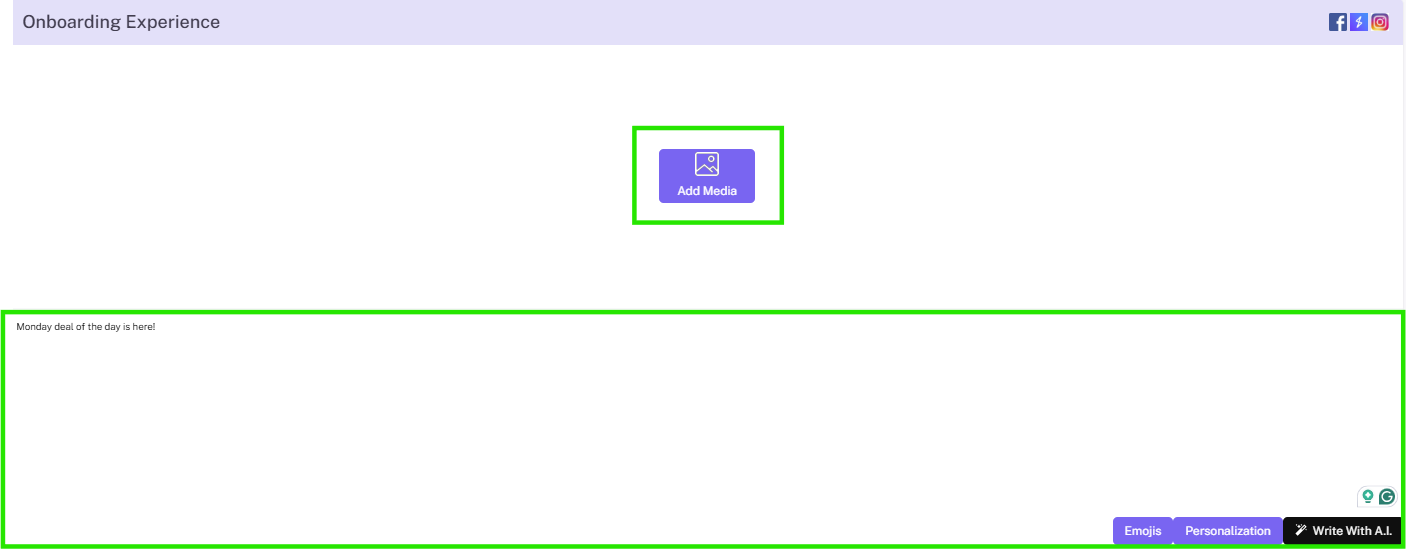
Step 5. Set up stashboard content with text as well as stashboard images, emojis, and/or value substitutions.
Step 6. Select a SMS notification message and (if desired) a MMS notification image.
Add extension & enable
Step 7. Set up an extension to add an offer or link.
Step 8. Remember to toggle the automation to enabled when you are ready to go!
After visit Automation
ENGAGE YOUR CUSTOMERS
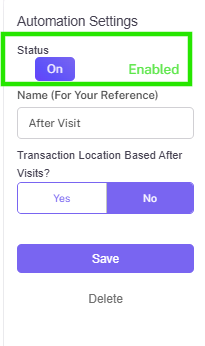
The After Visit Automation allows you to send a follow up message immediately after a customer makes a purchase.
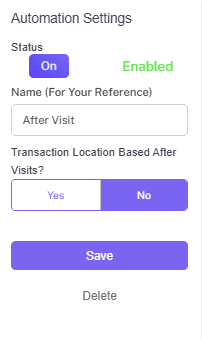
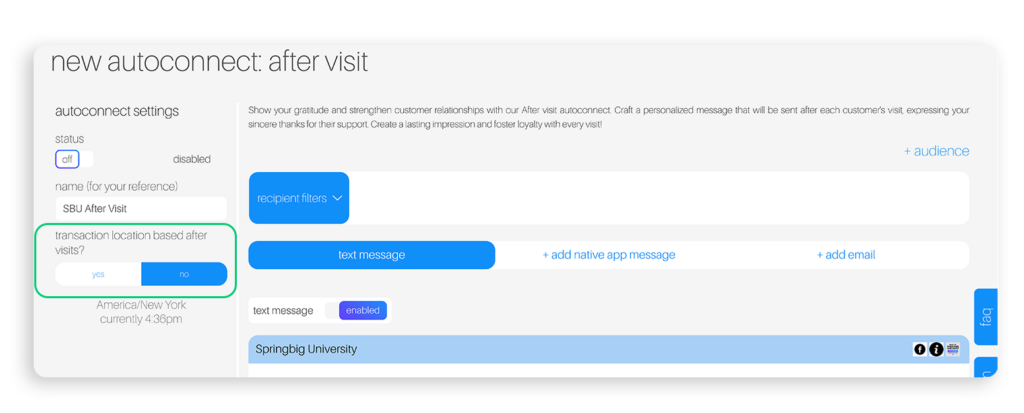
Optionally, set up ‘transaction location based after visits’ to send different messages to different locations if there are unique deals, brands, or naming conventions between locations (these locations must be set up through integrations).
Creating an after visit Automation
Select & name
Step 1. Select After Visit.
Step 2. Name your automation (this name is for internal reference only).
standard or location based
Step 3. Optionally enable ‘transaction location based after visits’ to send unique messages to different locations.
Create Message
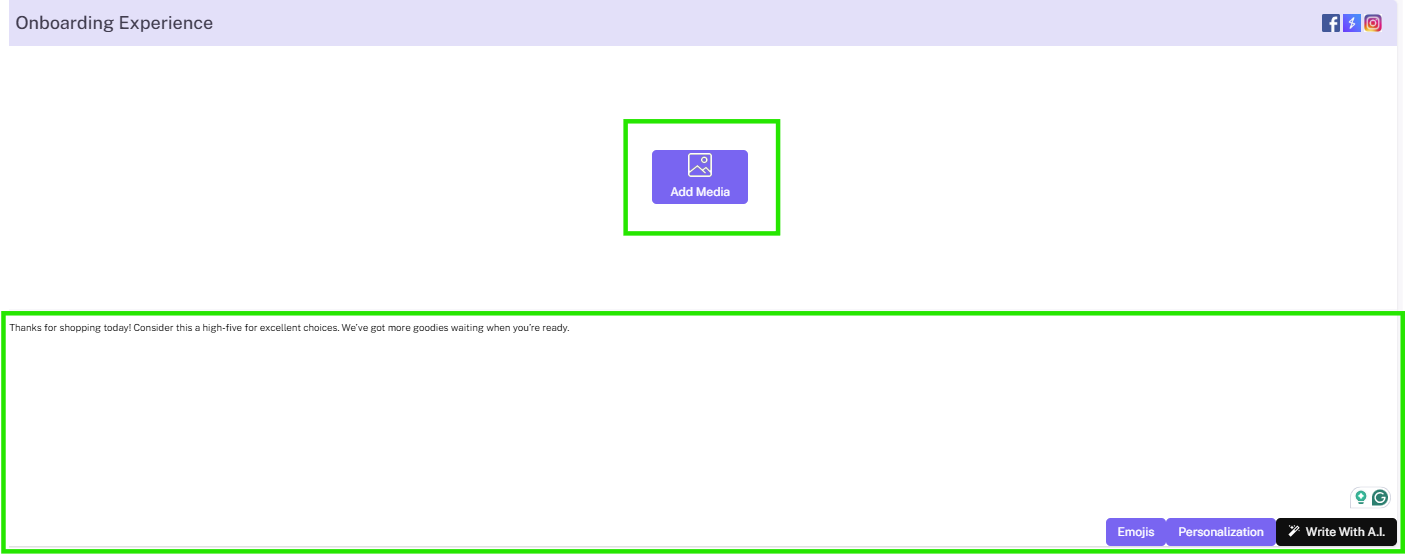
Step 4. Set up stashboard content with text as well as stashboard images, emojis, and/or value substitutions.
Step 5. Select a SMS notification message and (if desired) a MMS notification image.
Add extension & enable
Step 6. Set up an extension to add an offer or link.
Step 7. Remember to toggle the automation to enabled when you are ready to go!
DELAYED AFTER VISIT AUTOMATION
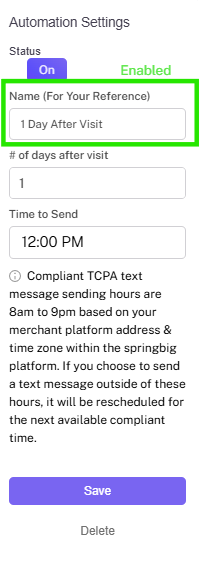
The Delayed After Visit Automation allows you to send a follow up message after a customer makes a purchase, after a defined amount of days.
REMIND YOUR CUSTOMERS
CREATING A DELAYED AFTER VISIT AUTOMATION
Select & name
Step 1. Select Delayed After Visit.
Step 2. Name your automation (this name is for internal reference only).
SET CADENCE
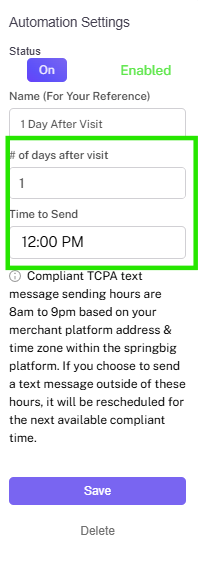
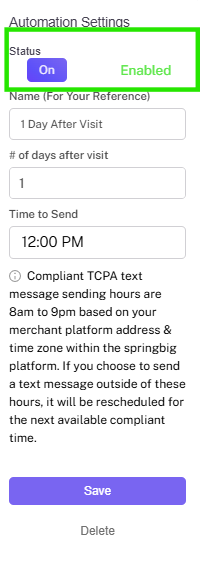
Step 3. Select the number of days after the visit you would like this message to send out on.
Step 4. Select the time of the day to send the message.
Create Message
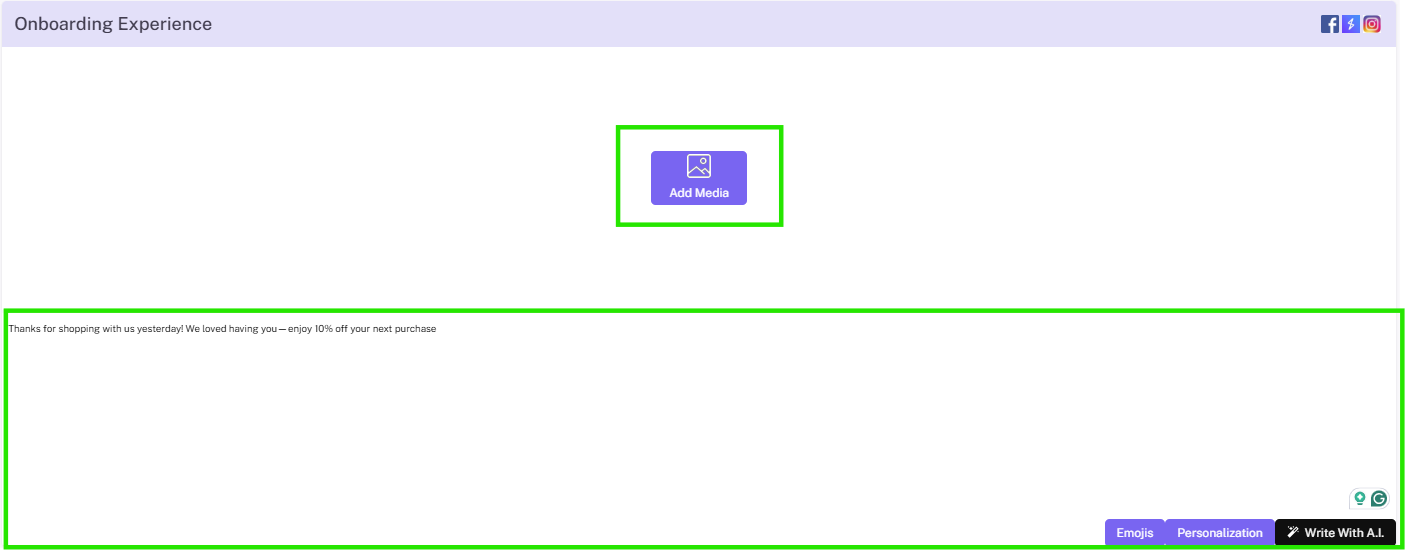
Step 5. Set up stashboard content with text as well as stashboard images, emojis, and/or value substitutions.
Step 6. Select a SMS notification message and (if desired) a MMS notification image.
Add extension & enable
Step 7. Set up an extension to add an offer or link.
Step 8. Remember to toggle the automation to enabled when you are ready to go!
WELCOME YOUR CUSTOMERS
The After Join Automation allows you to set up a welcome message that is sent to members after they join your program.
Tips:
Use this after join message to introduce your program with details like what the member can expect in terms of messages and rewards/offers.
This is a good time to introduce the wallet / app.
You can set up different audiences to send unique messages to members based on their location / sign up type such as a custom group.
Remember to set up an unfiltered audience if you do utilize different audiences.
After Join AUTOMATION
CREATING AN AFTER JOIN AUTOMATION
Select & name
Step 1. Select After Join.
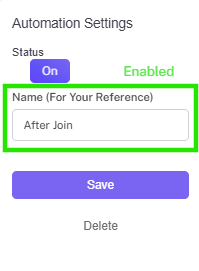
Step 2. Name your automation (this name is for internal reference only).
Create Message
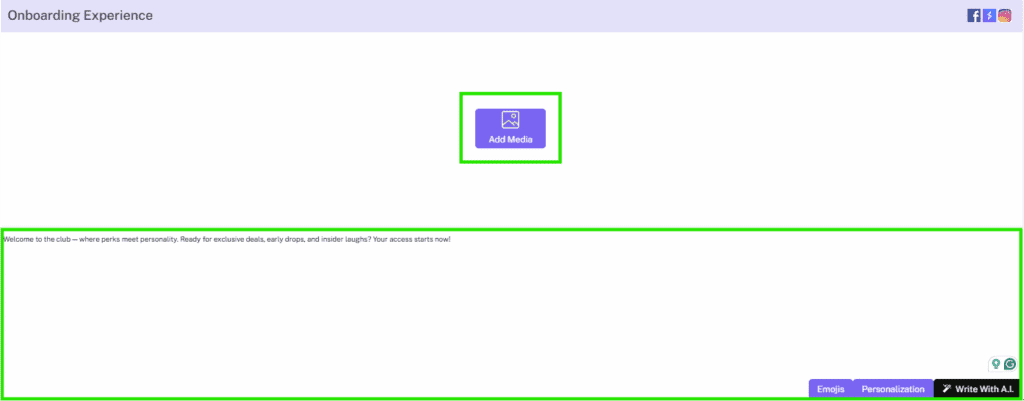
Step 3. Set up stashboard content with text as well as stashboard images, emojis, and/or value substitutions.
Step 4. Select a SMS notification message and (if desired) a MMS notification image.
Add extension & enable
Step 5. Set up an extension to add an offer or link.
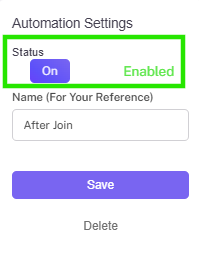
Step 6. Remember to toggle the automation to enabled when you are ready to go!
For more information on the Desired Action Taken AUTOMATIONS, click below!