HONOR YOUR CUSTOMERS FOR ACHIEVING SIGNIFICANT MILESTONES
Customer Milestone Reached Automations are designed to celebrate and acknowledge your customers as they achieve significant milestones in their journey with your brand. Whether it’s reaching a spending threshold, completing a certain number of visits, making a big purchase, or marking an anniversary, these automated messages ensure that your customers feel recognized and appreciated at these important moments.
With Customer Milestone Reached Automations, you can enhance customer loyalty and engagement by delivering timely, personalized outreach that highlights their accomplishments and encourages continued interaction with your store.
If you’re interested in learning more about other Automations, such as Core Communication, Desired Action Taken, or Reminders, click below to explore how they can elevate your customer engagement strategy.
The Spend Milestone Automation allows you to create lifetime spend tiers and reward members who reach a certain spend threshold. This milestone is customer facing – when enabled, customers will see their spend and spend milestone names in their wallet. You can set multiple spend milestones to give your customers higher tiers to work toward.
Tips:
You can create multiple tiers for your spend milestone program.
Customers can only receive a spend milestone one time.
CREATING A SPEND MILESTONE AUTOMATION
SELECT & NAME
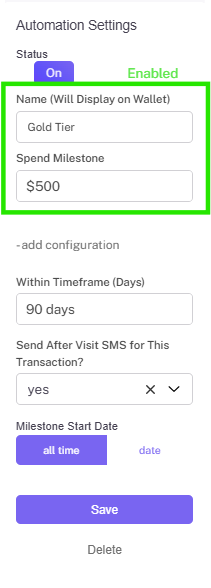
Step 1. Select Spend Milestone.
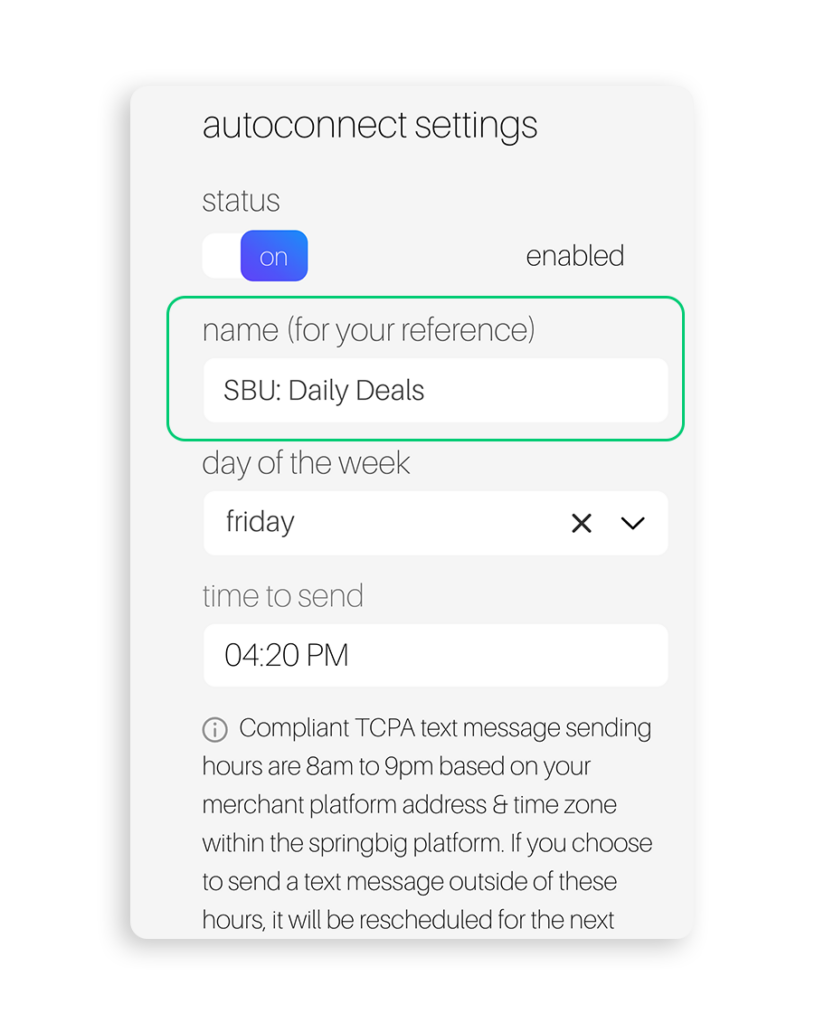
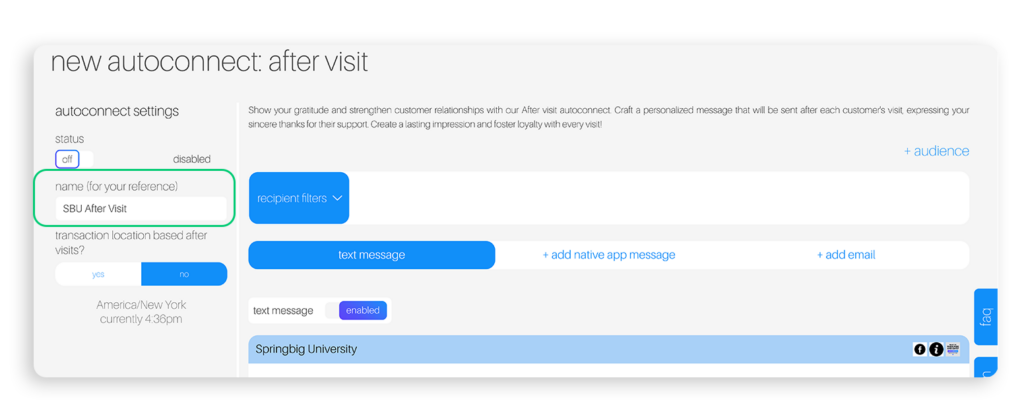
Step 2. Name your automation (this name will be customer facing and appear in the wallet).
Step 3. Set spend milestone amount.
ADDITIONAL CONFIGURATION
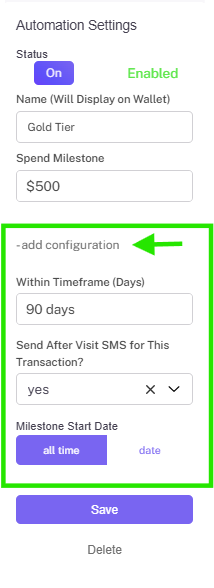
Step 4. Optionally, add additional configuration to:
Add a timeframe for your members to qualify for this spend milestone.
Designate if you would like to send after visit sms (if after visit is enabled this will prevent customer from receiving both messages).
Set a milestone start date:
All time- look at a customer’s lifetime spend within Springbig
Date- set a specific start date for your spend milestone
Create message
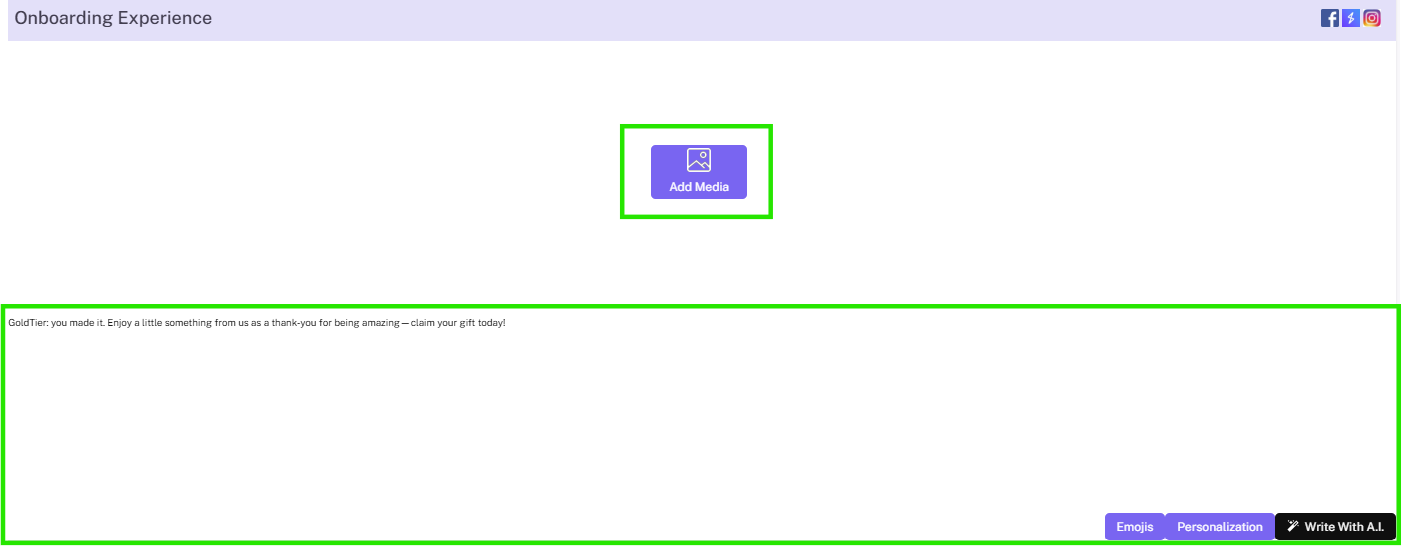
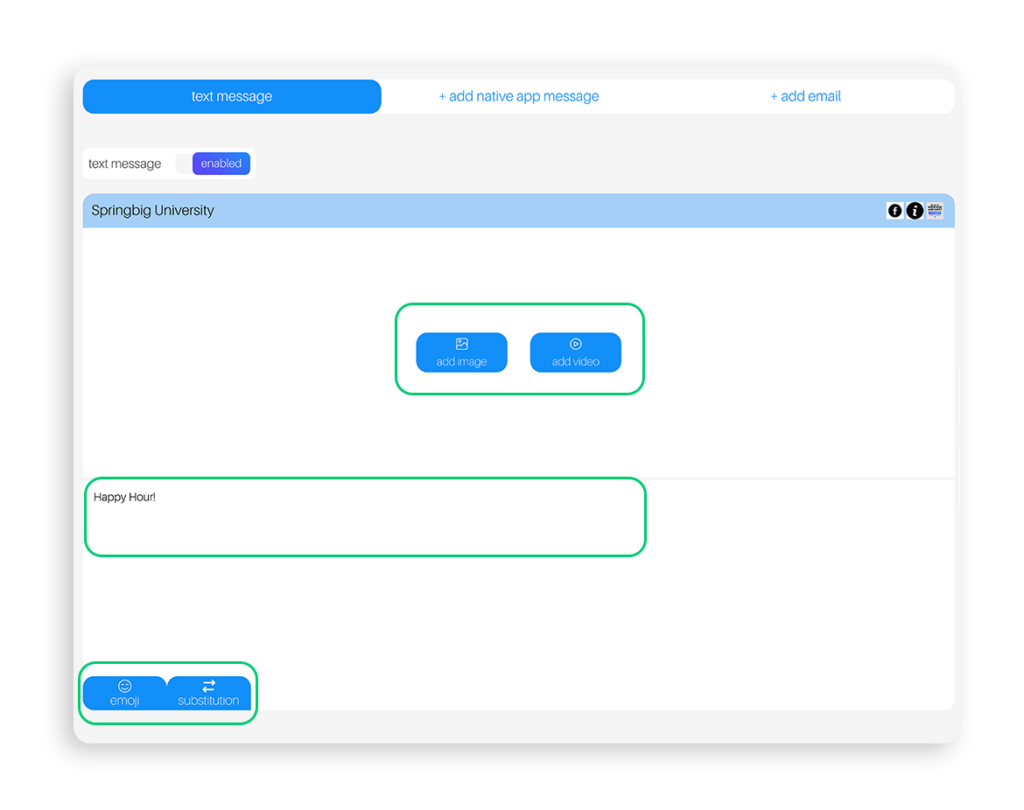
Step 5. Set up stashboard content with text as well as stashboard images, emojis, and/or value substitutions.
Step 6. Select a SMS notification message and (if desired) a MMS notification image.
Add extension & enable
Step 7. Set up an extension to add an offer.
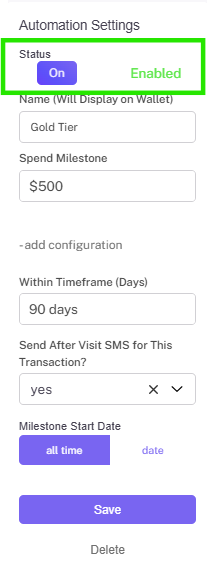
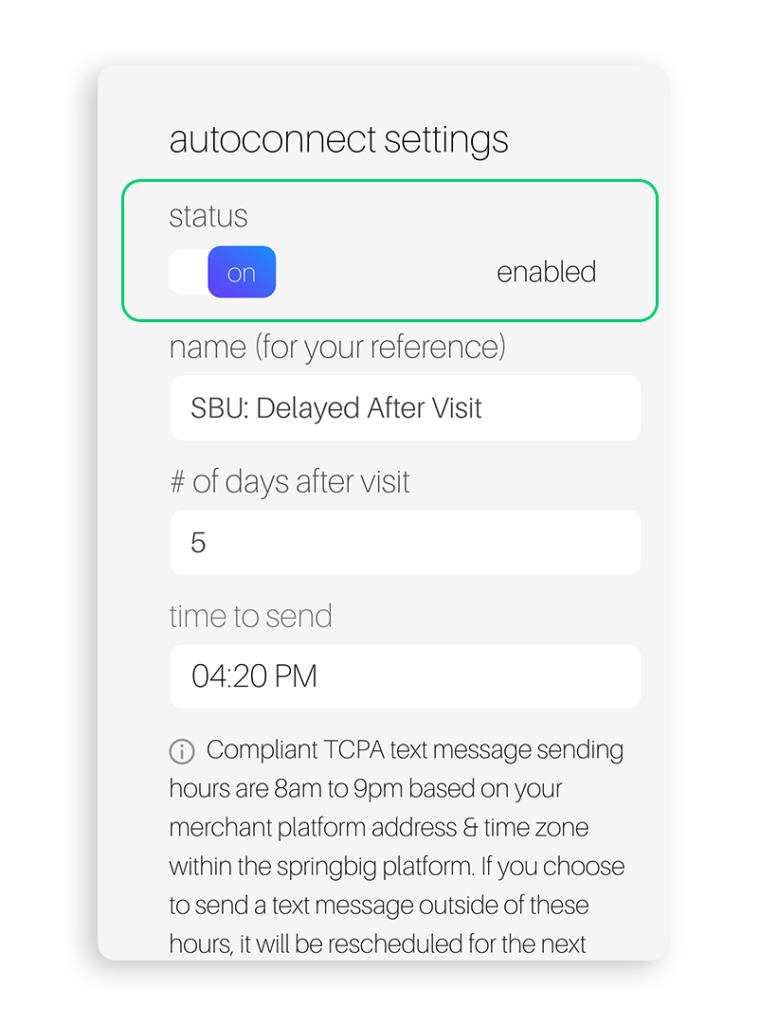
Step 8. Remember to toggle the automation to enabled when you are ready to go!
VISIT MILESTONE AUTOMATION
HONOR YOUR CUSTOMERS' LOYALTY
The Visit Milestone Automation allows you to set up automatic messages that will send to members when they visit a defined amount of times.
Tips:
You can set as many visit milestones as you would like to reward your customers and influence their customer journey.
With no added configuration, a customer can only earn a visit milestone once.
CREATING A VISIT MILESTONE AUTOMATION
SELECT AND NAME
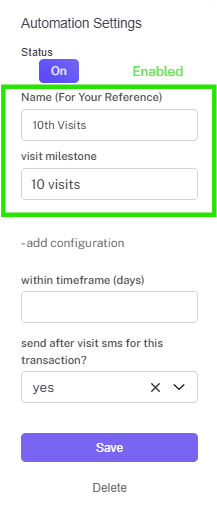
Step 1. Select Visit Milestone.
Step 2. Name your automation (this name is for internal reference only).
Step 3. Set visit milestone amount.
ADDITIONAL CONFIGURATION
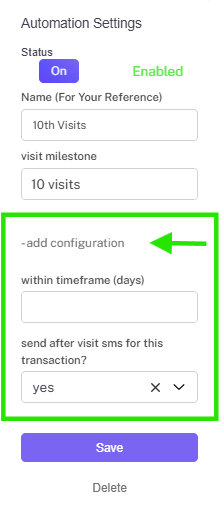
Step 4. Optionally, add additional configuration to:
Add a timeframe for your members to qualify for this visit milestone
Designate if you would like to send after visit sms (if after visit is enabled this will prevent customer from receiving both messages)
CREATE MESSAGE
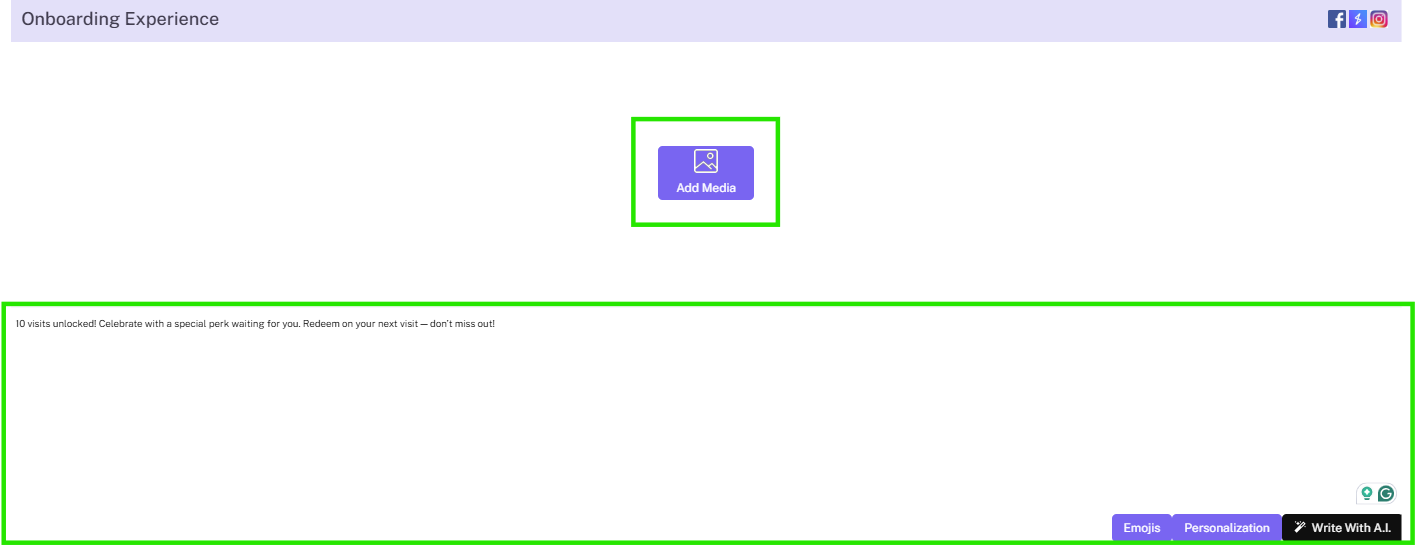
Step 5. Set up stashboard content with text as well as stashboard images, emojis, and/or value substitutions.
Step 6. Select a SMS notification message and (if desired) a MMS notification image.
ADD EXTENSION & ENABLE
Step 7. Set up an extension to add an offer.
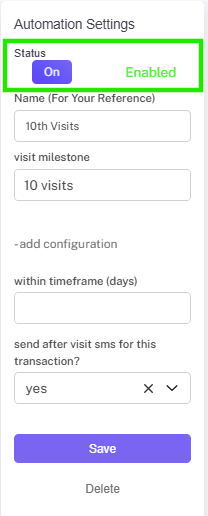
Step 8. Remember to toggle the automation to enabled when you are ready to go!
BIG PURCHASE AUTOMATION
REWARD YOUR CUSTOMERS' INVESTMENT
The Big Purchase Automation allows you to send a message and reward members who make a big transaction.
Tips:
Your customers can receive this every time they trigger this milestone.
You can set up multiple big purchase automations and if a customer qualifies for multiple they will receive all enabled automations.
For example: if you have a $200, $300, and $400 big purchase automation enabled and your customer spends $420 they will receive all three messages.
Creating A BIG PURCHASE AUTOMATION
Select & name
Step 1. Select Big Purchase.
Step 2. Name your automation (this name is for internal reference only).
Step 3. Select big purchase amount.
Create Message
Step 4. Set up stashboard content with text as well as stashboard images, emojis, and/or value substitutions.
Step 5. Select a SMS notification message and (if desired) a MMS notification image.
Add extension & enable
Step 6. Set up an extension to add an offer if applicable.
Step 7. Remember to toggle the automation to enabled when you are ready to go!
BY JOIN DATE AUTOMATION
CELEBRATE YOUR CUSTOMERS' ANNIVERSARIES
The By Join Date Automation allows you to send a follow up message to members based on when they joined (i.e anniversary, life cycle). You can set up various join date milestones to connect with your customers at different times.
Tips:
This automation is a great way to keep your customers up to date on your social media, reward / referral program, merchandise, etc.
Creating a By Join Date Automation
Select & name
Step 1. Select Reward Available.
Step 2. Name your automation (this name is for internal reference only).
SET CADENCE
Step 3. Select days from join amount.
Step 4. Select the time to send the message.
Create Message
Step 5. Set up stashboard content with text as well as stashboard images, emojis, and/or value substitutions.
Step 6. Select a SMS notification message and (if desired) a MMS notification image.
Add extension & enable
Step 7. Set up an extension to add an offer or link.
Step 8. Remember to toggle the automation to enabled when you are ready to go!
POINTS MILESTONE AUTOMATION
The Points Milestone Automation allows you to set up automatic messages that will send to members when they achieve a defined amount of points.
Tips:
If you would like to only set a start date for the points milestone, but not an end date, keep that field blank.
You cannot have an end date without a start date.
Customers can only achieve each points milestone once.
RECOGNIZE YOUR CUSTOMERS' ACHIEVEMENTS
CREATING A POINTS MILESTONE AUTOMATION
Select & name
Step 1. Select the Points Milestone automation.
Step 2. Name your automation (this name will be customer facing and appear in the wallet).
Step 3. Set point milestone amount.
ADDITIONAL CONFIGURATION
Step 4. Optionally add additional configuration to:
Designate if you would like to send after visit sms (if after visit is enabled this will prevent customer from receiving both messages)
Set a milestone start & end date
All time – looks at a customer’s lifetime points within Springbig
Date – sets a specific start and end date for your spend milestone
Create Message
Step 5. Set up stashboard content with text as well as stashboard images, emojis, and/or value substitutions.
Step 6. Select a SMS notification message and (if desired) a MMS notification image.
Add extension & enable
Step 7. Set up an extension to add an offer.
Step 8. Remember to toggle the automation to enabled when you are ready to go!
FOR MORE INFORMATION AROUND THE REMINDER AUTOMATIONS, CLICK BELOW!