Welcome to the Springbig + Zapier Integration Guide!
In this guide, you’ll learn how to connect Springbig with Zapier to automate workflows, sync customer data, and trigger messages across your favorite tools.
We’ll walk you through:
Setting up the Springbig app in Zapier
Connecting your accounts
Configuring your API credentials
Creating automations
Sending messages through Springbig
By the end of this guide, you’ll have your integration live and ready to streamline operations with powerful automation.
Let’s get started!
Springbig + Zapier Integration Guide
User interface is subject to change at the discretion of your POS provider. For the most accurate and up-to-date information, please consult your POS provider directly.
Install the Springbig App in Zapier
Step 1. Log in to your Zapier account
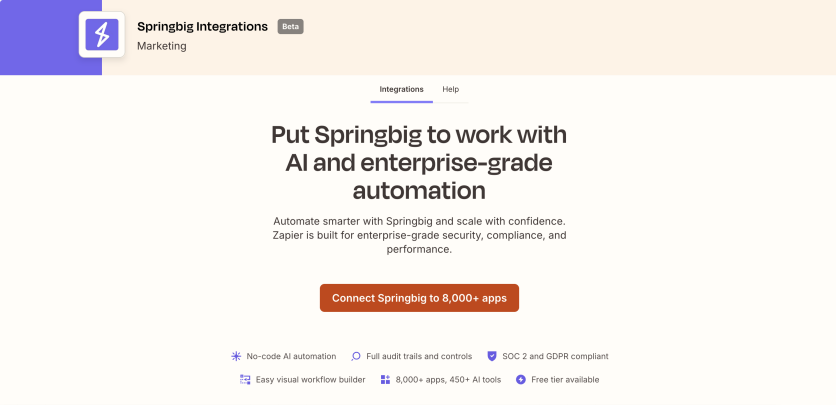
Step 2. Navigate to the Zapier App Marketplace
Step 3. Search for Springbig and install the app
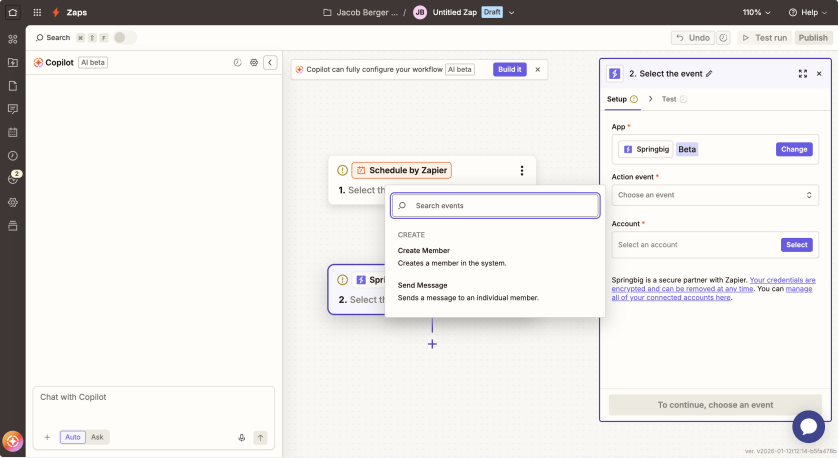
Choose a Springbig Action
After installing the app, select the Springbig action you want to use.
💡 If your goal is to send a message to a member, see Step 7: Send a Message Configuration below.
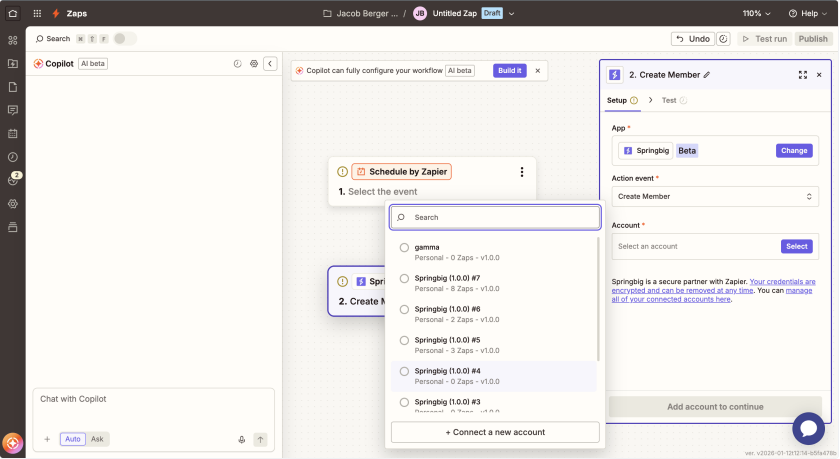
Connect Your Springbig Account
Step 1. Select an existing Springbig account
or
Step 2. Click Connect a new account and authenticate with Springbig
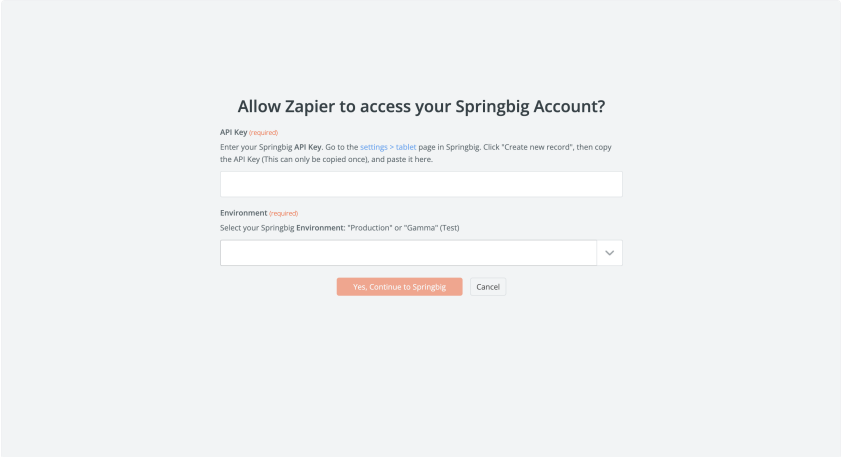
Enter Your API Credentials
When prompted:
API Key
Retreive your API key from the Springbig platform (as described in the Springbig dashboard documentation)
Environment
Choose one of the following:
Production (Live)– for real member data and messaging
Gamma (Testing)– for testing and validation
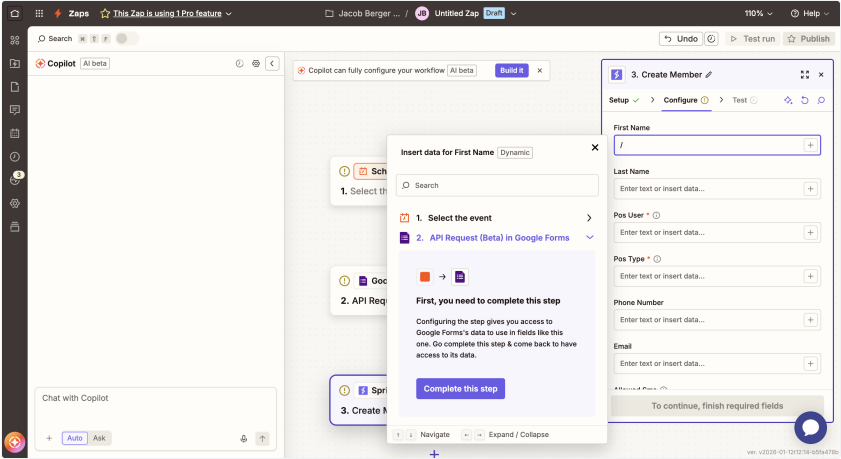
Map the fields from your source application (e.g., form, POS, CRM) to the Springbig member fields.
⚠️ Required Fields
The following fields are mandatory for creating or updating a member:
pos_user – Your unique identifier for the member
pos_type – The platform or source creating the member (e.g., POS name, website, app)
Field mappings may vary depending on the application you are syncing members from.
Test and Publish the Zap
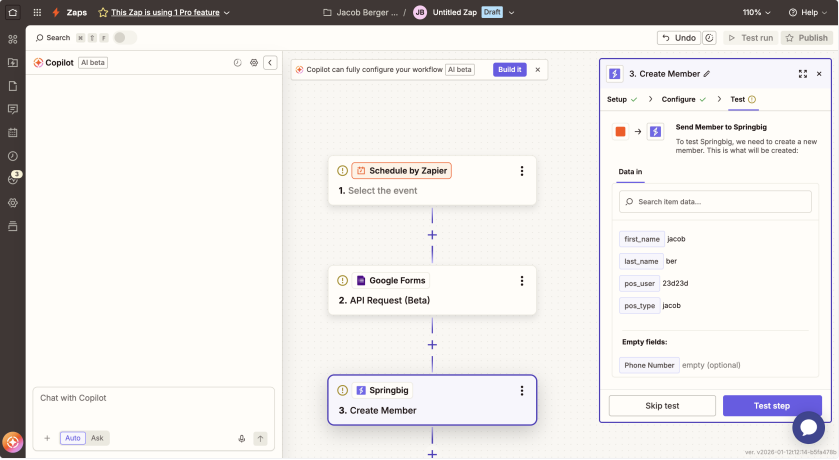
Step 1. Use Zapier’s Test feature to verify the connection
Step 2. A successful test will create the member in your Springbig account
Step 3. Once validated, publish the Zap to activate it
Send a Message
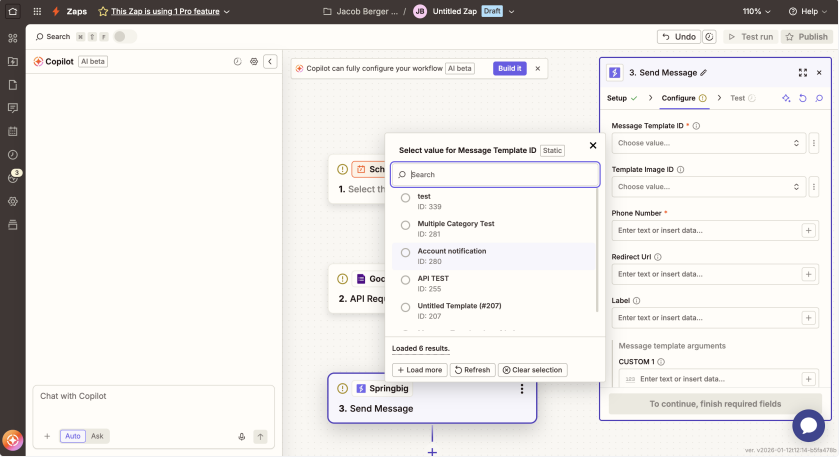
If you choose the Send a Message action, configure the following fields:
Message Template ID
Select the notification message you want to send
The dropdown list displays the message titles saved in Springbig
Template Image ID
Choose the image that will be sent with the MMS message
You can preview images by opening the URLs shown in the dropdown
Phone Number
The member’s mobile phone number
Redirect URL
The URL the member will be taken to after clicking the link in the message
Label (Campaign Name)
A human-readable name for the campaign
This label is used for reporting, so choose clear and descriptive names