This integration with Lightspeed Series R offers a seamless experience populating customer and sales data to your Springbig marketing segments.
Additional features include retrieving historical customer and transactional data.
Springbig + Lightspeed R Series Integration Guide
User interface is subject to change at the discretion of your POS provider. For the most accurate and up-to-date information, please consult your POS provider directly.
Part 1: Onboarding
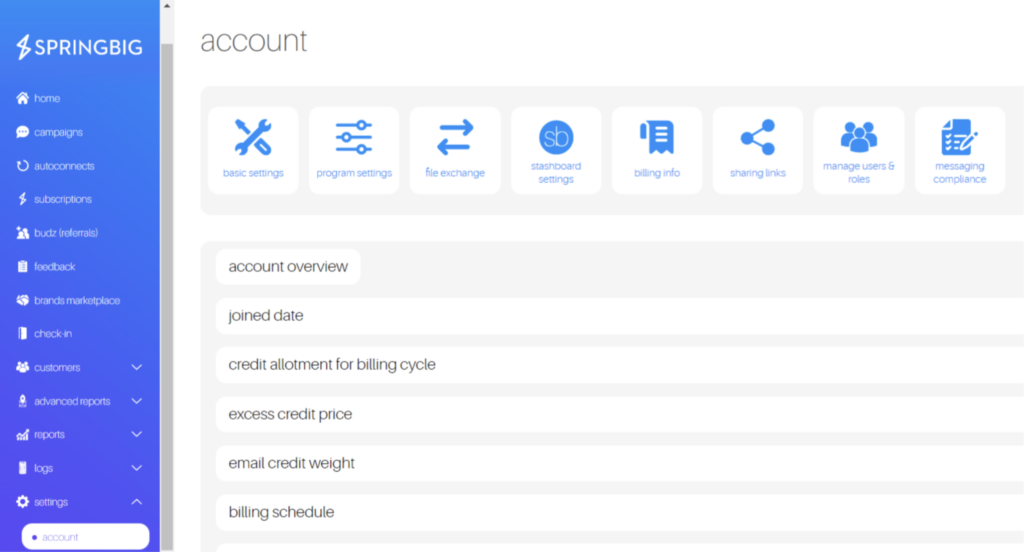
Step 1: Direct to the Springbig menu on the left-hand and click settings –> account –> basic settings.
Step 2: Navigate to Integrations and click Connect With Lightspeed.
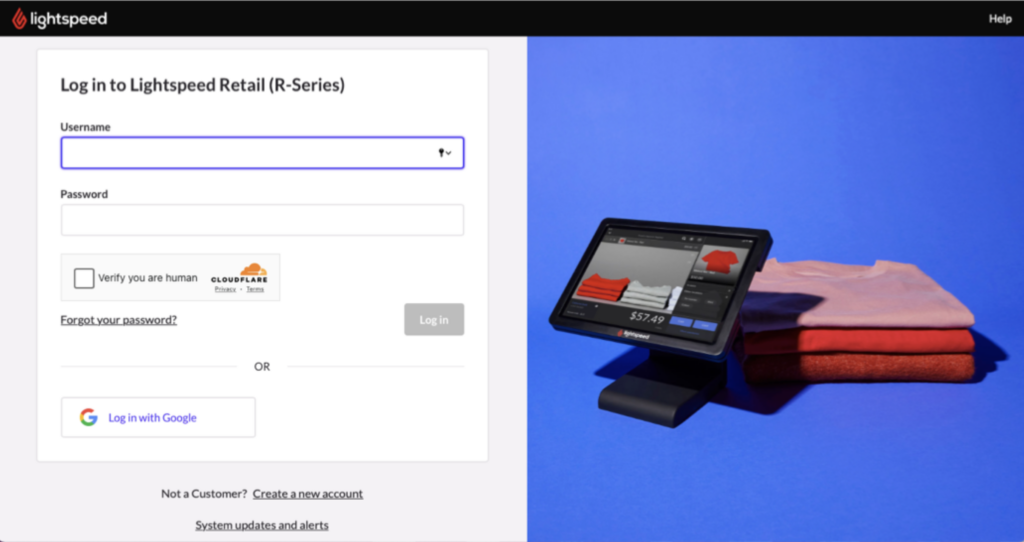
Step 3: Enter login credentials. After successfully logging in, all locations associated with the Lightspeed Series R account will be created and enabled in Springbig.
Part 2: Customers
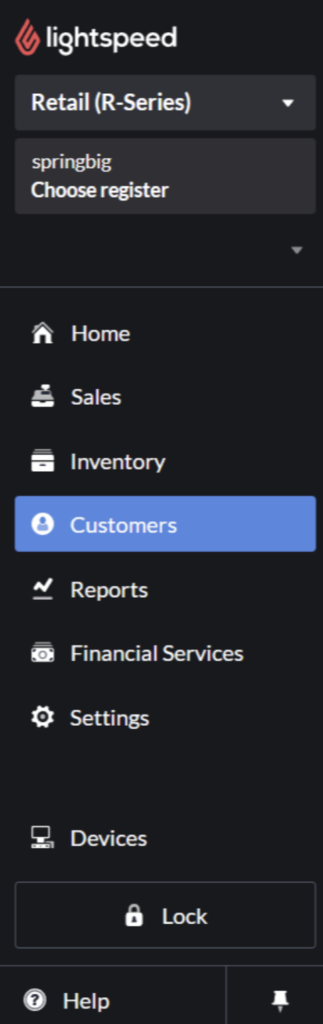
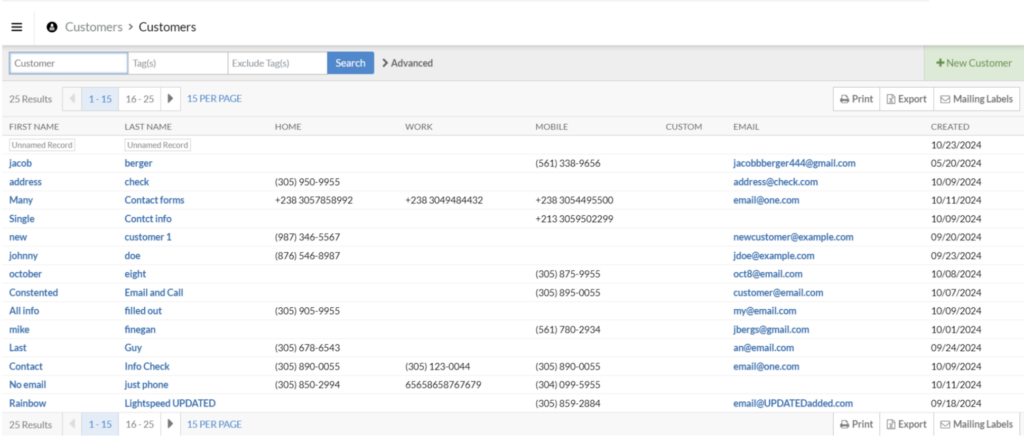
Step 1: Click on the burger menu on the top-left of the screen and then click the Customers tab.
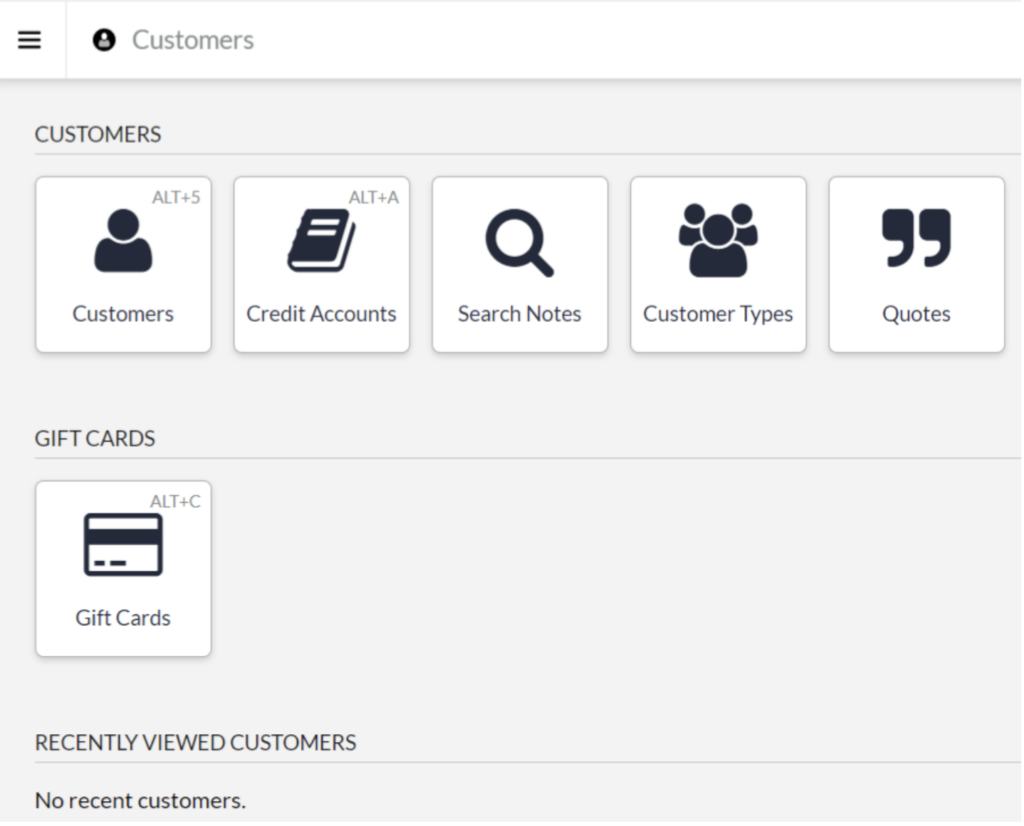
Step 2: Click Customers and then click +New Customer on the top-right.
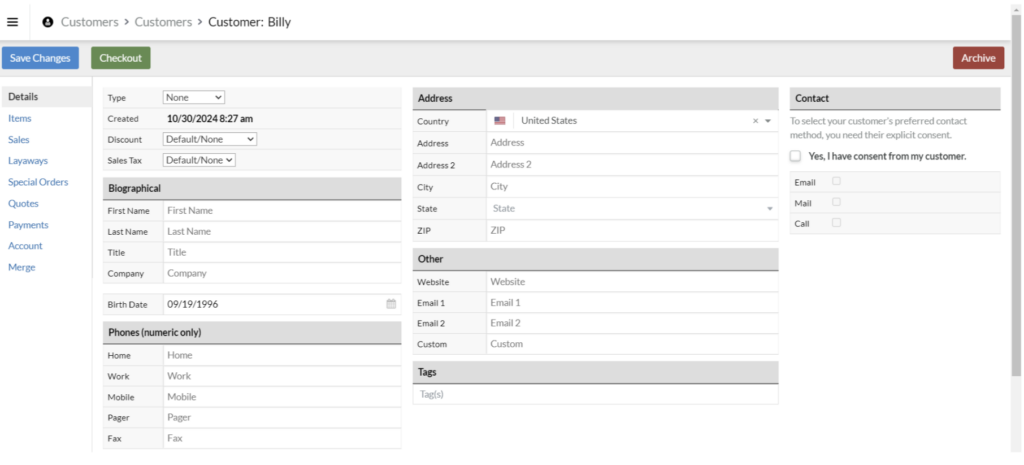
Step 3: Enter first name, last name, phone number and or email and other desired customer information.
NOTES:
Adding a name is imperative because it is used when adding a profile.
Phone number and/or email are required since that is used as the customer identifier in Springbig.
Springbig does not respect the Lightspeed Series R consent checkbox. Customers must opt into marketing via the compliance text message.
Step 4: Once the profile is completed, click Save Changes.
NOTES:
Customers creations and updates only populate in Springbig after a sale is processed.
Reach out to a Springbig account representative to retrieve historical customers from a Lightspeed Series R account if for example wanting to populate those customers into Springbig that processed a transaction before enabling the integration.
Customer point balance does not show on profile.
Step 5: Springbig receives these profile fields from Lightspeed Series R:
POS user AKA customer ID
POS type AKA source type
First name
Last name
Phone number
Email
Birthday
Address1
Address2
City
Region
ZIP
Type
Part 3: Sales
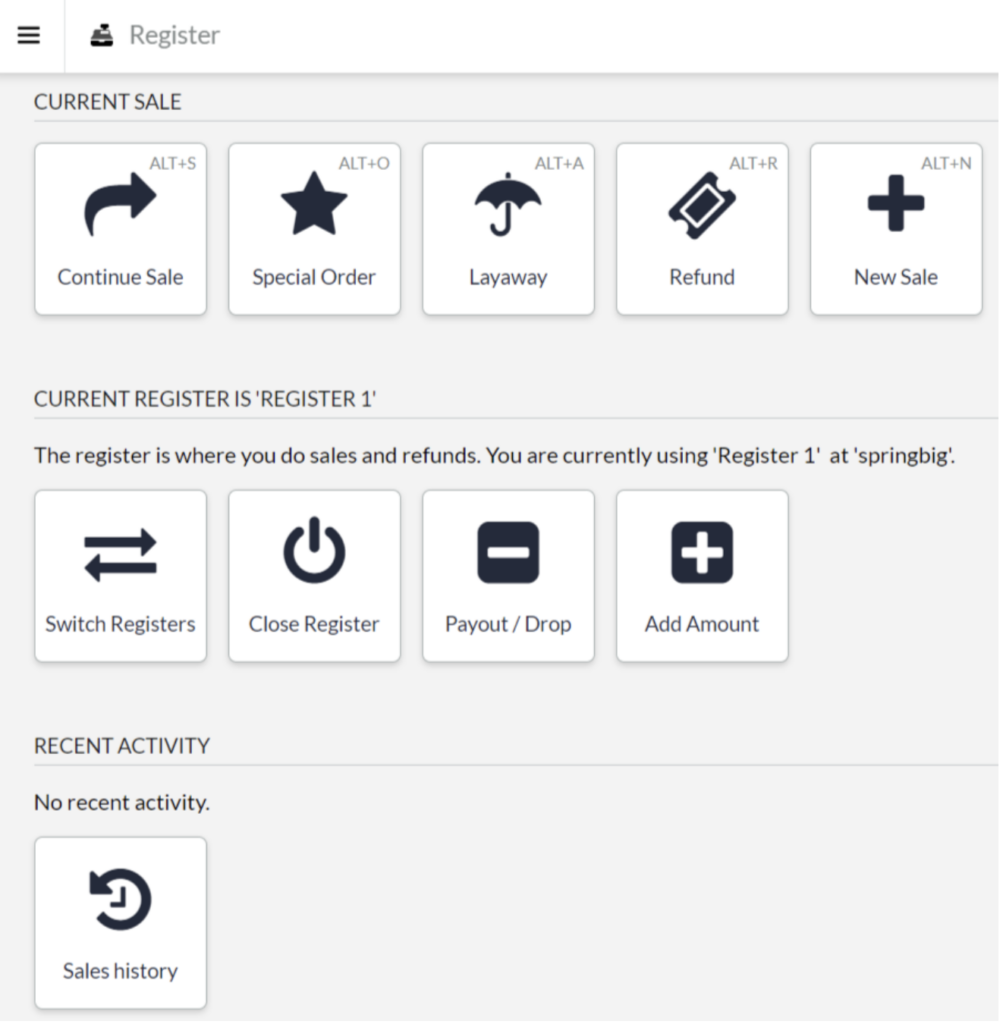
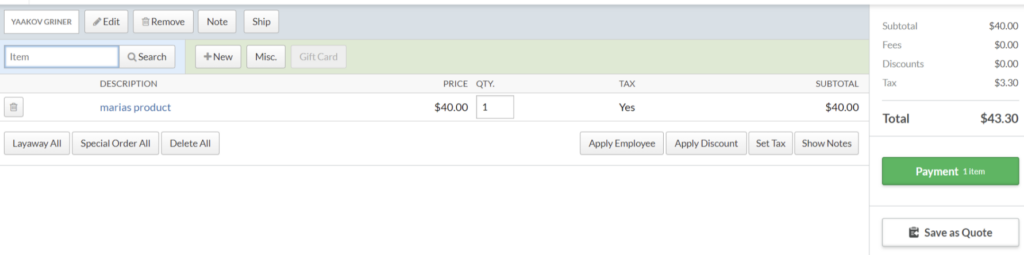
Step 1: Navigate to the burger menu on the top-left of the screen and then click the Sales tab.
Step 2: Click New Sale.
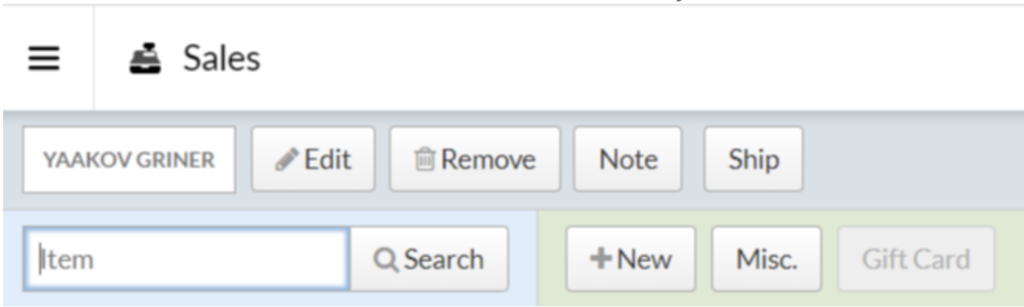
Step 3: Input either customer name, phone number or email into the customer search field and then click Enter on the keyboard to add a customer to the sale.
Step 4: Click the Search button next to the item search field to view inventory.
Step 5: Click +Add next to desired items to add to the sale.
Step 6: Once ready, click Payment, enter payment method amount and then click Finish Sale.
NOTE:
Points are issued by the final total i.e. post taxes.
Reach out to a Springbig account representative to retrieve historical sales for those that were not recorded in Springbig since they were processed before a Lightspeed Series R’ account’s integration with Springbig.
Step 8: Springbig receives these sales fields from Lightspeed Series R:
POS ID AKA Sales ID
POS user AKA customer ID
Transaction date (completed time)
Transaction total
Location
Final total
Subtotal
Total discount
Total fees
Total taxes
Brand
Category
Price
SKU
Item name
Quantity
Item discount
Total price
Part 4: Refunds
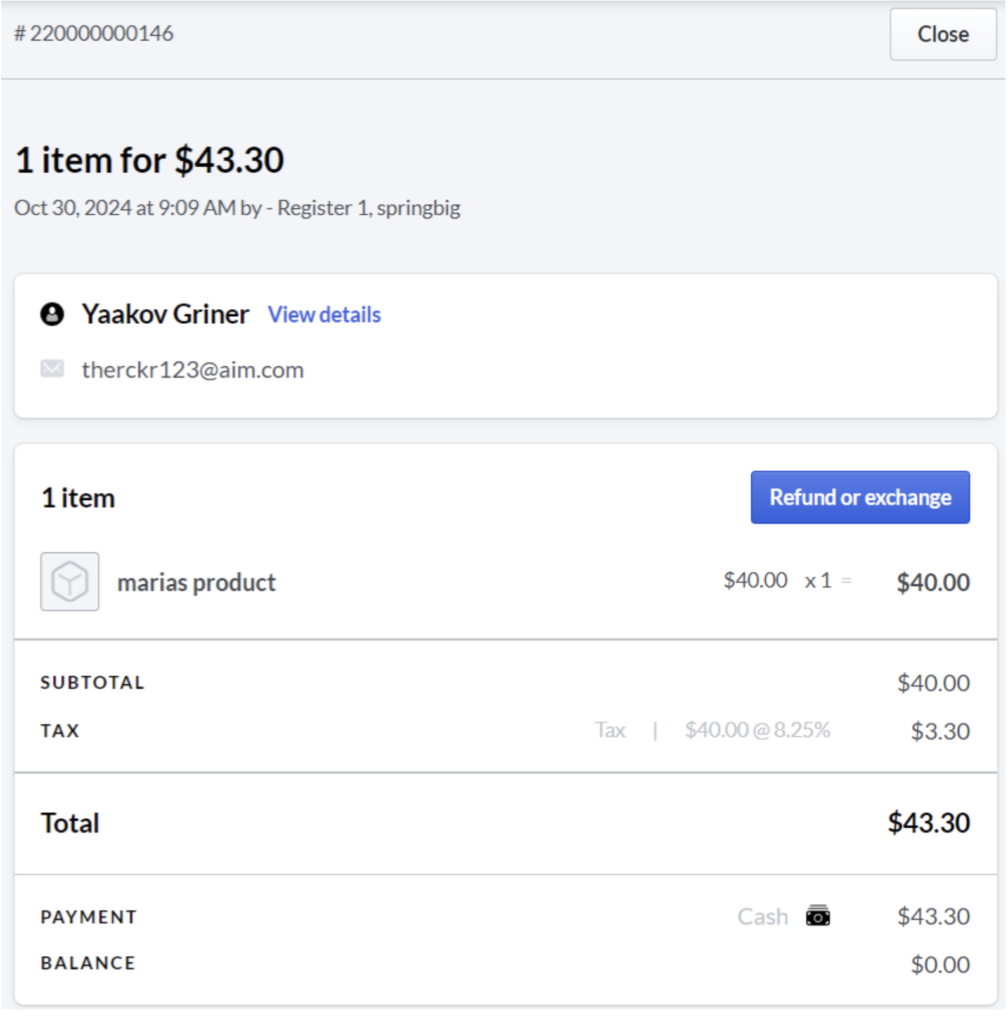
Step 1: Direct to the Sales tab and then click Sales History.
Step 2: Search, scan receipt or manually select sale.
Step 3: Click Refund or exchange.
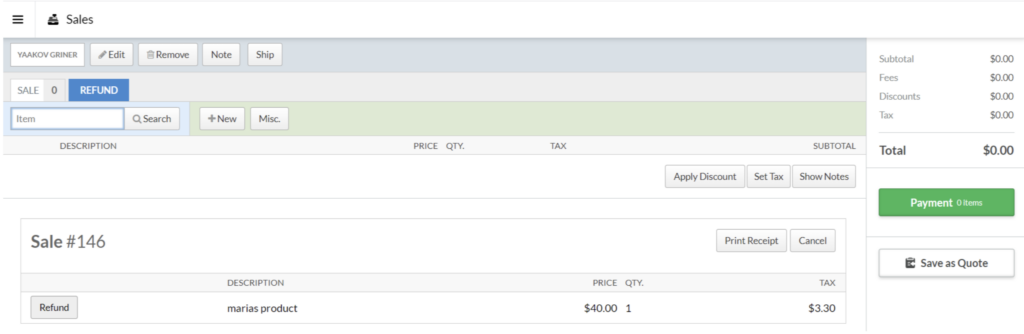
Step 4: Click Refund on desired items to refund.
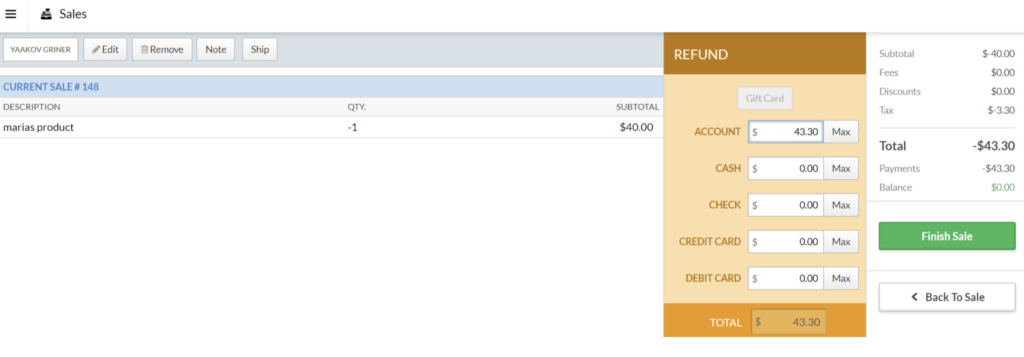
Step 5: Click Payment, enter payment method amount and then click Finish Sale.