Springbig + Flowhub Maui
Springbig + Flowhub Maui Integration Guide
In this course you will learn about:
- The Flowhub Maui installation steps
- Redemption setup steps
- Member creation in Flowhub Maui
- The Flowhub Maui Visit Experience
Let’s get started!
Springbig + Flowhub Maui Integration Guide
User interface is subject to change at the discretion of your POS provider. For the most accurate and up-to-date information, please consult your POS provider directly.
Part 1: Installation Steps
Flowhub Integration: getting started
Thanks to the integration with Springbig and Flowhub, your customer, transactions and redemptions data will be seamlessly shared with Springbig
Note: Springbig and Flowhub have a two-way redemption integration, meaning that Springbig receives data (member, transaction, product and redemption) from Flowhub. With that being said, Flowhub does not receive data from Springbig, which means that if a customer is created or updated on Springbig, it will not translate over to Flowhub.
Steps for setting up the integration:
Step 1. Reach out to your Springbig client success manager to create an integration spec sheet
Step 2. Springbig will then send you a link to request access tokens (API key and client ID). Here is that link:
To obtain the API creds and Client ID, please follow this link: https://flowhub.com/api-integration-request
Once you receive it (should be automatic) please send it to your client success manager or onboarding specialist.
Note: We can’t start your integration until we have this API.
Step 3. We will perform a location pull and get all of your active locations
Step 4. We will filter to only have your preferred locations
Step 5. Once we have your locations set up, you can decide if you want us to perform a historical member sync (copy) and get all of your Flowhub customers into your Springbig account
Note: You can also request a historical transaction sync, which pulls transactions within a start and end date. the start and end dates are required upon request. you also have the options if you want Springbig to calculate the points and send messages
Step 6. Going forward, Springbig will receive members, transactions, redemptions and product details. the list of data retrieved for each category will be listed later in the guide. Springbig also receives any refunded or voided transactions (this does not apply to redemptions)
Part 2: Redemption Setup Steps
Please relay to Flowhub if using Springbig loyalty. If Springbig loyalty is enabled, an auth token(s) will be issued, which will be handled by Flowhub internally. Also, please relay to your Springbig Onboarding Specialist or Client Success Manager how many Flowhub accounts to determine how many Springbig auth tokens are issued. Furthermore, relay to Springbig which locations are using loyalty. Ensure with Flowhub desired global loyalty setting such as stacking, no stacking, or double stacking only.
Redemptions
Please reach out to your account manager to assist setting up.
Rewards
Rewards must be created in both Springbig and Flowhub.
Step 1. Click on the dropdown menu on the top-left
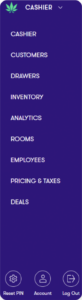
Step 2. Click DEALS
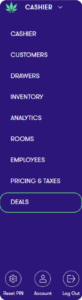
Step 3. Click NEW DEAL or edit an existing one

Step 4. Requirements:
Name of Deal
Discount type ($ or %)
Discount amount
For Third Party Loyalty box checked under the Additional Settings-Integrations section
Third Party ID
Step 5. Customize discounts accordingly such as restricting by date, time, product, brand, etc
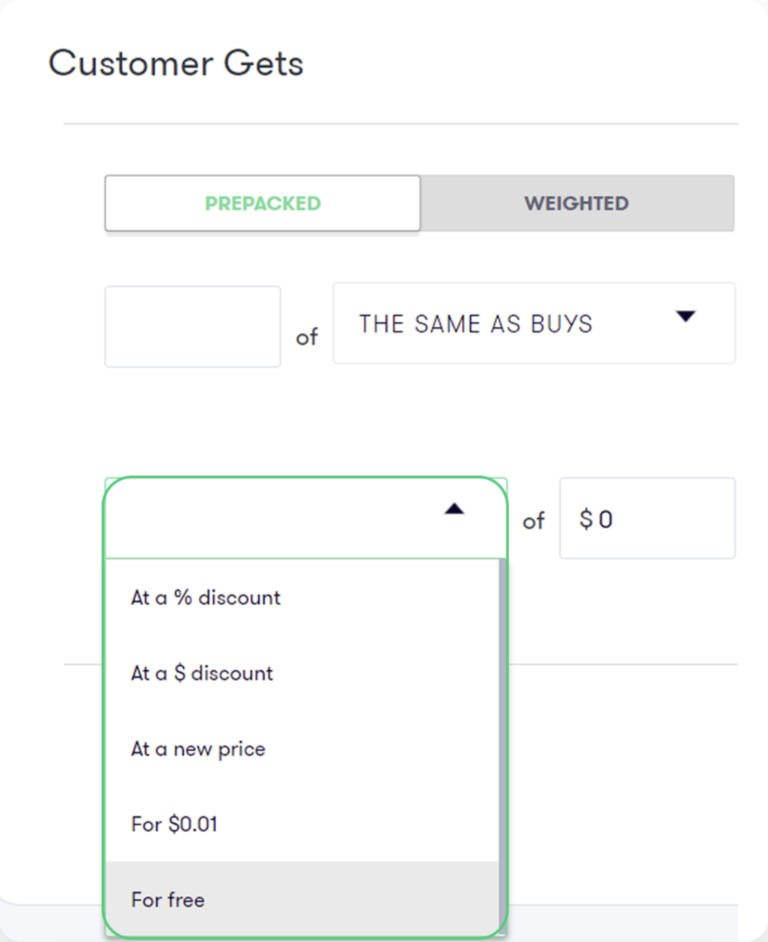
Step 6. For free item discounts select under Basics either: Product Discount, Buy & Get or Bundle
Under Product Discount or Customer Gets select the discount type drop down
Select For free
Enter $0.00 value
Step 7. On the bottom, be sure to check the For Third Party Loyalty box checked under the Additional Settings-Integrations section
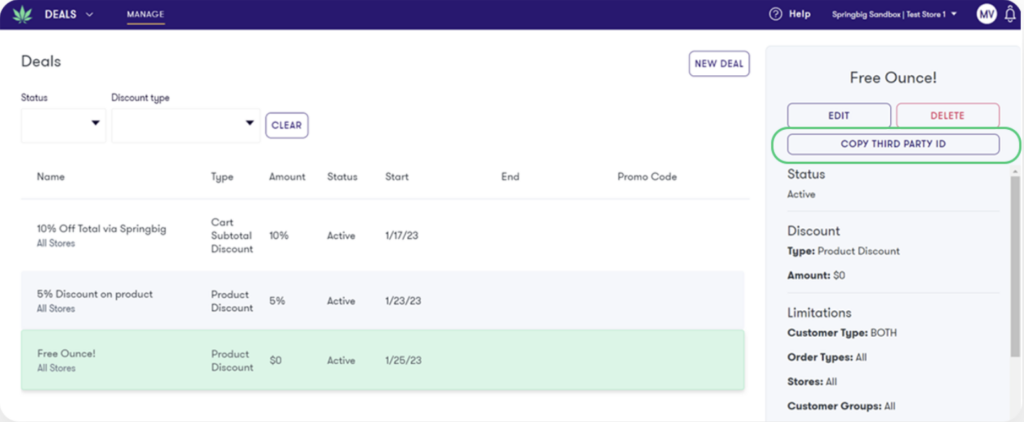
Step 8. Once complete, click SAVE AS ACTIVE
Step 9. After saving, click intended discount and COPY THIRD PARTY ID
Step 10. On the Springbig main menu, click settings then rewards/offers

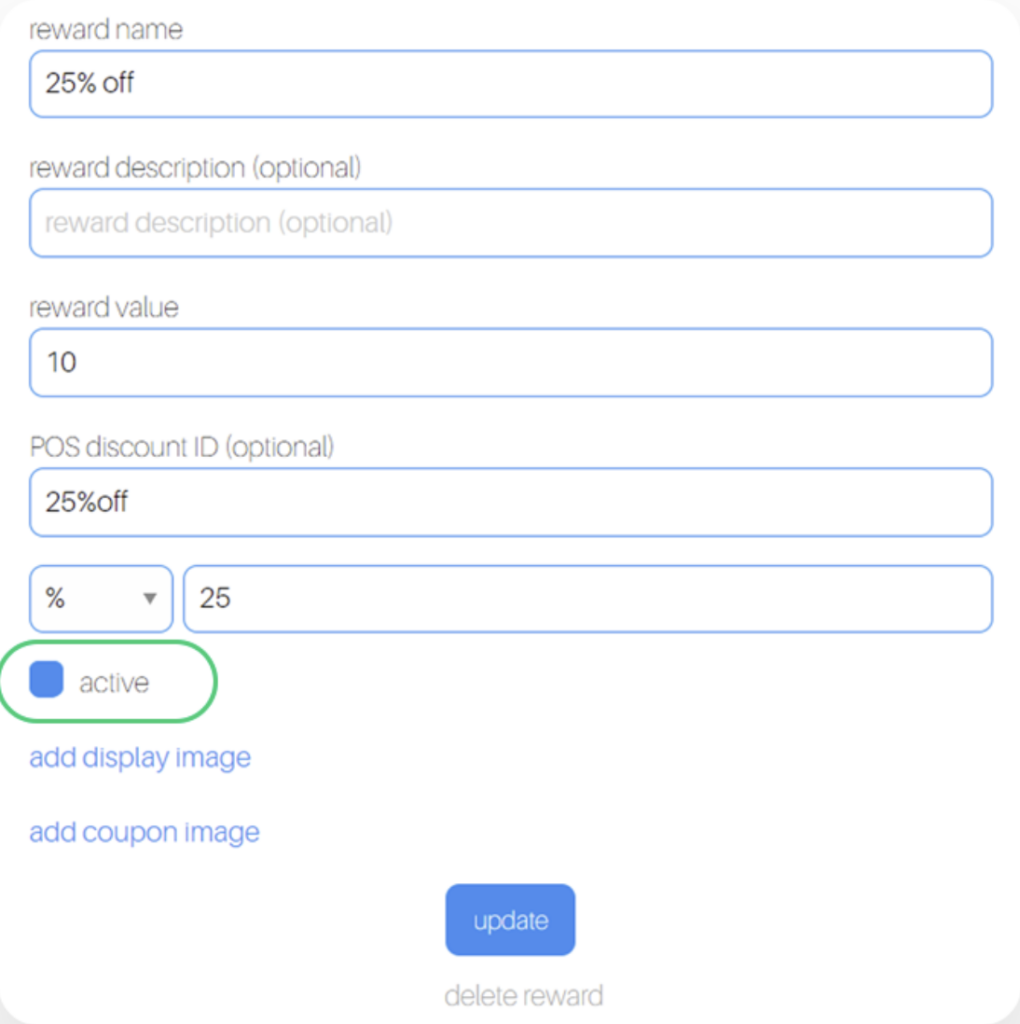
Step 11. Flowhub will retrieve these following required attributes:
Reward name
Reward value
POS discount ID aka Third Party ID in Flowhub
Pos reward type
Pos reward value
Note: For free item discounts, discount type or discount amount is not required.
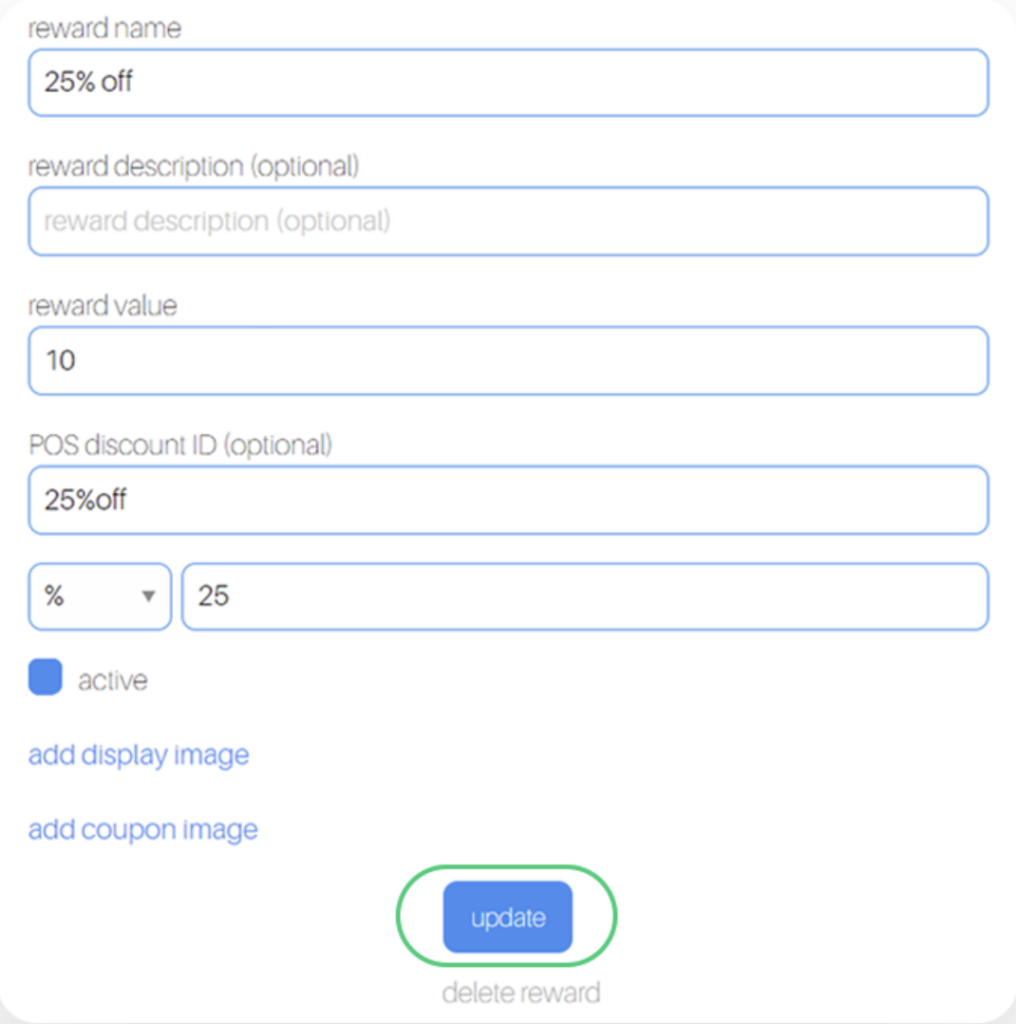
Step 12. Click the active checkbox
Step 13. Click Update
Offers
Offers must be created in both Springbig and Flowhub
Note: Usage amount and expiration date are not requirements in Flowhub
There are 3 types of Springbig offers:
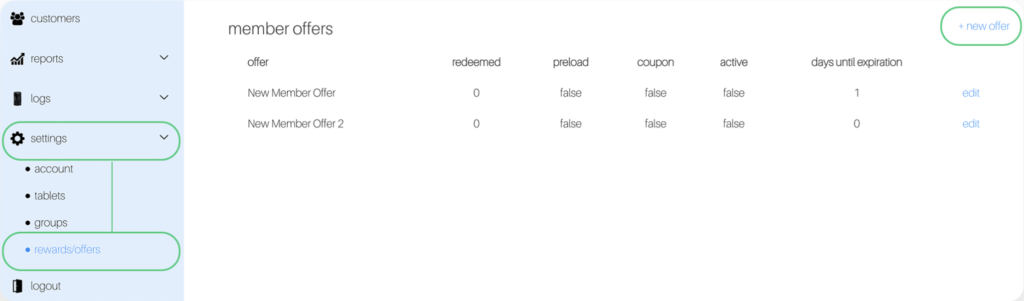
Offer 1. Member Offers
Direct to the left-hand Springbig menu
Click settings
Click rewards/offers
Scroll down
Click + new offer.
Offer 2. Campaign Offers
Direct to the left-hand Springbig menu
Click campaigns
Click new campaign
Scroll down
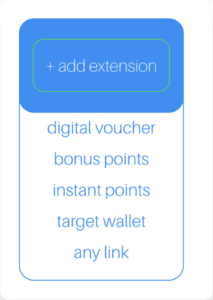
Click add extension
Select digital voucher
Offer 3. Autoconnect Offers
Direct to the left-hand Springbig menu
Click autoconnects
Click new autoconnect
Select intended autoconnect (optional)
Select track offer
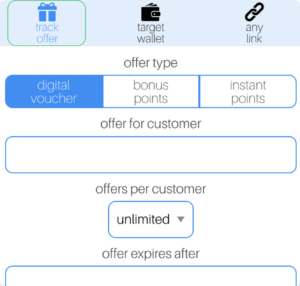
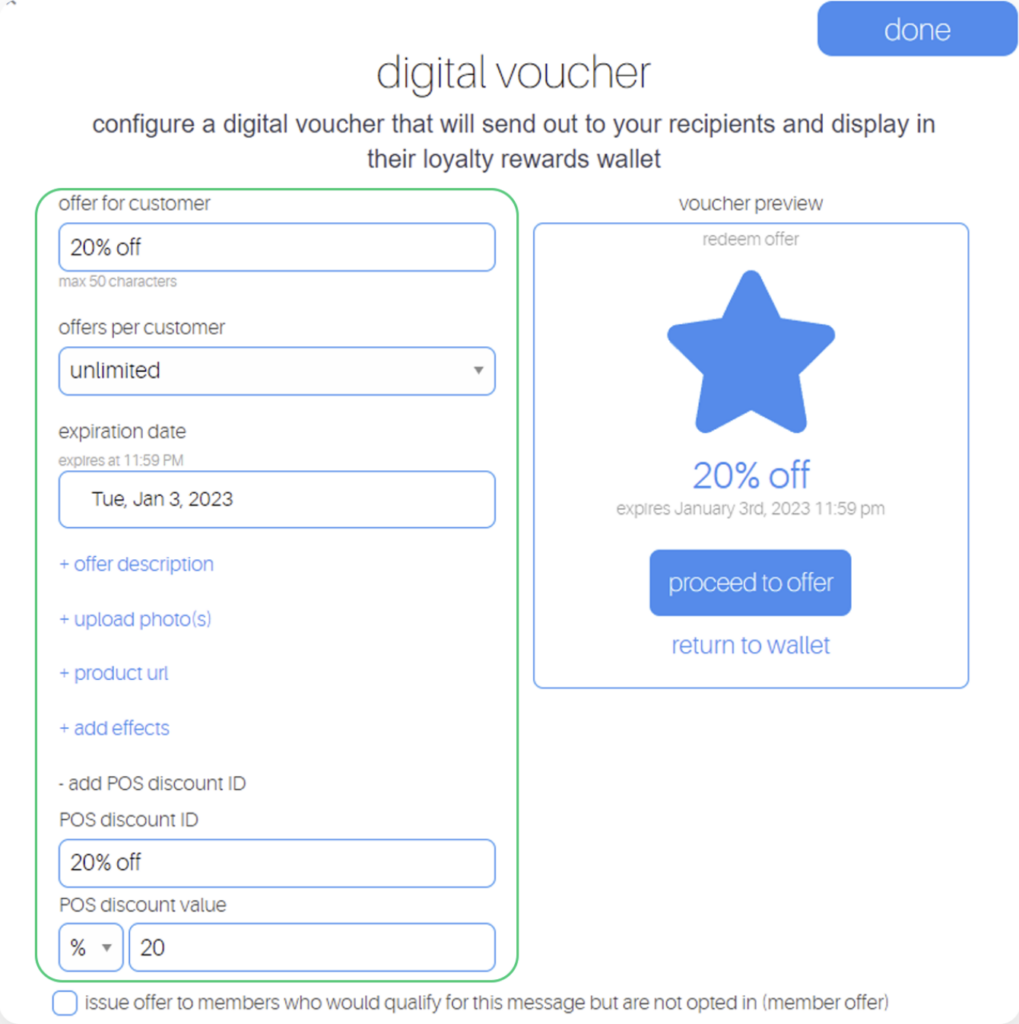
Offer Setup
Step 1. Fill in these required fields on the offer setup
Offer for customer (name should be identical to what’s in Flowhub)
POS discount ID (Third Party ID in Flowhub)
Discount type (% or $)
Discount value
Expiration date (Note: only member and autoconnect offers can be left as zero/omitted.)
Offers per customer
Note: For free item discounts, discount type or discount amount is not required.
Step 2. Ensure offer is saved/completed:
Member offer:
Click active
Click update
Campaign offer:
Click done
Autoconnect offer:
Click done on the bottom
Part 3: Member Creation
This section will display how to create new customers on Flowhub and the data that will be sent to Springbig
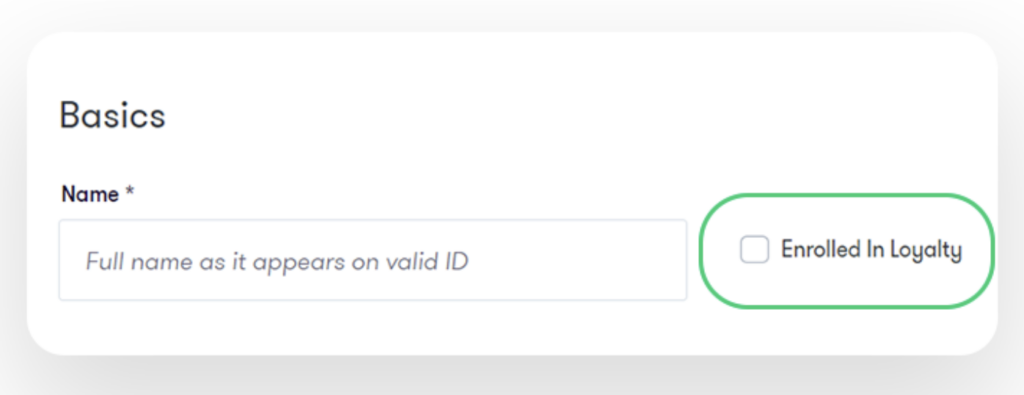
Step 1. Fill in required fields:
a. Name
b. Date of Birth
c. State
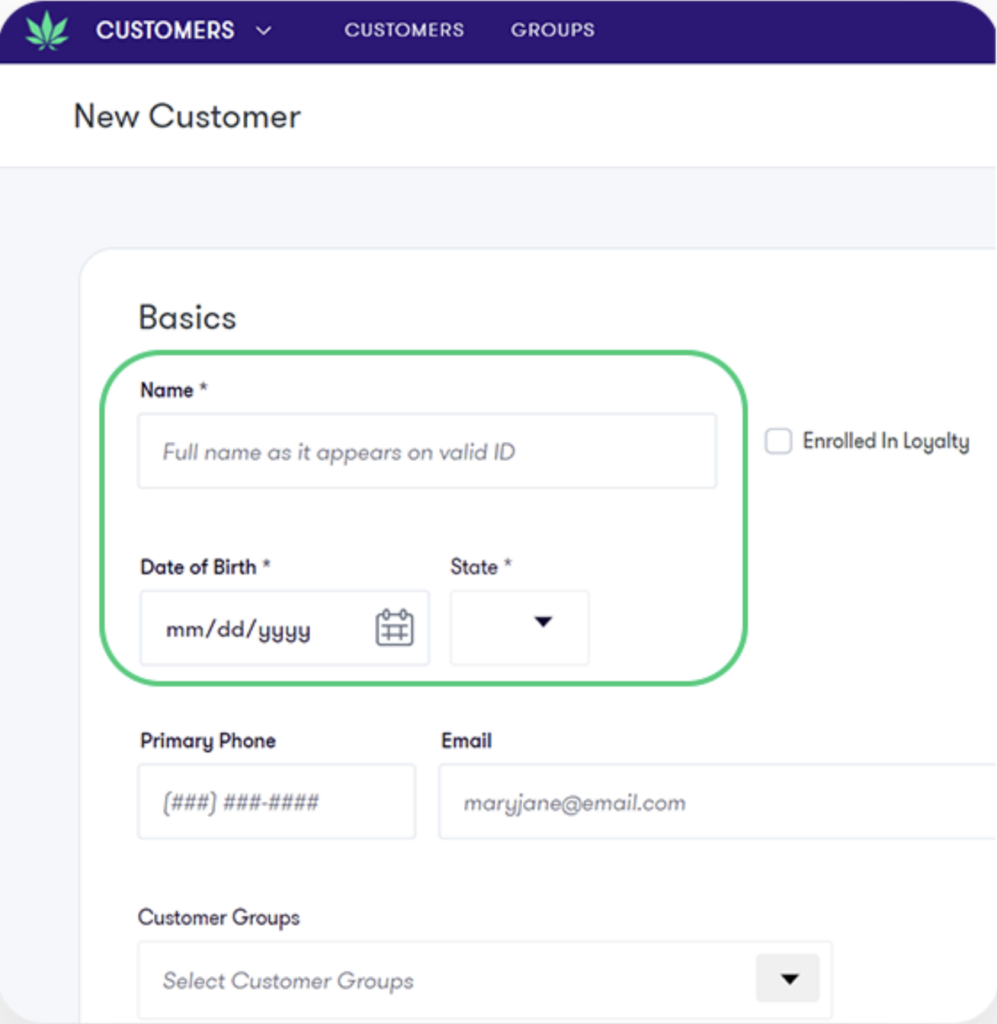
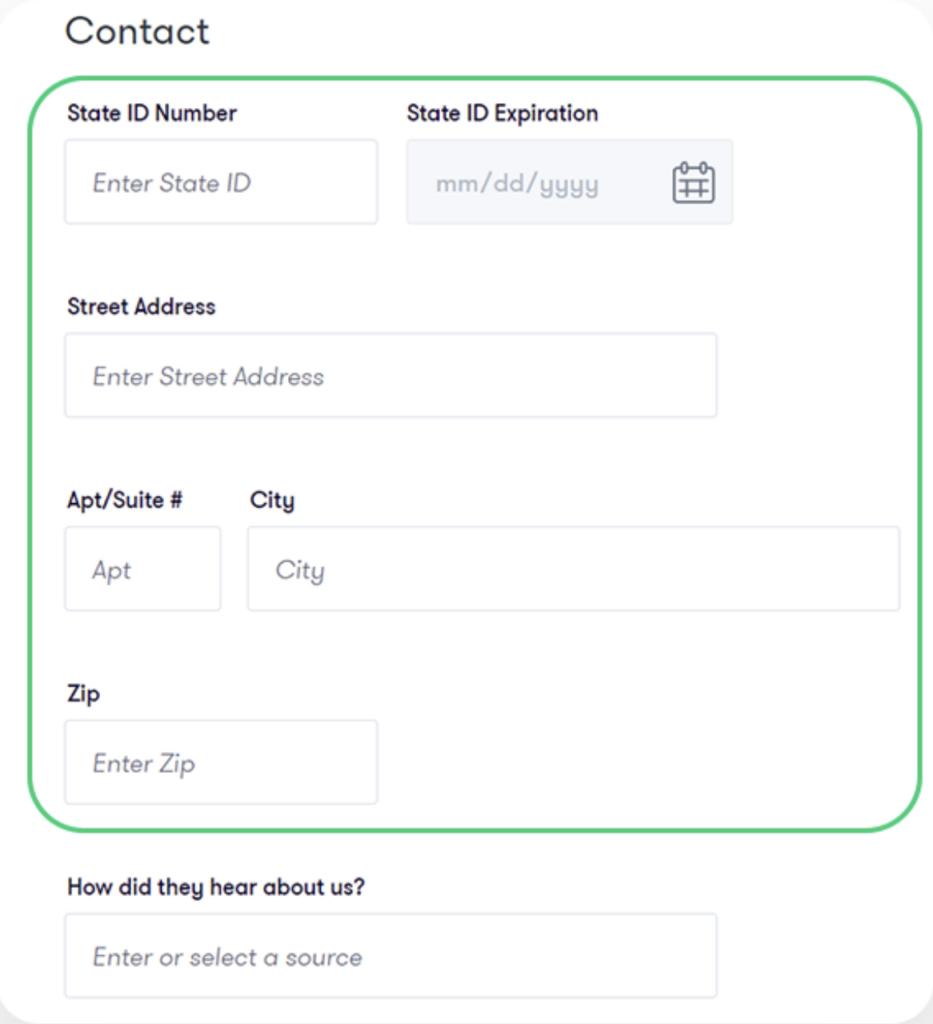
Step 2. Fill in other desired fields
Flowhub integration: retaining data
if auto-retain customer data is enabled by your Flowhub rep
Customers will automatically be retrieved by Springbig after a transaction is processed and the Consents to Data Retention button will not appear
If auto-retain customer data is not enabled by your Flowhub rep
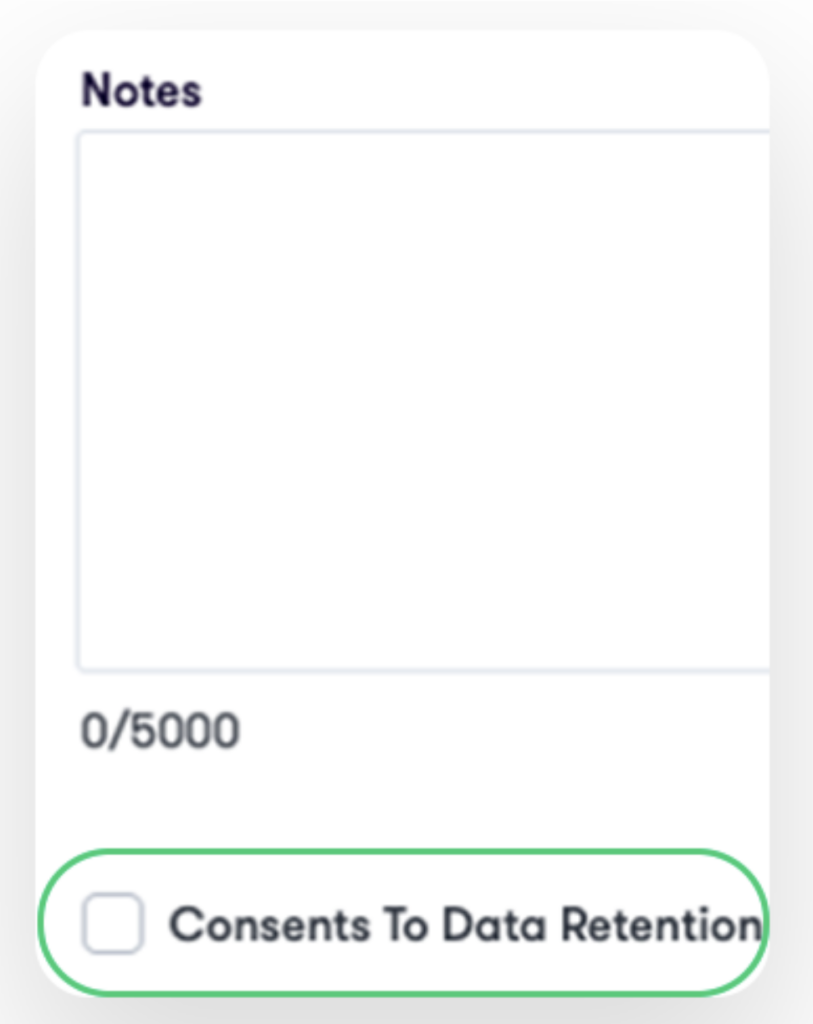
The Consents to Data Retention checkbox will exist and appear
You must select Consents to Data Retention for the member’s information to be retrieved by Springbig
If it is not selected, the transaction will still be retrieved by Springbig, but with no member data attached
Step 3. On the bottom of the Basics profile section, click Consents to Data Retention
Step 4. Click the Enrolled in Loyalty box if desired to send new member to Springbig before processing a visit
Step 5. Click save & check in or save

Member attributes Springbig receives upon a processed visit:
• Phone number
• Email
• First name
• Last name
• Birthday
• Purpose (med or rec)
• Zip code
• Address1
• Address2
• City
• State
Note: Updates only come in organically from a processed visit
Flowhub integration: member push
Only when clicking save & check in and once selected from the queue will the new member be pushed to Springbig.
Member attributes pushed to Springbig:
– First name
– Last name
– Phone number
– Email
– Pos user id
Part 4: Visit Experience
This section will display how to go about processing transactions and redemptions for customers and the data that will be sent to Springbig
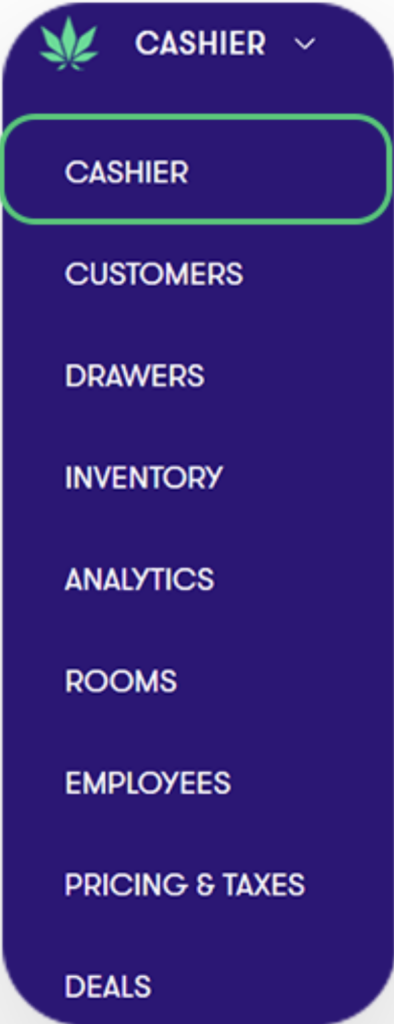
Step 1. Direct to the Cashier page
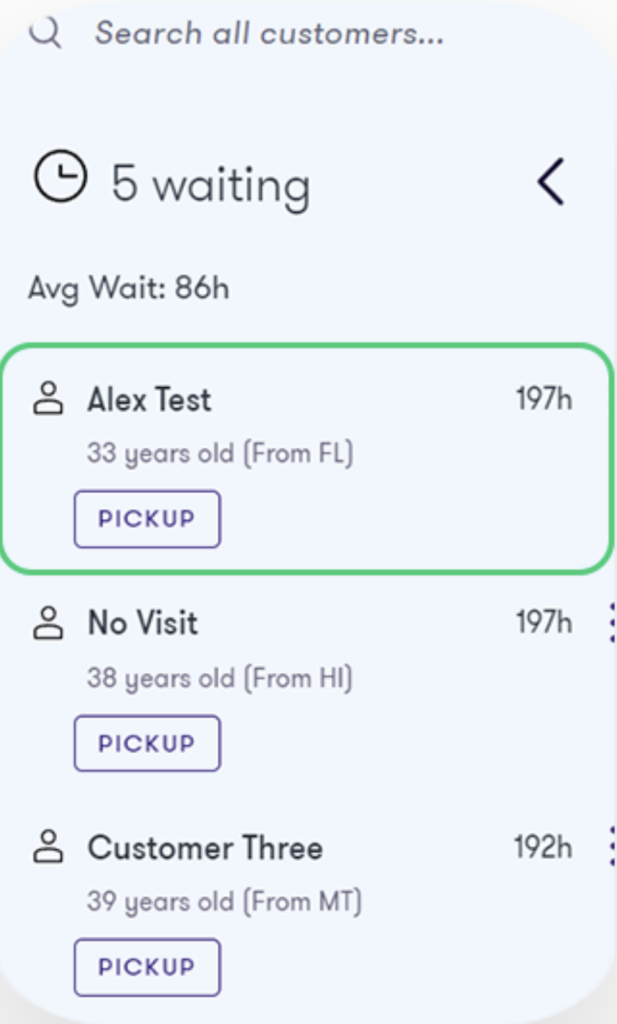
Step 2. Select customer from the queue or search
Step 3. Add products

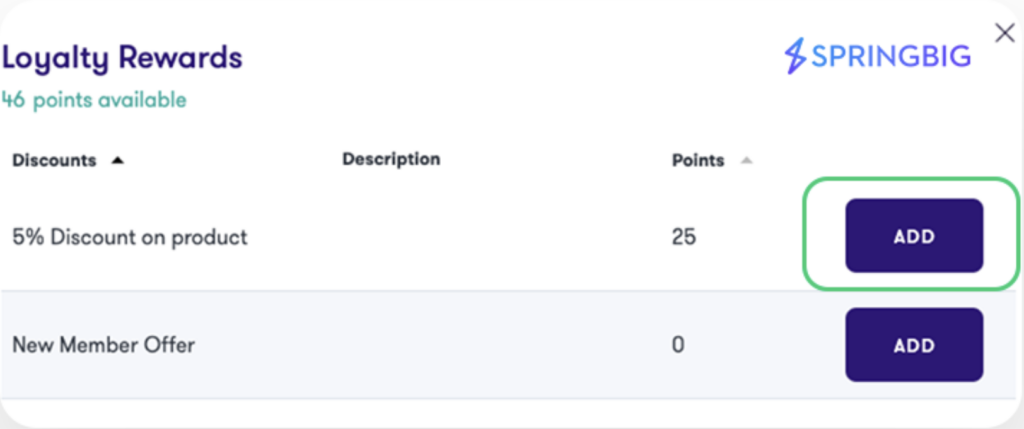
Step 4. If desired, use Springbig loyalty by directing to the right-hand side and click Available Rewards

Step 5. Click ADD to select offer/reward.
Note: Can have multiple redemptions as long as the global loyalty settings are configured accordingly.
Step 6. Click COLLECT PAYMENT
Step 7. Select payment method
Step 8. Enter amount
Step 9. Enter pin
Step 10. Click CHECK OUT
Visit data pulled by Springbig:
– transaction total
– transaction date
– transaction location
– subtotal
– final total
– total taxes
– total discounts
– order type
– sku
– name
– price
– quantity
– category
– brand