Welcome to the Springbig + Dispense First POS Integration Guide!
In this course you will learn about:
The Dispense First POS onboarding and configuration steps
Points for Cash Reward steps
Customer Creation in Dispense First POS
Processing Transactions in Dispense First POS
Processing Refunds/Reversals in Dispense First POS
Let’s get started!
User interface is subject to change at the discretion of your POS provider. For the most accurate and up-to-date information, please consult your POS provider directly.
Part 1: Onboarding
Please reach out to your onboarding specialist/customer success manager regarding issuing an auth token.
Springbig will provide the auth token to Dispense First who will set up the integration internally.
Dispense First POS Integration Guide
Part 2: Points for Cash Reward Configuration
Points for cash reward is set up internally by Springbig and so please reach out to your Springbig onboarding specialist/customer success manager for assistance.
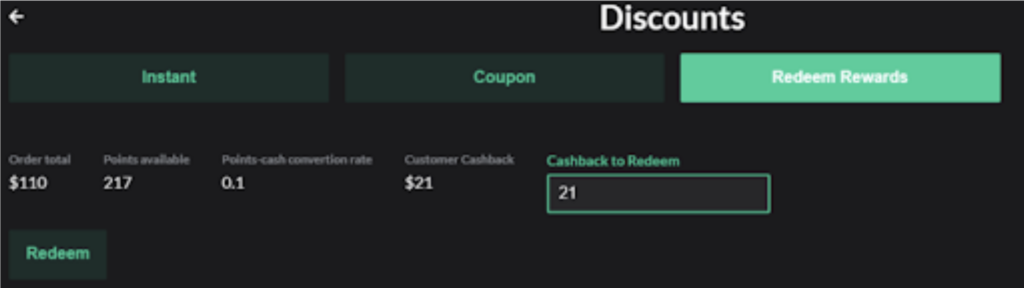
Please mention what conversion rate to set. For example, if a customer has 217 points and the conversion rate is 0.10 (10%), then $21 is available, not $21.7 since it doesn’t include the decimal value.
NOTE: A. Discount is applied to the subtotal. Applies to the cart and does not support line item discounts. B. Only one points for cash reward can be set up. C. Dollars($)/Percentage(%) off rewards and offers are not supported, only points for cash rewards.
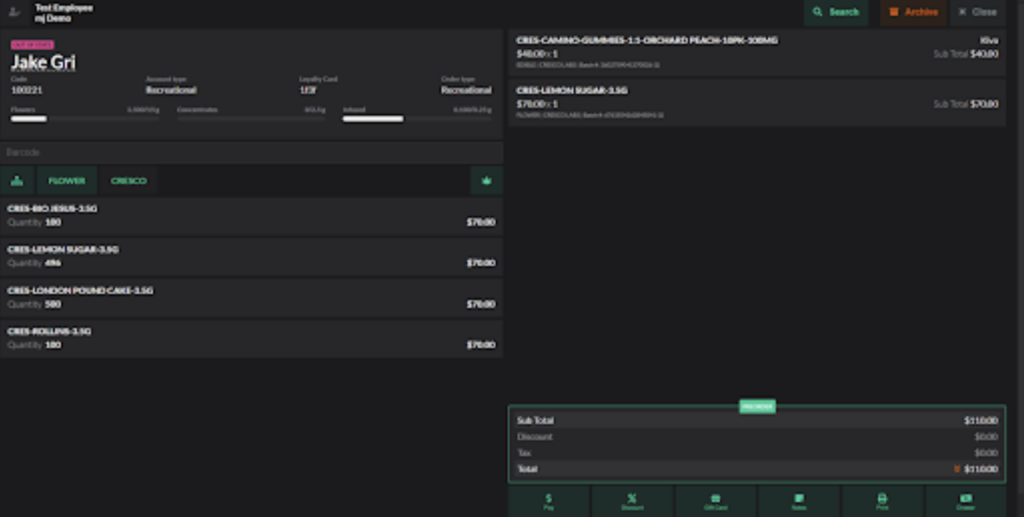
1. To apply a points for cash reward, click Discount on the bottom
2. Enter the desired amount to apply and then click Redeem
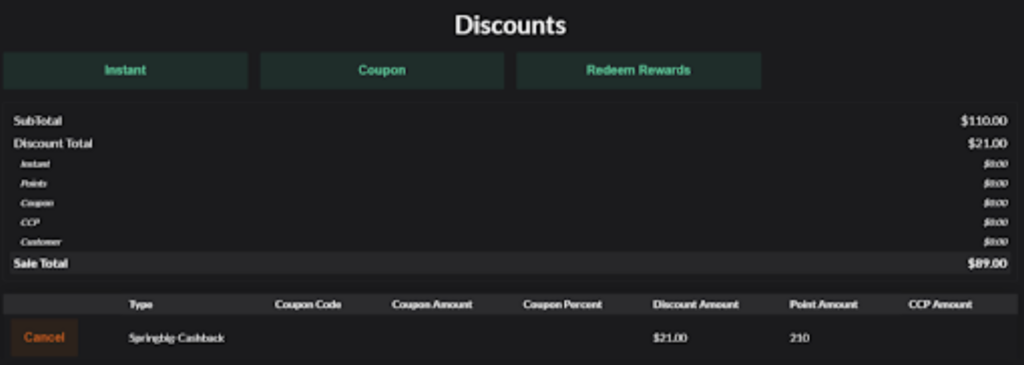
3. To remove an applied points for cash reward, click Discount and then click Cancel
Part 3: Customer Creation
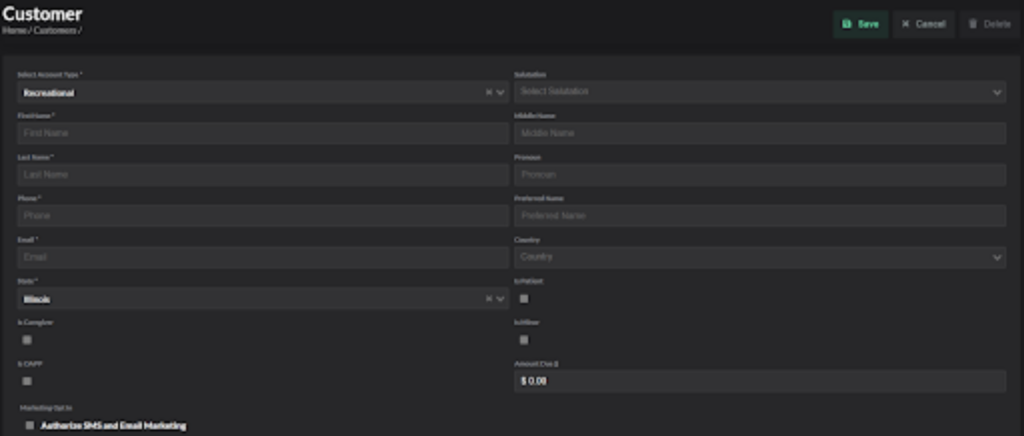
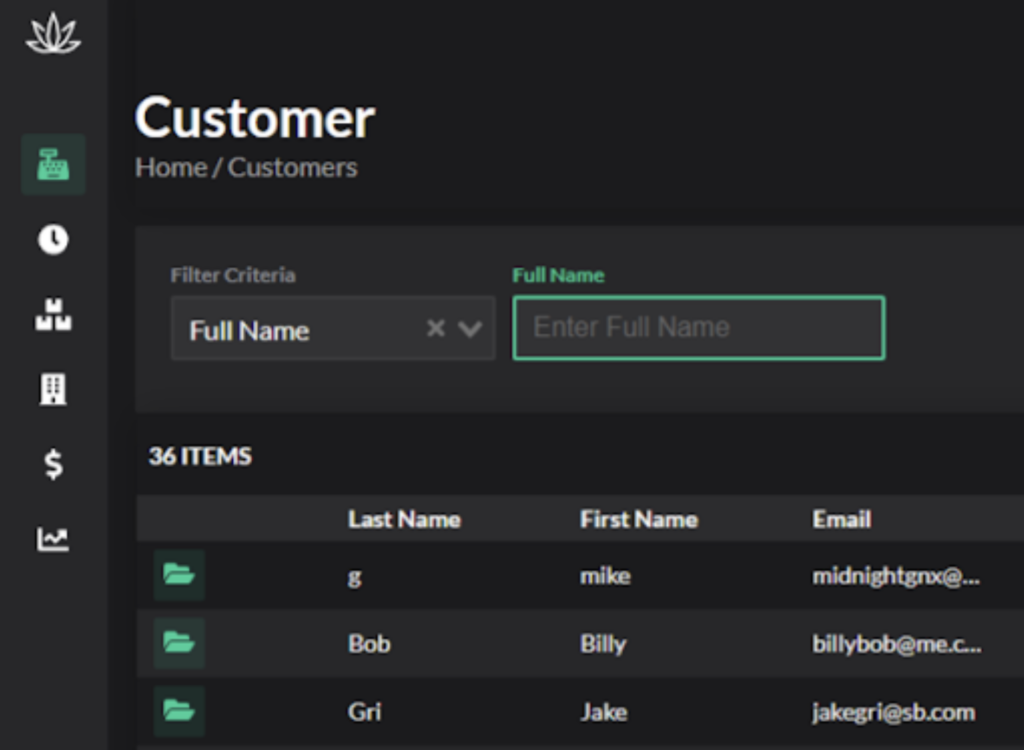
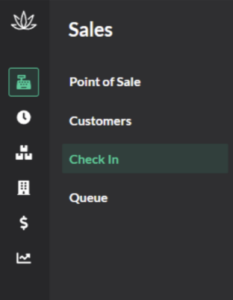
1. Navigate to the left-hand menu and click Customers under the Sales tab
2. Click Add on the top-right
Fill in required fields:
Select Account Type
First name
Last name
Phone
Email
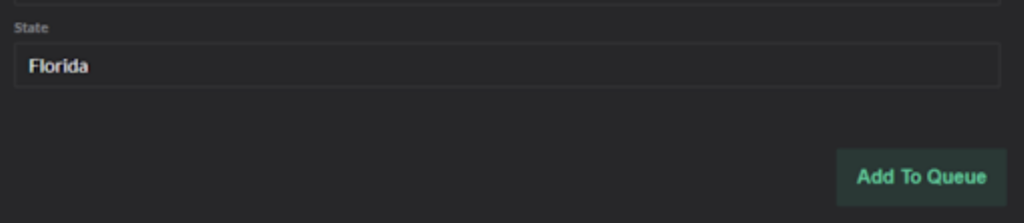
State
Check the “Authorize SMS and Email Marketing” to provide explicit consent opting in. NOTE:
This is not a requirement but if this is not checked, the customer won’t be opted into SMS/email for the time being and would have to opt in via Springbig afterwards.
Not checking the box still sends customer and transaction data.
The opt-in box cannot be updated after customer creation.
Cannot update the checkbox after customer creation.
4. Click Save on the top-right which will then immediately send the profile to Springbig.
5. Springbig receives these fields upon customer creation:
First name
Last name
Phone number
Email
SMS enrollment
Email enrollment
Address1
City
Zip
Purpose (med/rec)
POS user ID
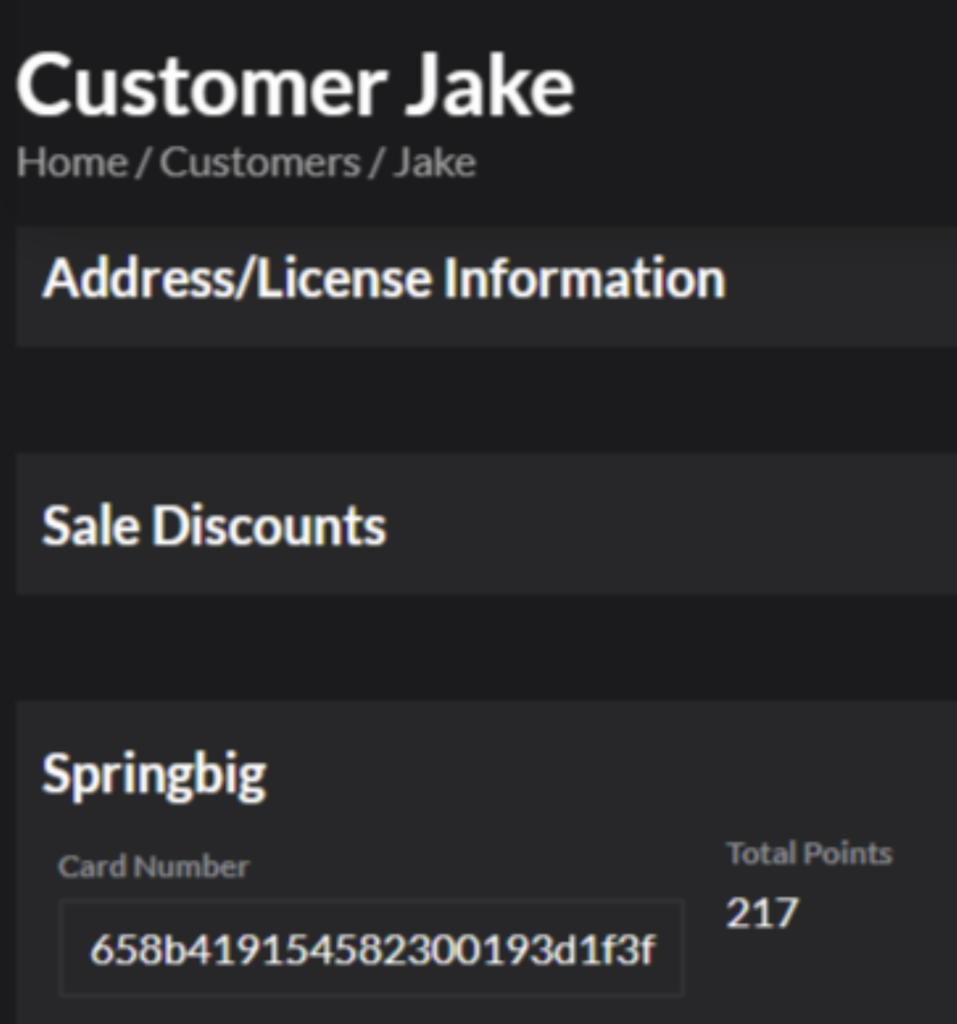
6. To view the point balance or the POS user ID (AKA customer ID) if ever needing it to provide to Springbig, select the intended customer, scroll to the bottom and click Springbig.
7. Customer updates will send upon clicking Save.
NOTE: Please keep in mind that the same phone number (not email) can be used for more than one profile and so if there are two profiles with the same phone number, they will merge under one Springbig profile and share the same point balance.
Part 4: Processing Transactions
1. Direct to the Customer page and select a customer by clicking the folder icon next to the intended customer.
2. On the top-right, click Check In.
3. Scroll to the bottom and click Add to Queue.
4. Click the Sales tab via the left-hand menu and then click Point of Sale.
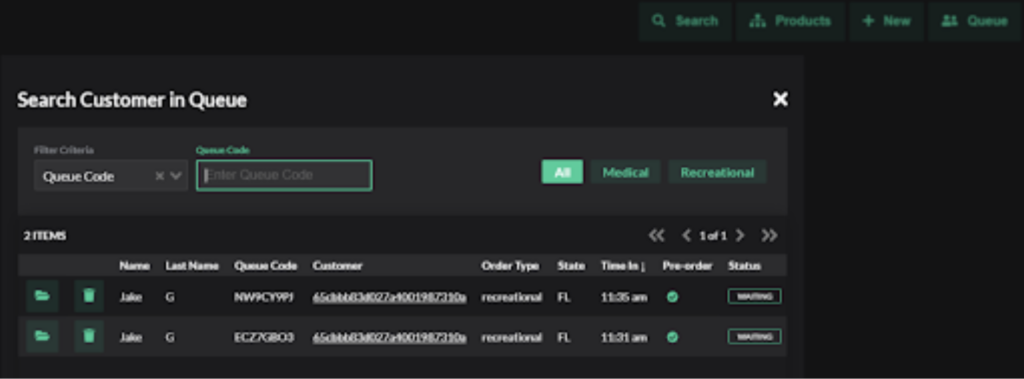
5. On the top-right click Queue and then select the customer by clicking the folder icon.
6. Another method to check in a customer is to go to the Point of Sale page, click +New, click customer next to the search bar and then select a customer.
7. Add items to the cart.
8. To process a transaction:
Click Pay on the bottom.
Select a payment method.
Click Post.
9. Springbig receives these transaction fields:
Transaction total
Transaction date
Pos_user
Pos_id
Subtotal
Final total
Total discount
Price
Quantity
Sku
Name
Category
Brand
Total price
Order source
Payment method
Location
Total taxes
Part 5: Refunds/Reversals
*Voids are not supported*
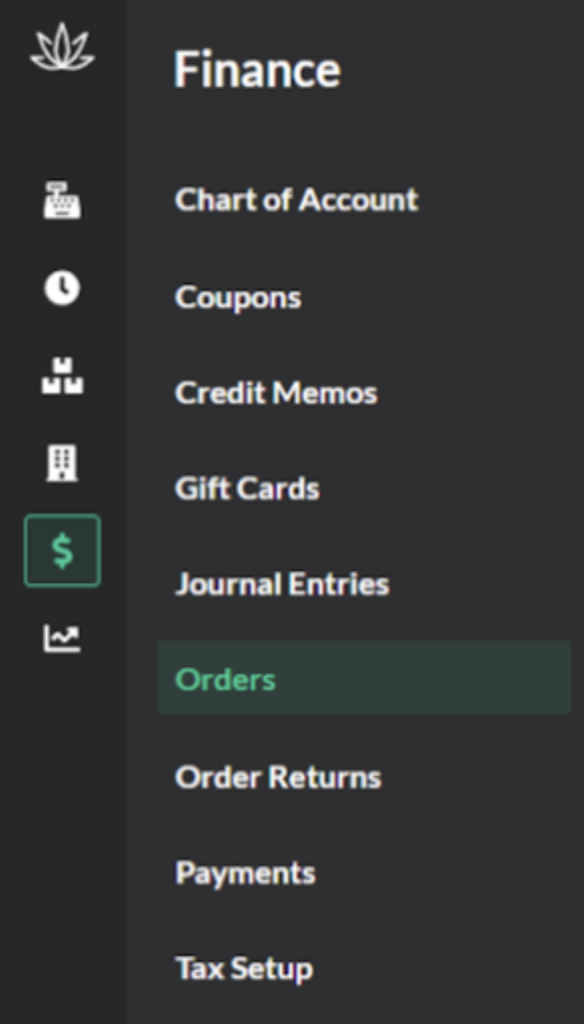
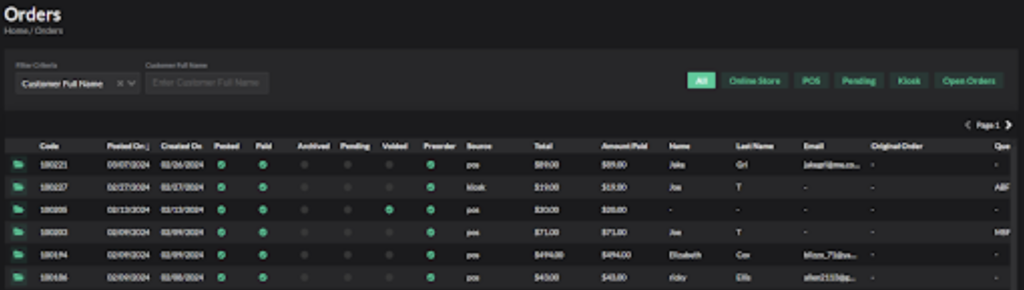
1. Direct to the Finance tab on the left-hand menu and then click Orders.
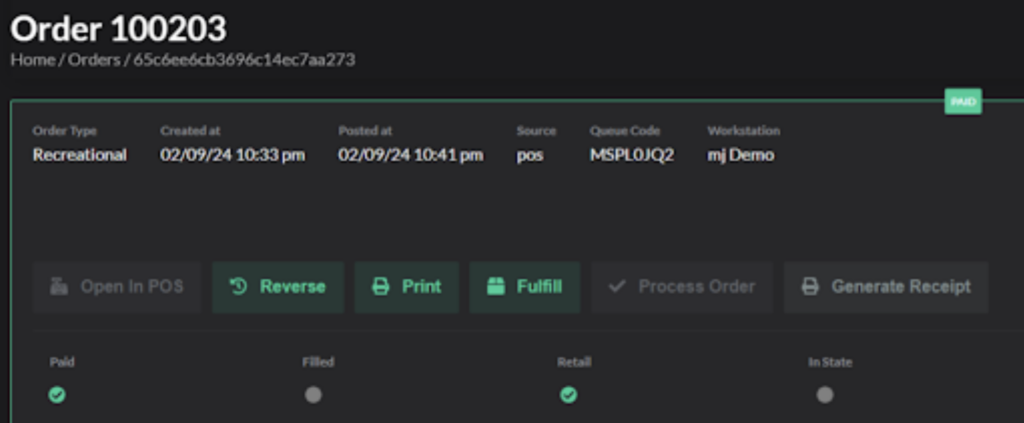
2. Select an order by clicking on the file icon and then click Reverse.
3. Upon clicking Reverse, it’s immediately refund the processed transaction and the points for cash reward (if there was one redeemed).
4. It’d then direct to the POS copying the cart details from the previous transaction that was just reversed/refunded.