Welcome to the Springbig + Profitek POS Integration Guide!
In this course you will learn more about:
The Profitek installation process
The member experience
The visit experience
Processing refunds
The voiding process
How to sync historical transactions
Let’s get started!
Springbig + Profitek Integration Guide
User interface is subject to change at the discretion of your POS provider. For the most accurate and up-to-date information, please consult your POS provider directly.
Part 1: Installation
Please reach out to your account manager regarding your auth token. Note: One auth token issued per Profitek account.
In Profitek, navigate to the Springbig tab on the top menu
Next, click Upload Sales Transaction Parameter
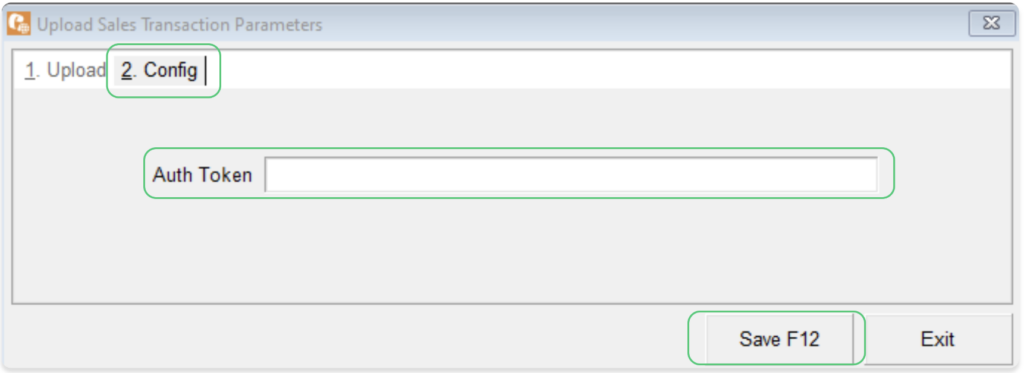
then, select the Config sub-tab
Insert your auth token (ensure there are no spaces before or after)
Click Save F12
Part 2: Member Creation
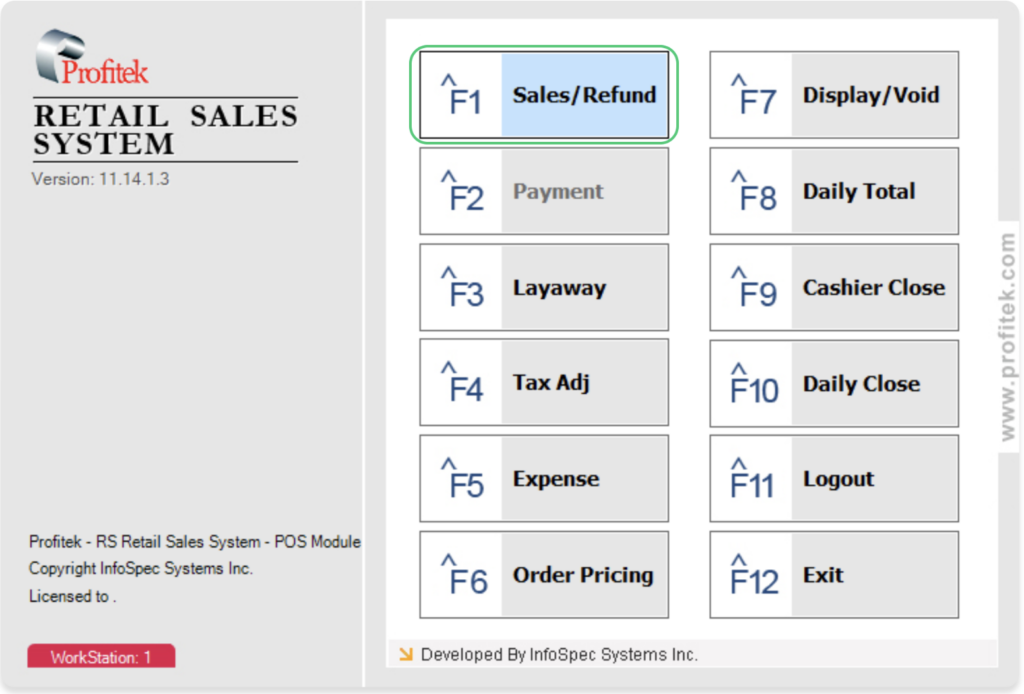
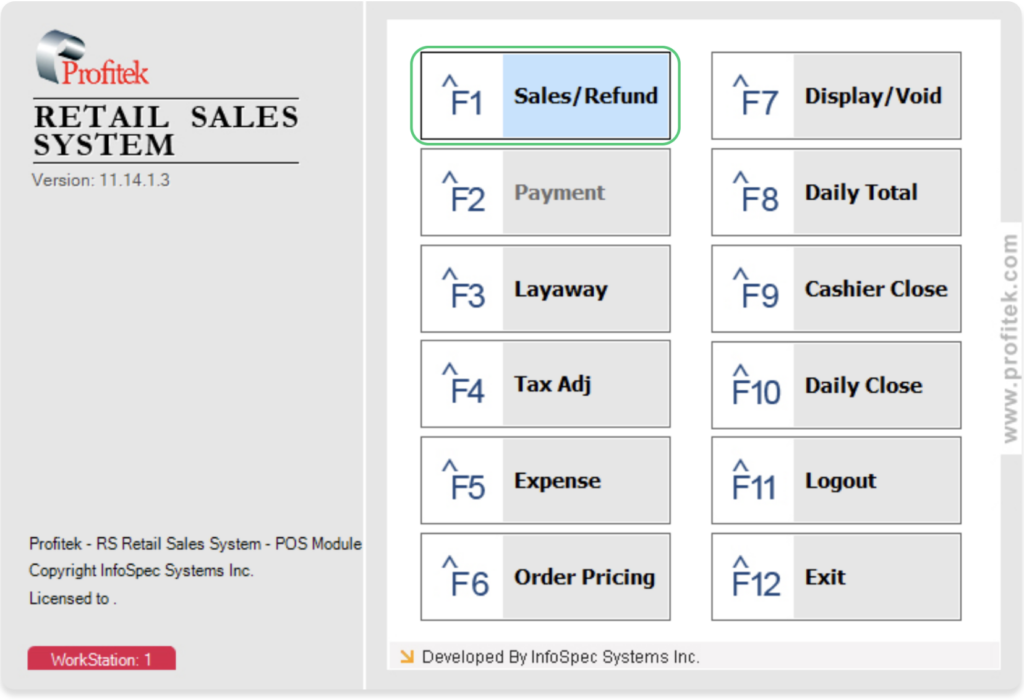
1. On the main screen, click Sales/Refund
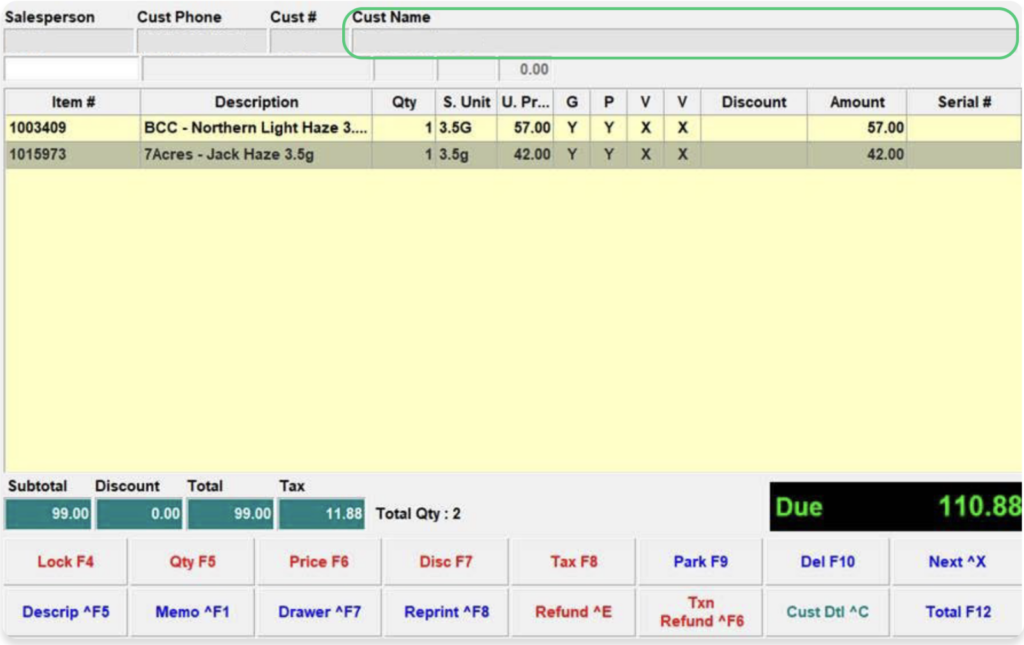
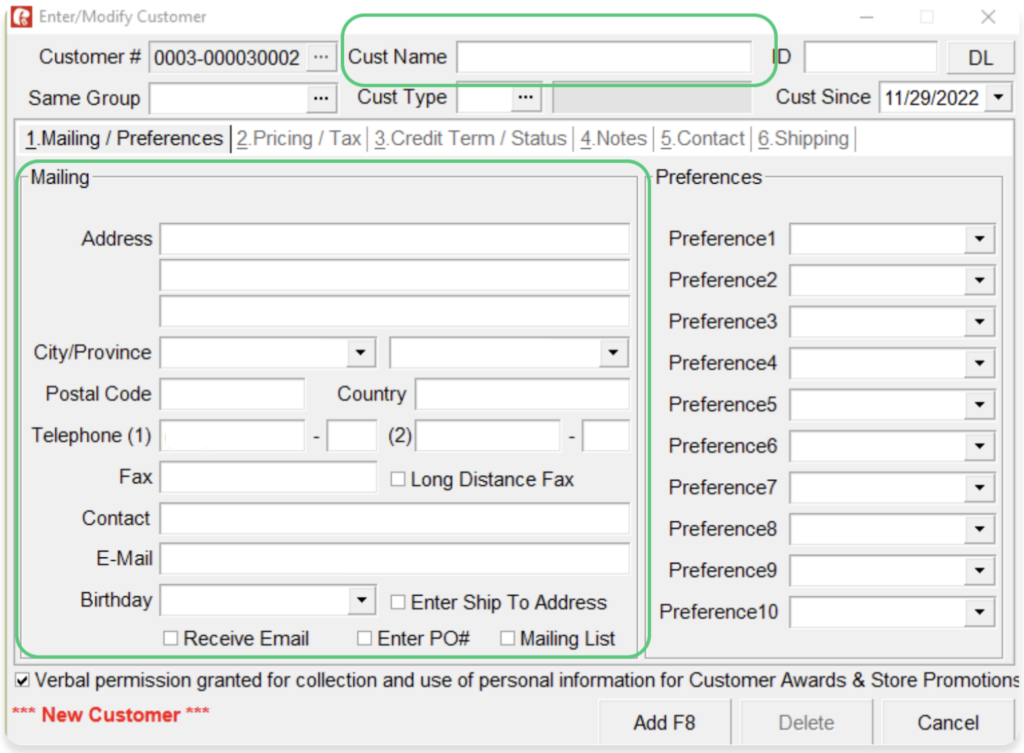
2. On the top of the POS page, enter the customer name or phone number. If it’s a new customer, the profile pop-up will be displayed, to fill in any additional customer information.
3. For the full name to properly send, ensure to parse by adding in the following order
The last name
A comma
A space after the comma
The first name
For example, {last_name}, {first_name}
4. Next, click Add F8
5. The following member attributes will send to Springbig:
First name
Last name
Address1
Address2
City
Postal code
Email
Phone number
Birthday
Note: Members only send after the transaction is processed. Ensure the member is tagged to the transaction.
Part 3: Visit Experience
1. On the main screen, click Sales/Refund
2. Direct to the top of the POS adding either the phone number or customer name
3. Add items to cart
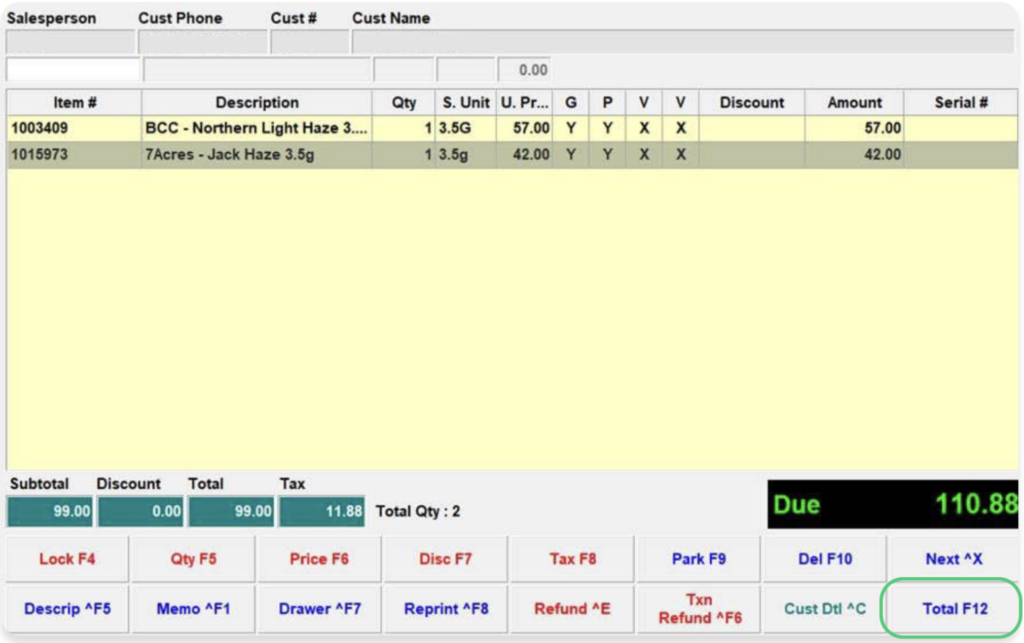
4. Once ready to checkout, click Total F12 on the bottom right
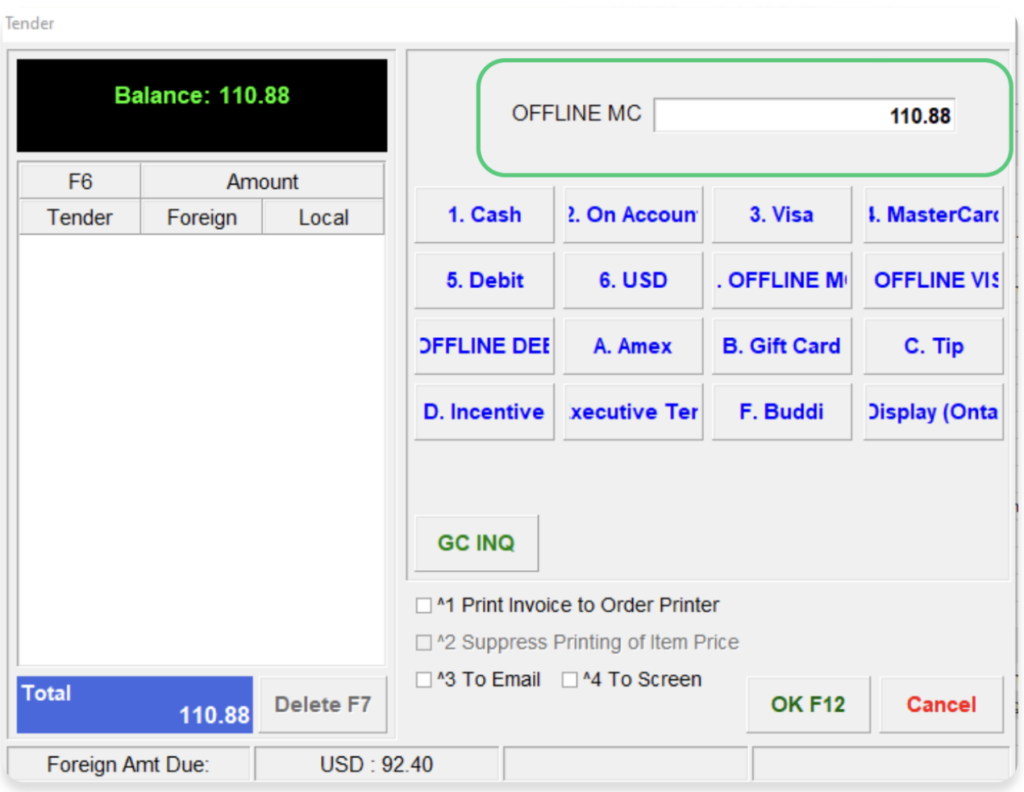
5. Enter amount
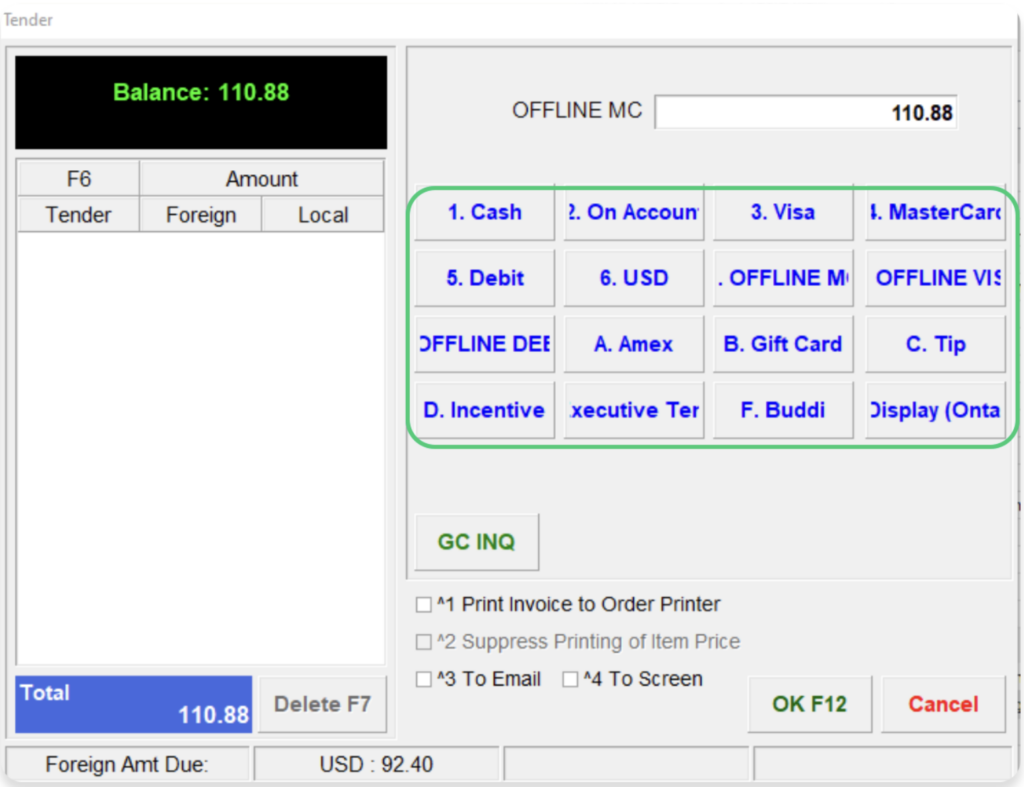
6. Select payment method
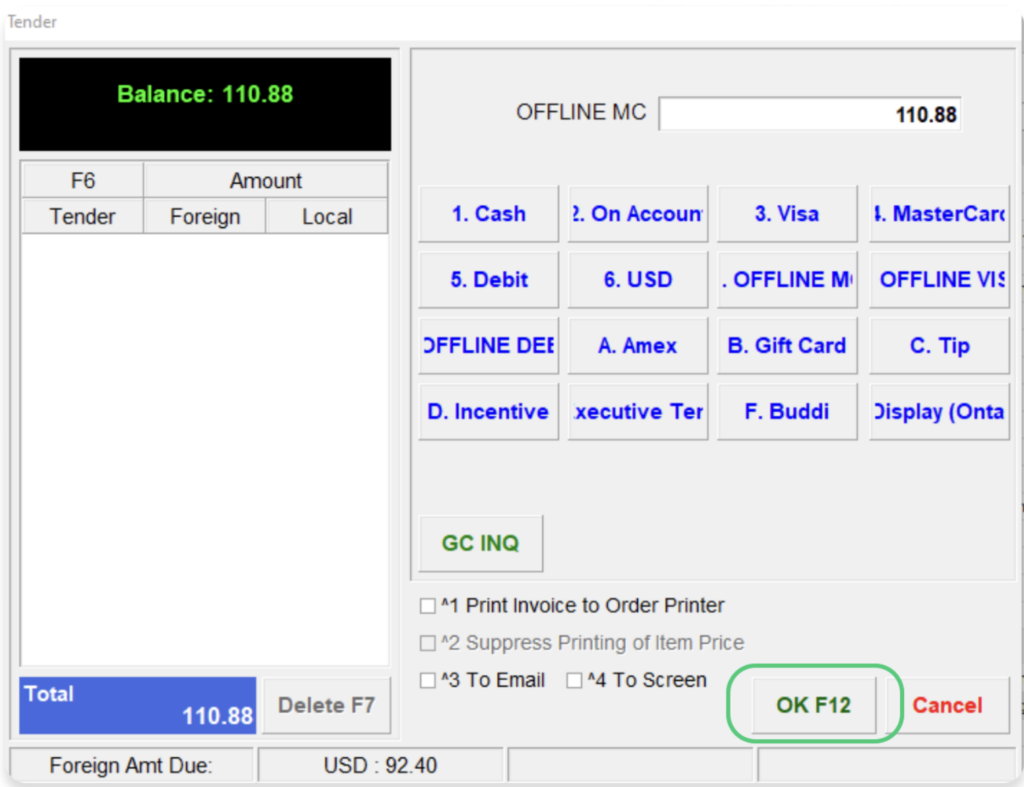
7. Click OK F12
8. The following visit attributes will send to Springbig:
Full name
Location
Order source
Transaction total (NOTE: points are issued pre-taxes)
Final total
Subtotal
Total taxes
Product name
Category
Brand
Item price
Total Price
Quantity
Sku
Unit of weight
Payment method
Amount currency
Pos user id
Pos visit id
Part 4: Refunds
1. On the main screen, click Sales/Refund
2. Direct to the Txn Refund ^F6 button on the bottom of the sales screen:
Enter intended invoice
Select which items
3. Or enter a negative quantity on the sales screen to process refund:
Add intended items to refund
Click the Qty F5 button on the bottom left
Enter negative quantity
Part 5: Voids
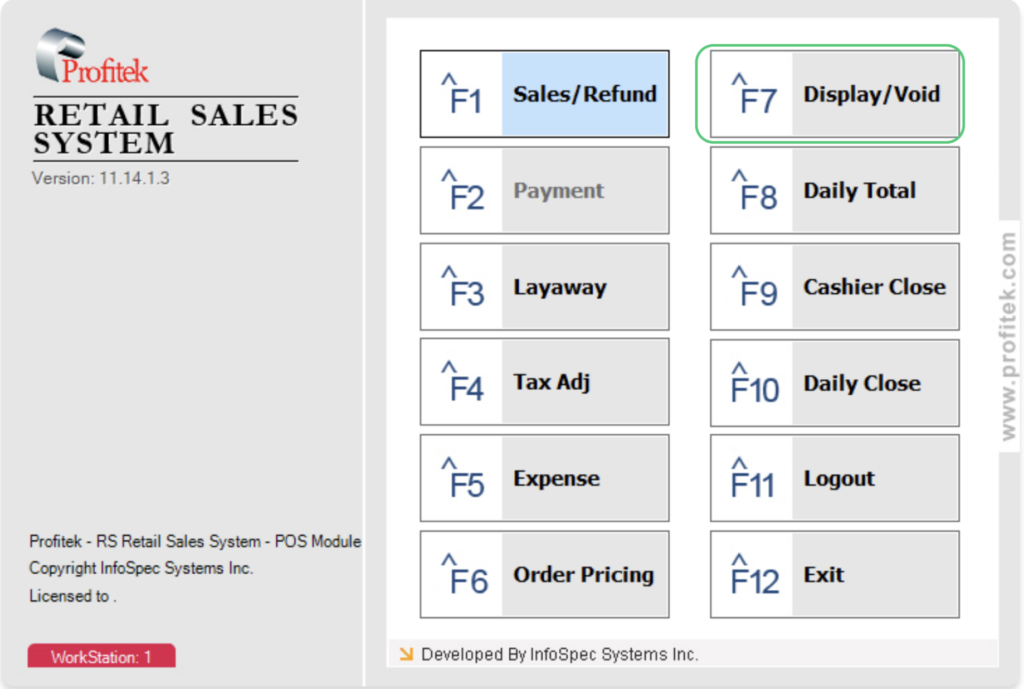
1. On the main screen, click Display/Void
2. Select the intended transaction
3. Click Void F10
Note: Ensure to void a transaction before your daily close has been processed.
Part 6: Syncing Historical Transactions
Direct to the Springbig tab on the top menu
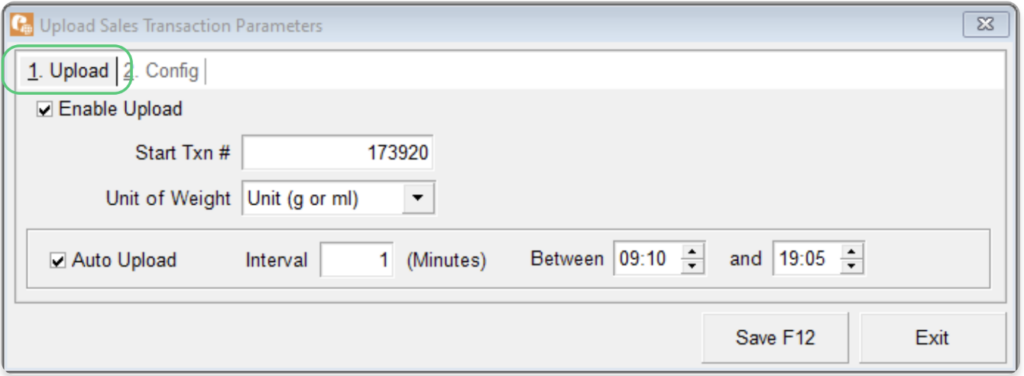
Click Upload Sales Transaction Parameter
Click the Upload sub-tab
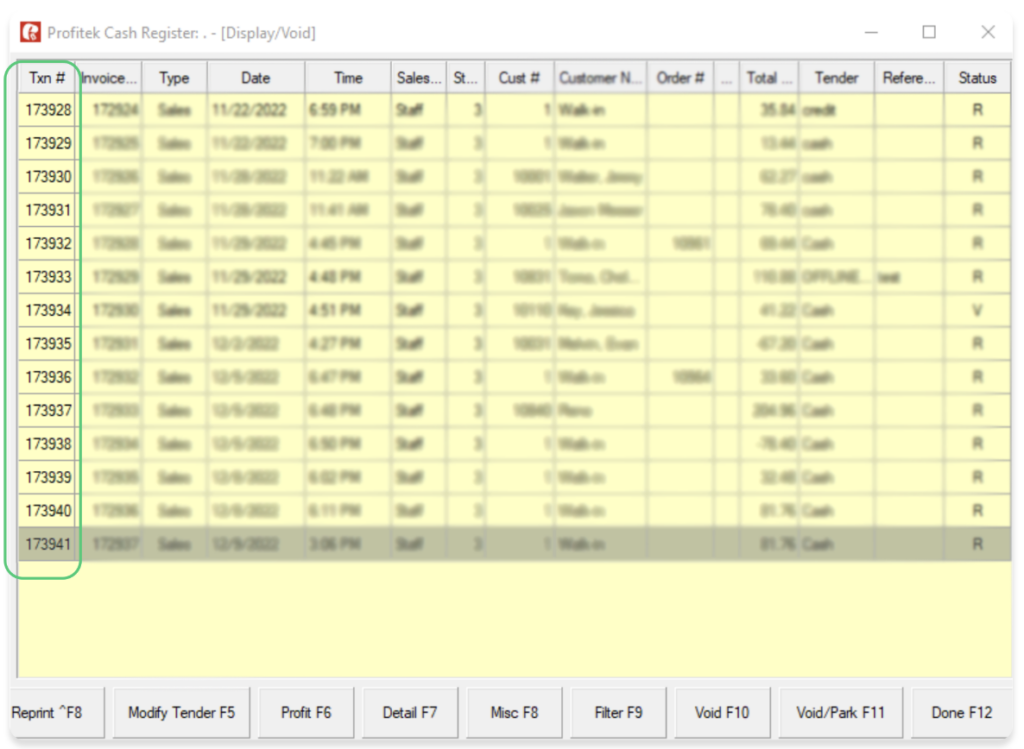
4. Enter theTxn # (transaction id) which can be found:
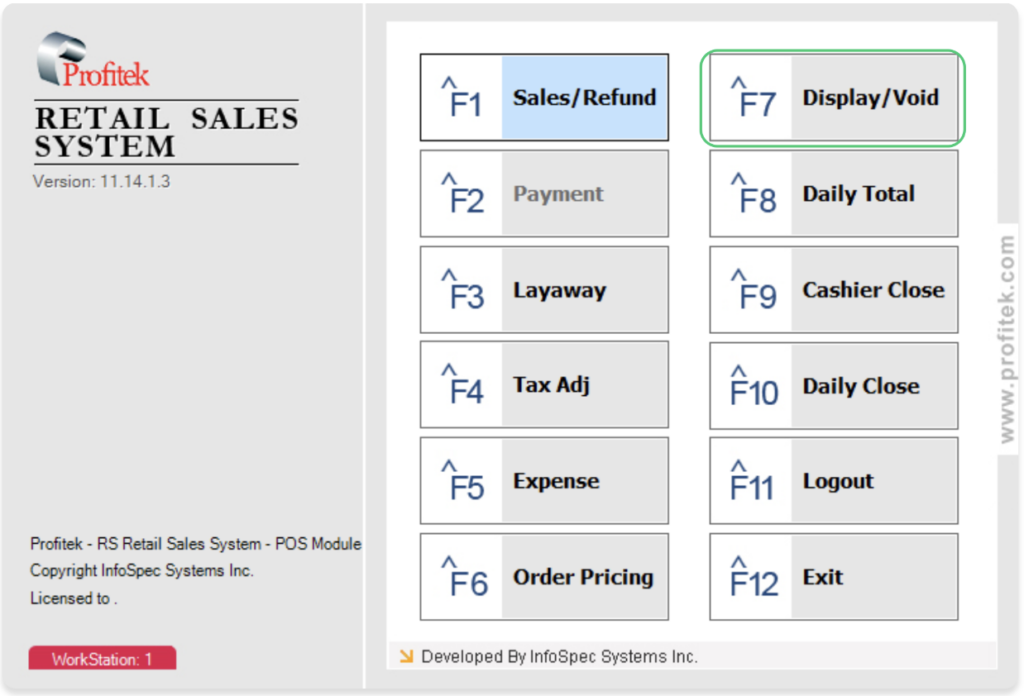
– On the main screen, click Display/Void
– On the furthest left column, select intended Txn #
5. Ensure to select the transaction when to start the historical transaction sync.
For example, if the desired timestamp is 1/11/2023 9:00 AM, then select the Txn # for that timestamp. The selected Txn # will send along with all visits following that transaction
6. Enter desired time window
7. Click Save F12
Note: Ensure the intended Txn # since it cannot be modified afterwards.