Welcome to the Springbig + IndicaOnline Integration Guide!
In this course you will learn about:
The IndicaOnline installation process
The member experience & patient groups
Let’s get started!
Springbig + IndicaOnline Integration Guide
User interface is subject to change at the discretion of your POS provider. For the most accurate and up-to-date information, please consult your POS provider directly.
Part 1: Installation
Please reach out to your onboarding specialist/customer success manager regarding issuing auth token(s). Indica Online will internally enable the Springbig integration upon confirming the integration.
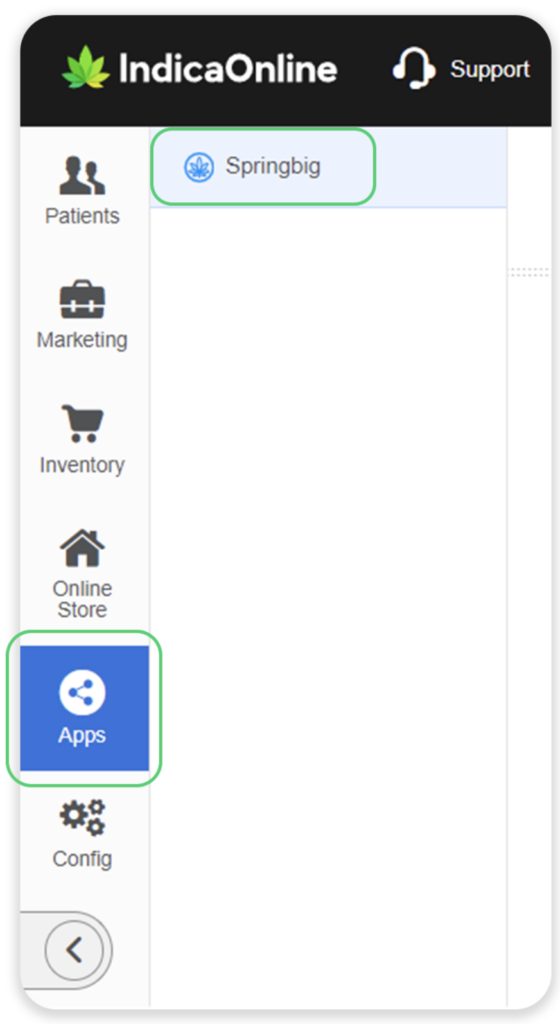
Direct to the main menu on the left, click Apps
Next, click Springbig
3. On the next screen, click the Link To Springbig button
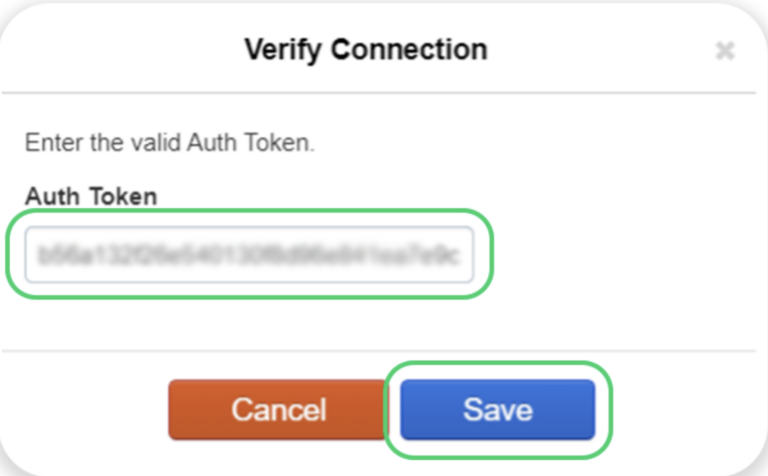
4. Via the Auth Token field, input the Springbig auth token. Ensure there are no edits such as spaces before or after.
5. On the popup screen, click the Save button
Part 2: Member Experience
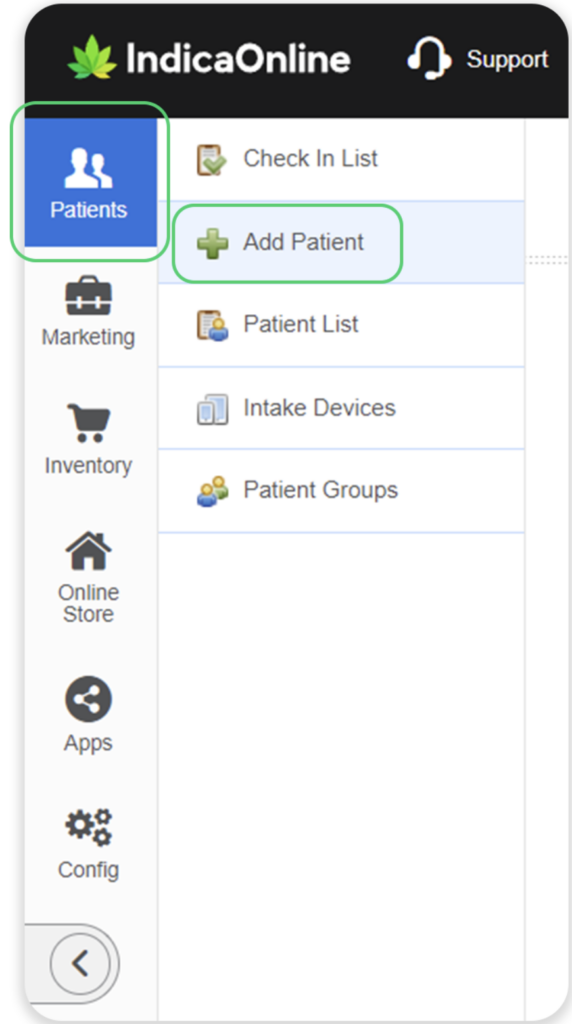
Direct to the menu on the left and click Patients
Next, click Add Patient
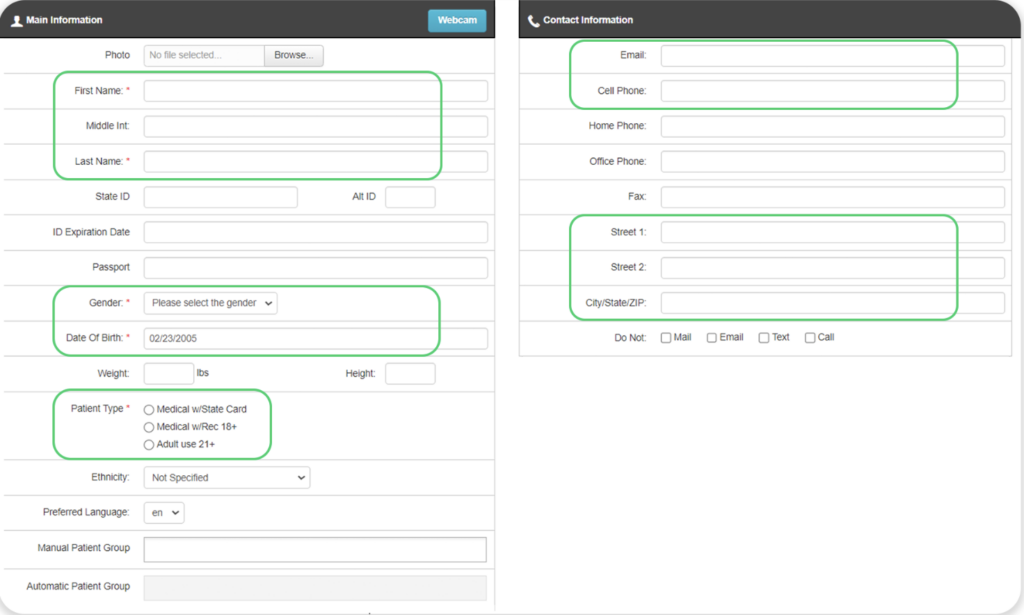
3. Next, fill in the required fields:
First name
Last name
Gender
Date of birth
Patient Type
Then, fill in other desired fields
4. Then, fill in other desired fields
5. NOTE: Only email enrollment is respected.
6. Finally, click Create Profile to save the member
7. The profile will be sent with the following attributes:
First name
Last name
Address 1
Address 2
City/State/Zip
Birthday
Email
Phone number
POS user
Med/rec (purpose)
Gender
Email enrollment
Medical card expiration
8. The same attributes are sent for updates, too
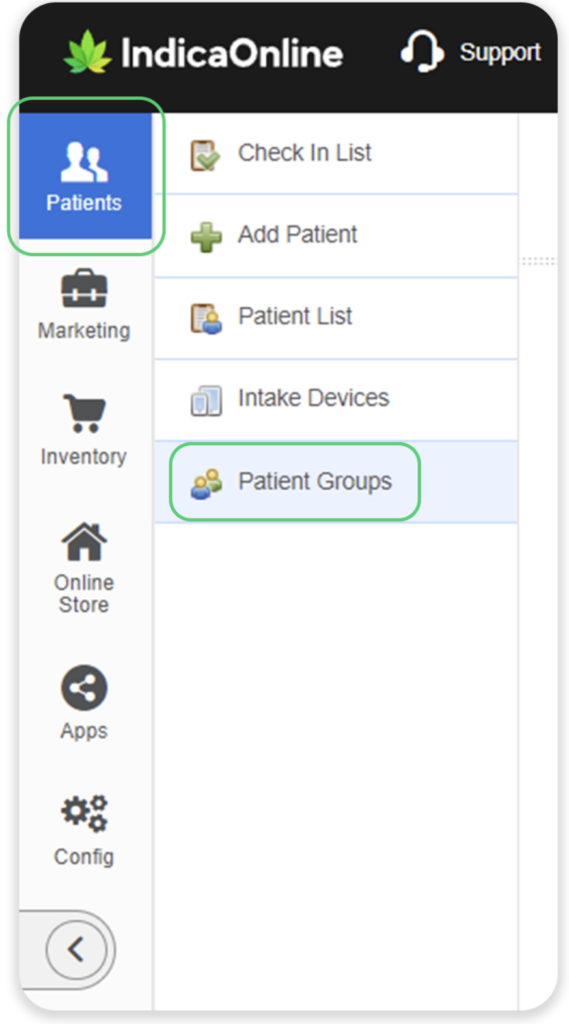
1. Direct to the menu on the left and click Patients
2. Next, click Patient Groups
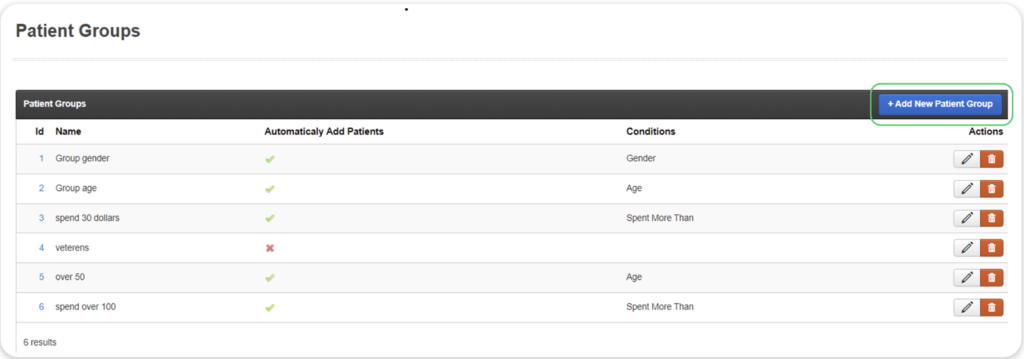
Patient Groups
3. On the next screen, click + Add New Patient Group
4. Disabling automatic add for the patient group enforces to manually add a patient to the desired custom group:
When editing a patient, select a Manual Patient Group from the provide options
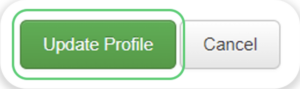
2. After making your selection, click the Update Profile button
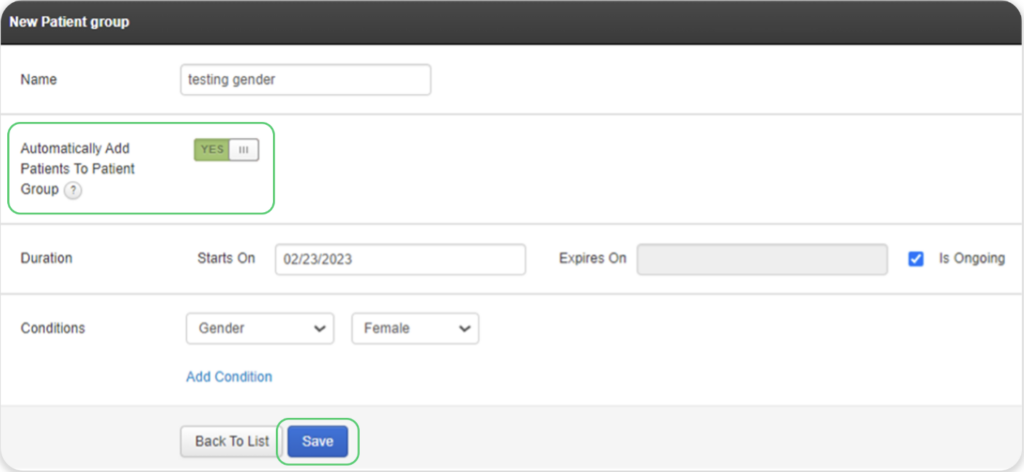
5. For a more dynamic experience adding patients to groups, toggle and enable Automatically Add Patients To Patient Group
Configure the duration and conditions as desired
Then, click the Save button
6. Send the patient group directly to Springbig without waiting for the automatic nightly groups sync by navigating to Apps, then Springbig:
Click Show Sync Parameters
Select desired parameters to send to Springbig
Then, click the Start Sync button
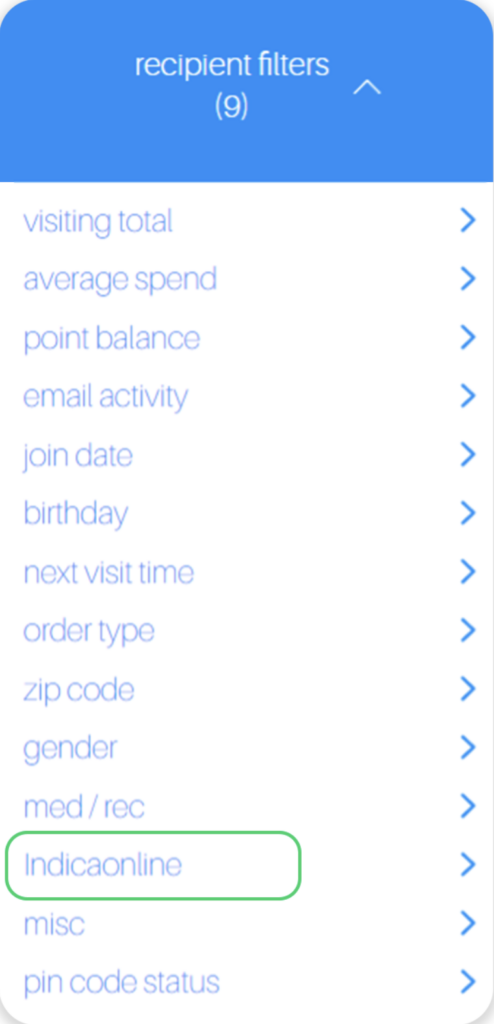
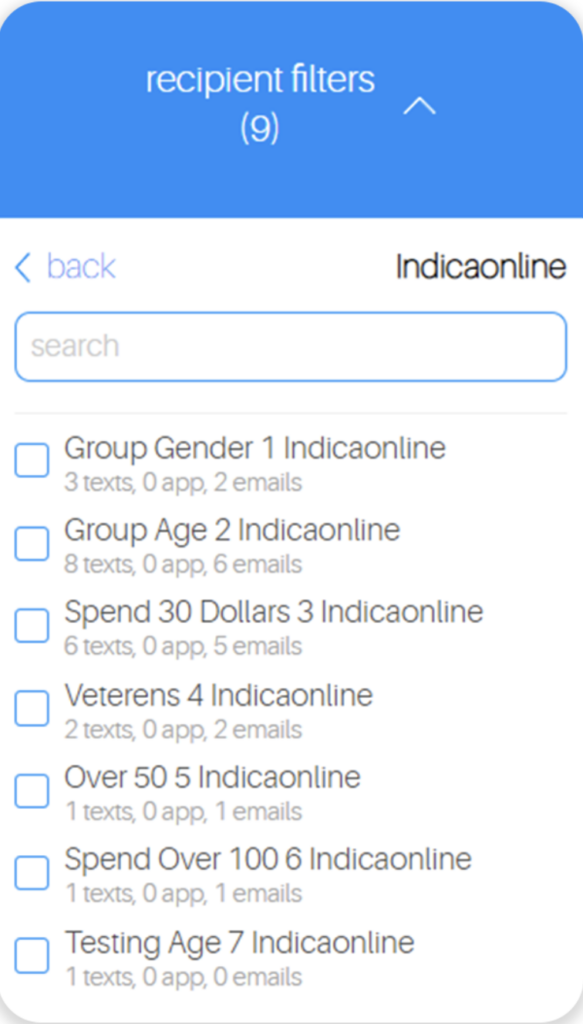
7. Groups and members will then sync in Springbig momentarily along with populating patients in the groups