Welcome to the Springbig + Dutchie POS Integration Guide!
In this course you will learn about:
The Dutchie POS onboarding and configuration steps
Configuring discounts
The Dutchie POS visit flow
The member sign up process
Processing redemptions
Let’s get started!
Dutchie POS Integration Guide
User interface is subject to change at the discretion of your POS provider. For the most accurate and up-to-date information, please consult your POS provider directly.
Part 1: Onboarding Steps
Please reach out to your Dutchie representative to have Springbig enabled before your launch date. Also, if using Springbig loyalty, let them know to disable all Dutchie POS loyalty, otherwise, the overall Springbig loyalty experience won’t function properly
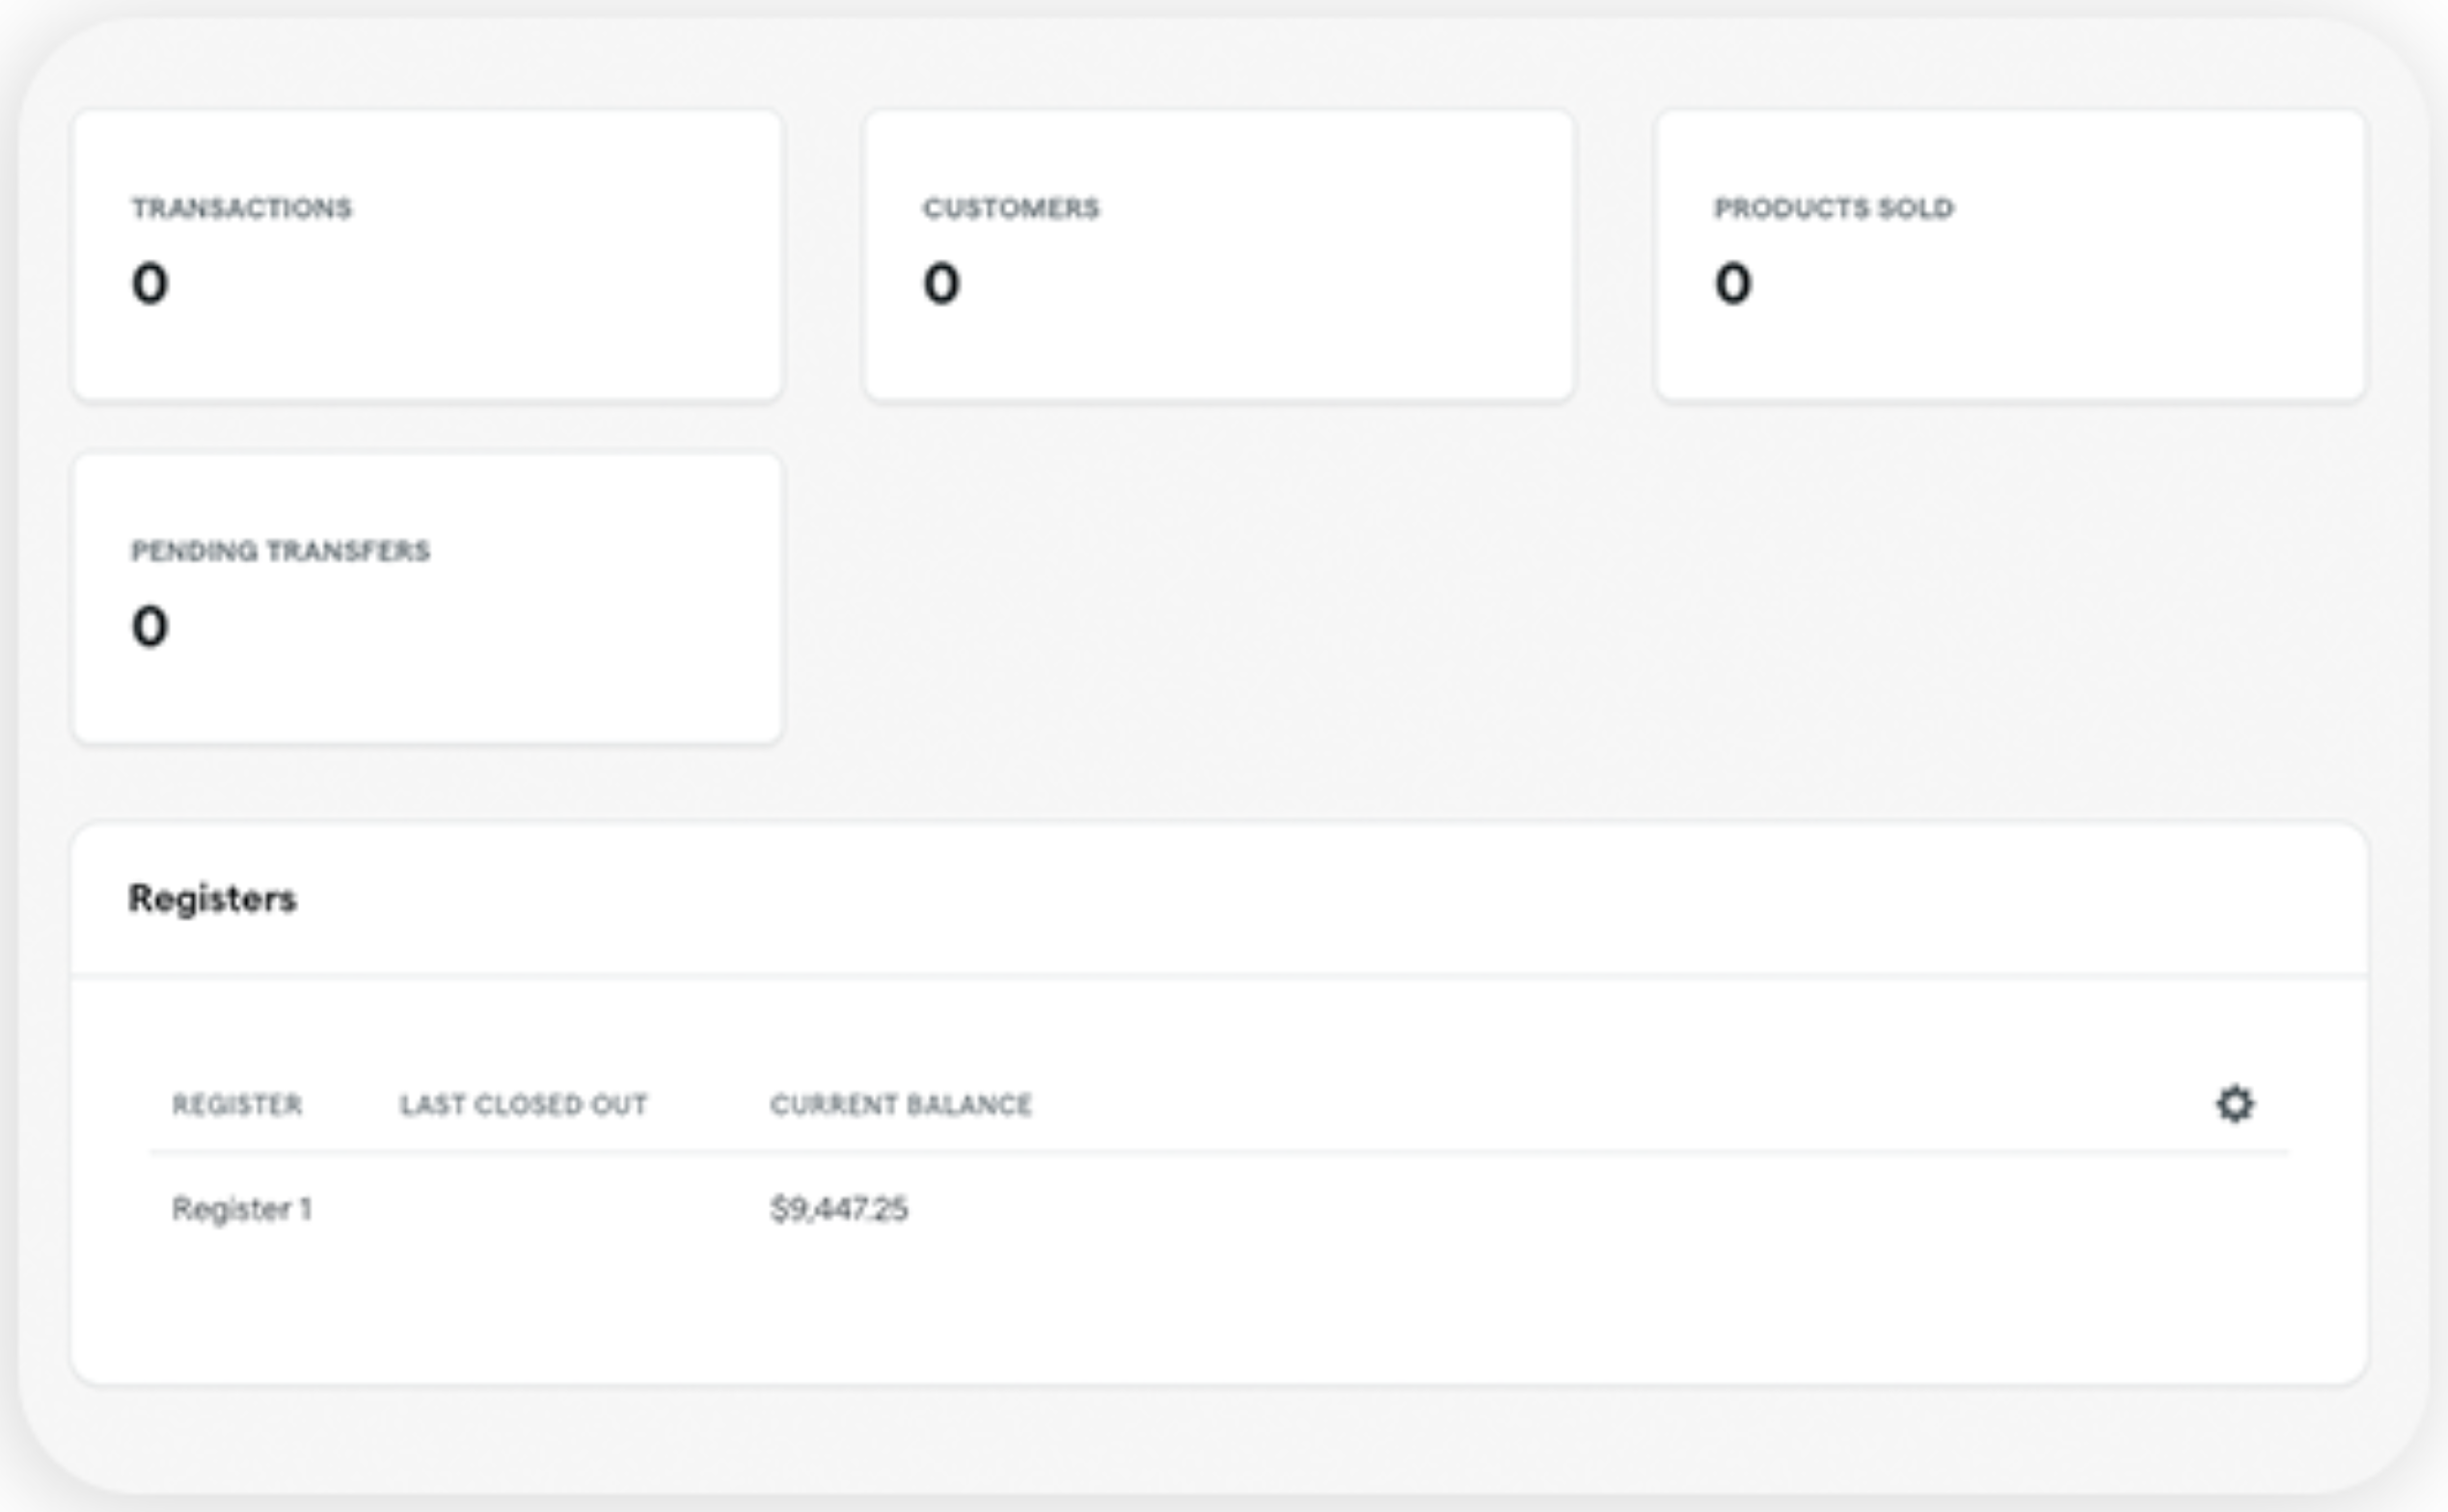
Once you have accessed the Dutchie back office home page, you will need to navigate to the integrations settings page, where you can choose which settings to enable and enter the correct information to connect to your Dutchie POS.
To begin the process, you will need to have access to the Dutchie back office page to configure your Springbig connection. Springbig will need to have access to your Dutchie API key to enable enhanced features like:
2-way member sync
Historical order retrieval
Access location names
Note: If you are going to be connecting to the Dutchie POS integration, you will first need to get access to the Dutchie back office page and configure those settings.
Part 2: Configuration Steps
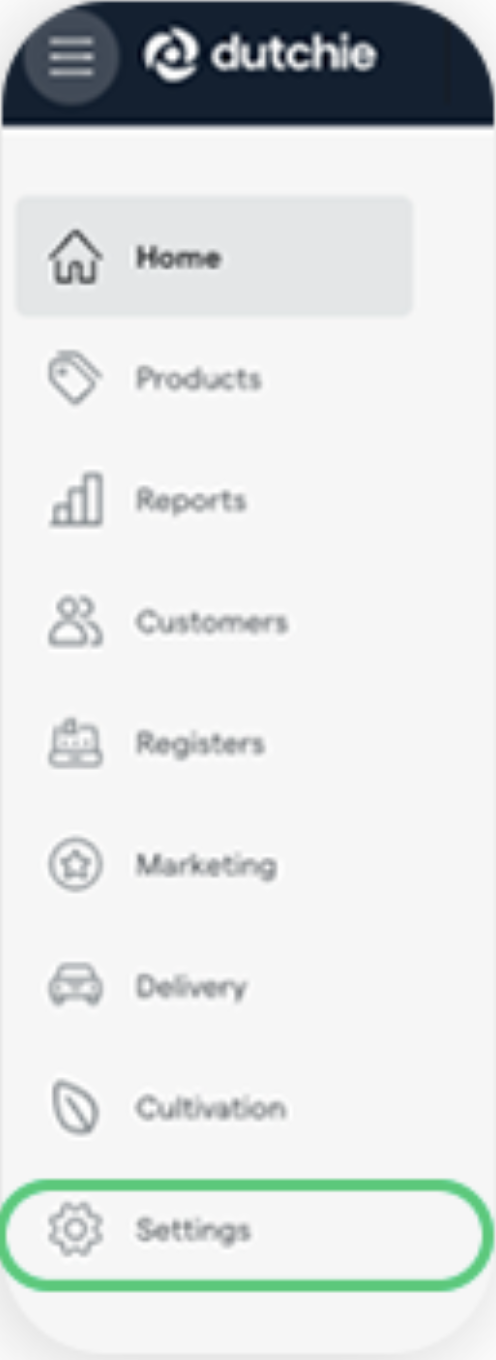
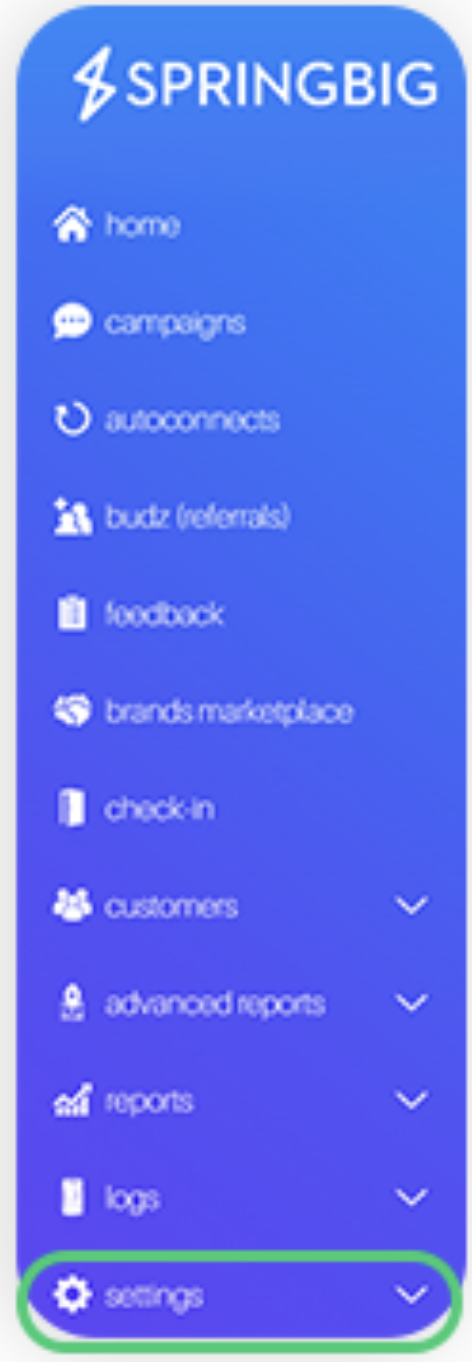
Step 1: On the left side of the page under the menu, select settings
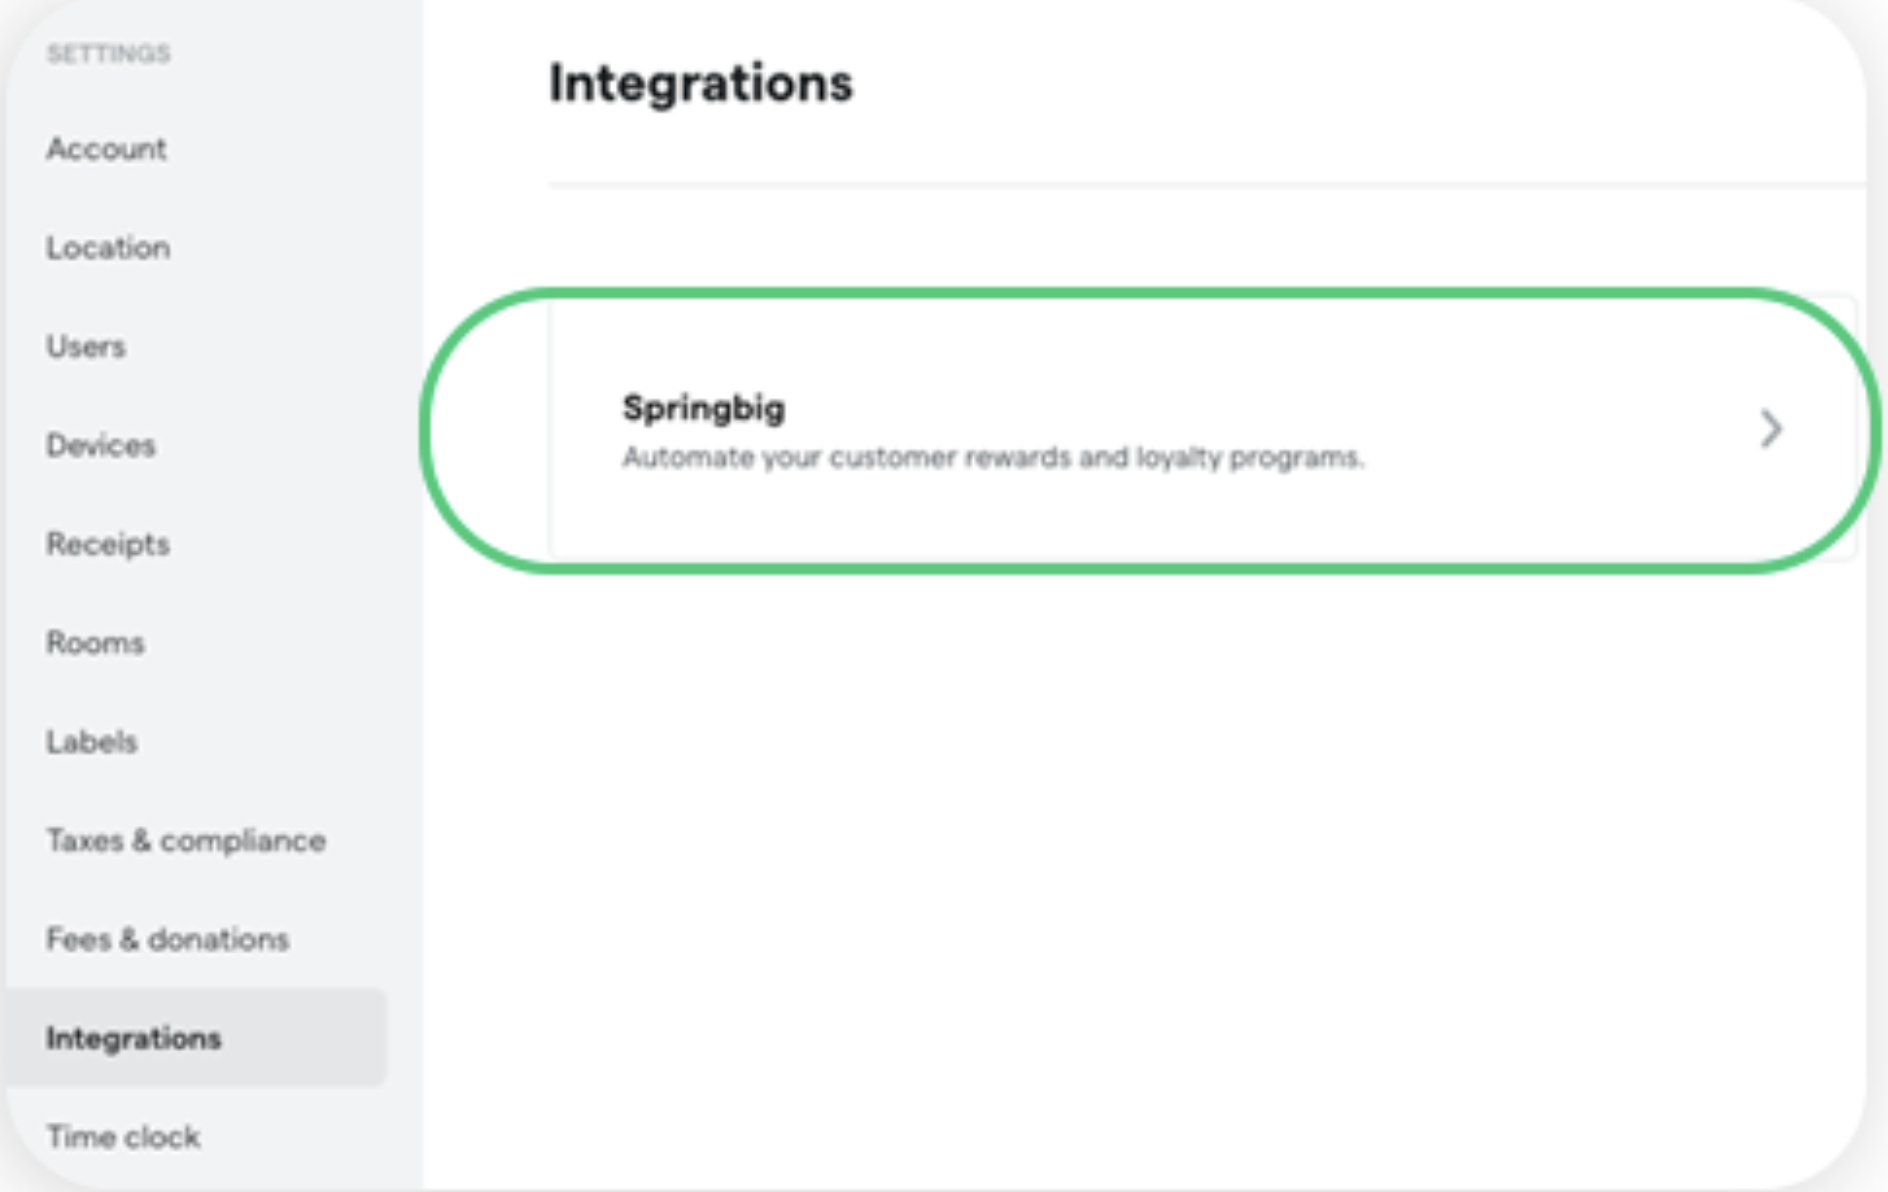
Step 3: Once integrations is selected, click on Springbig
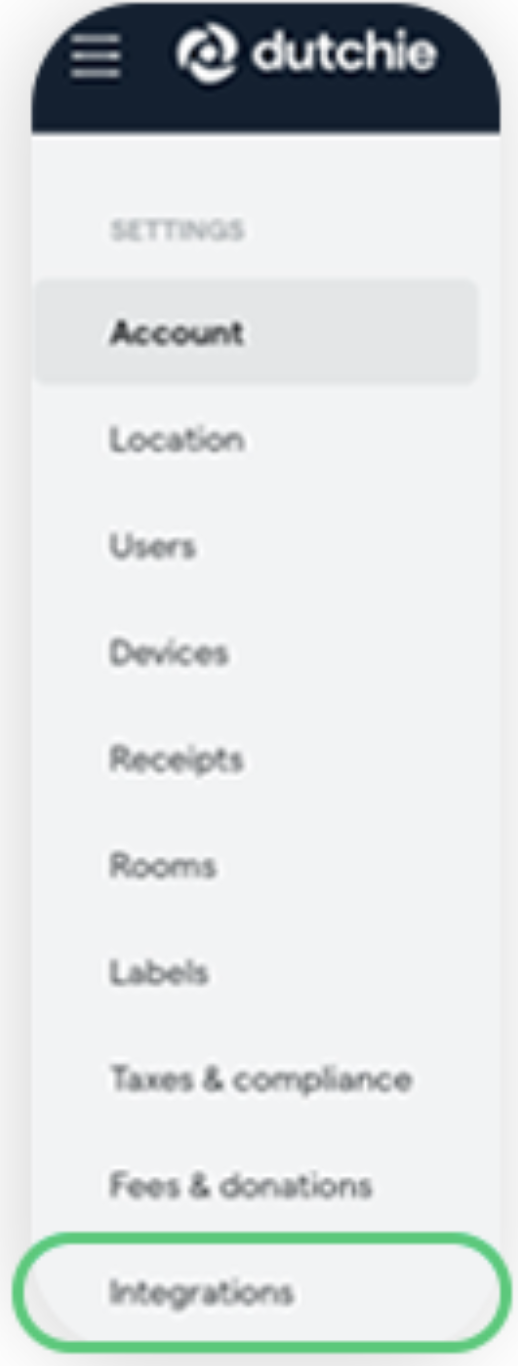
Step 2: From settings, select integrations
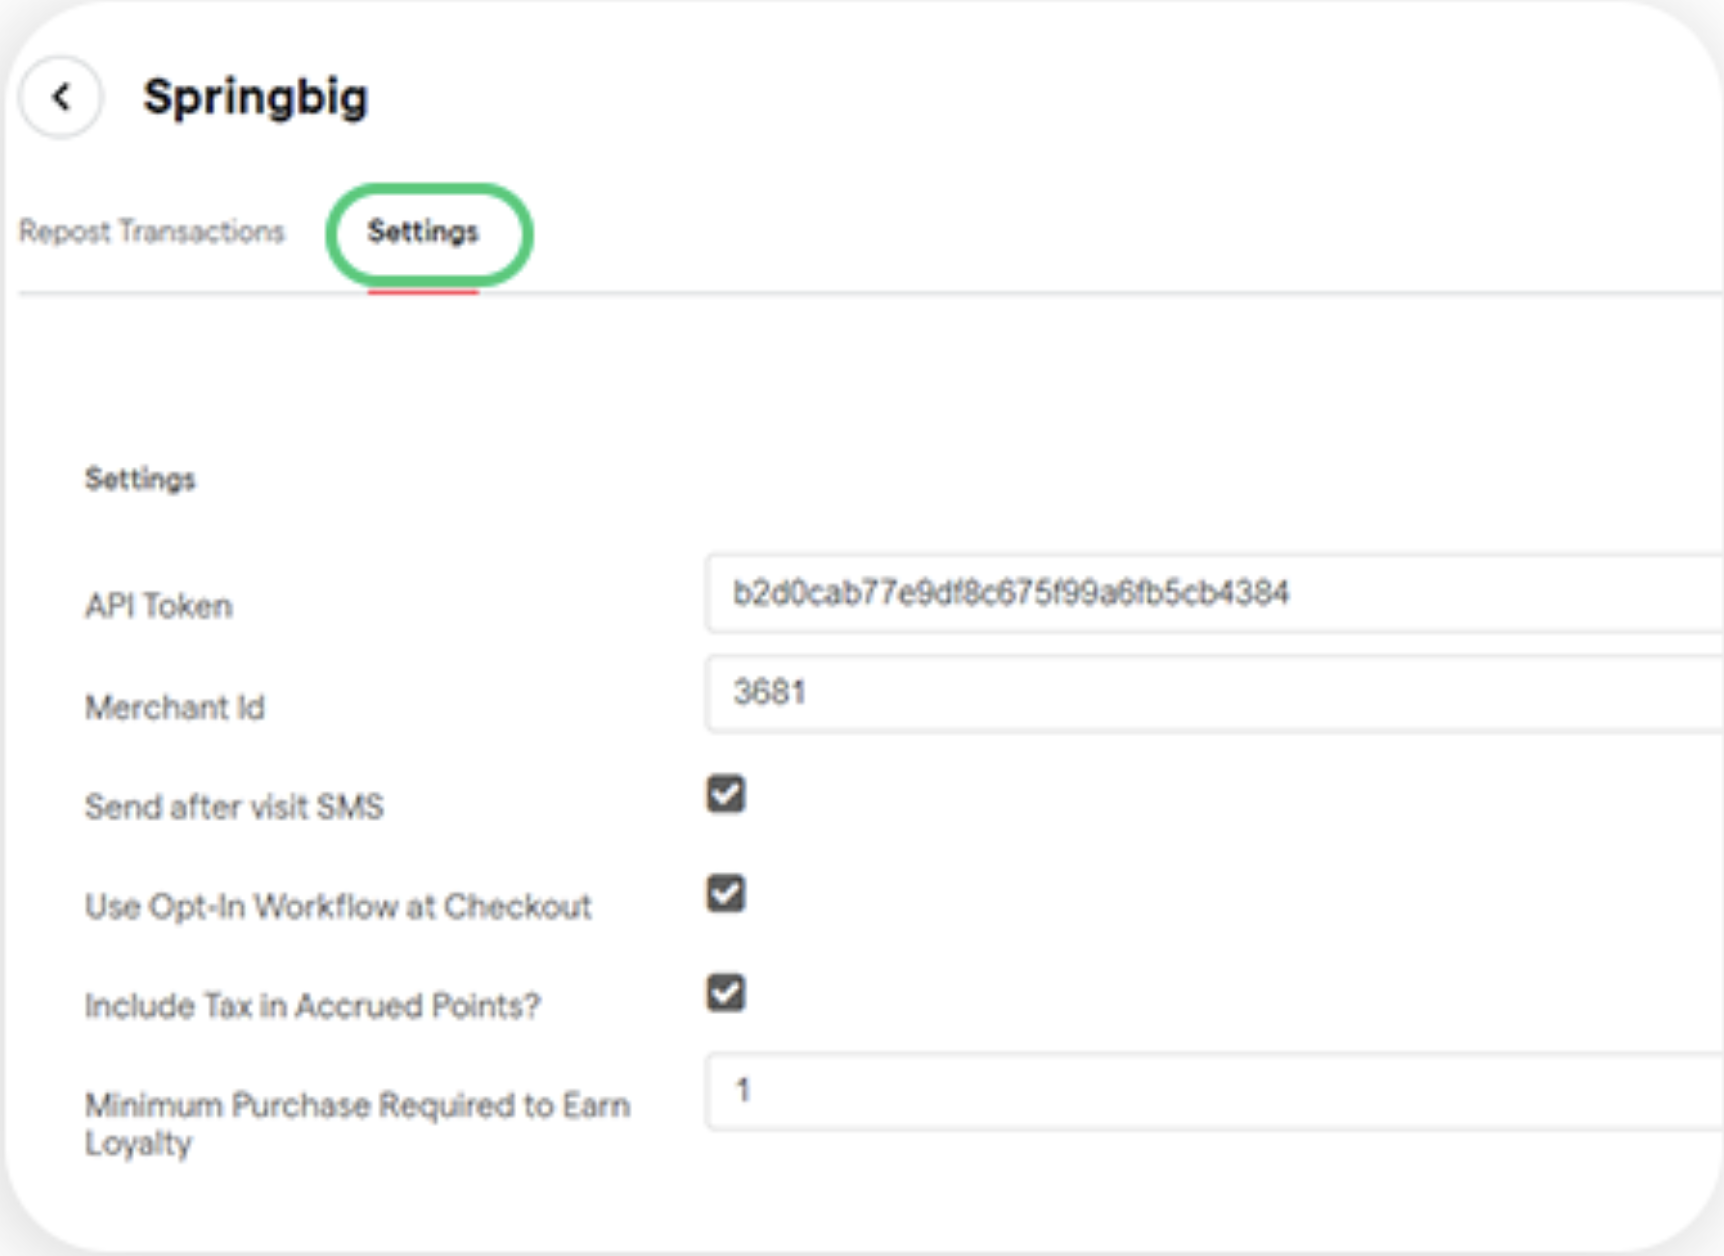
Step 4: Under Springbig, select settings
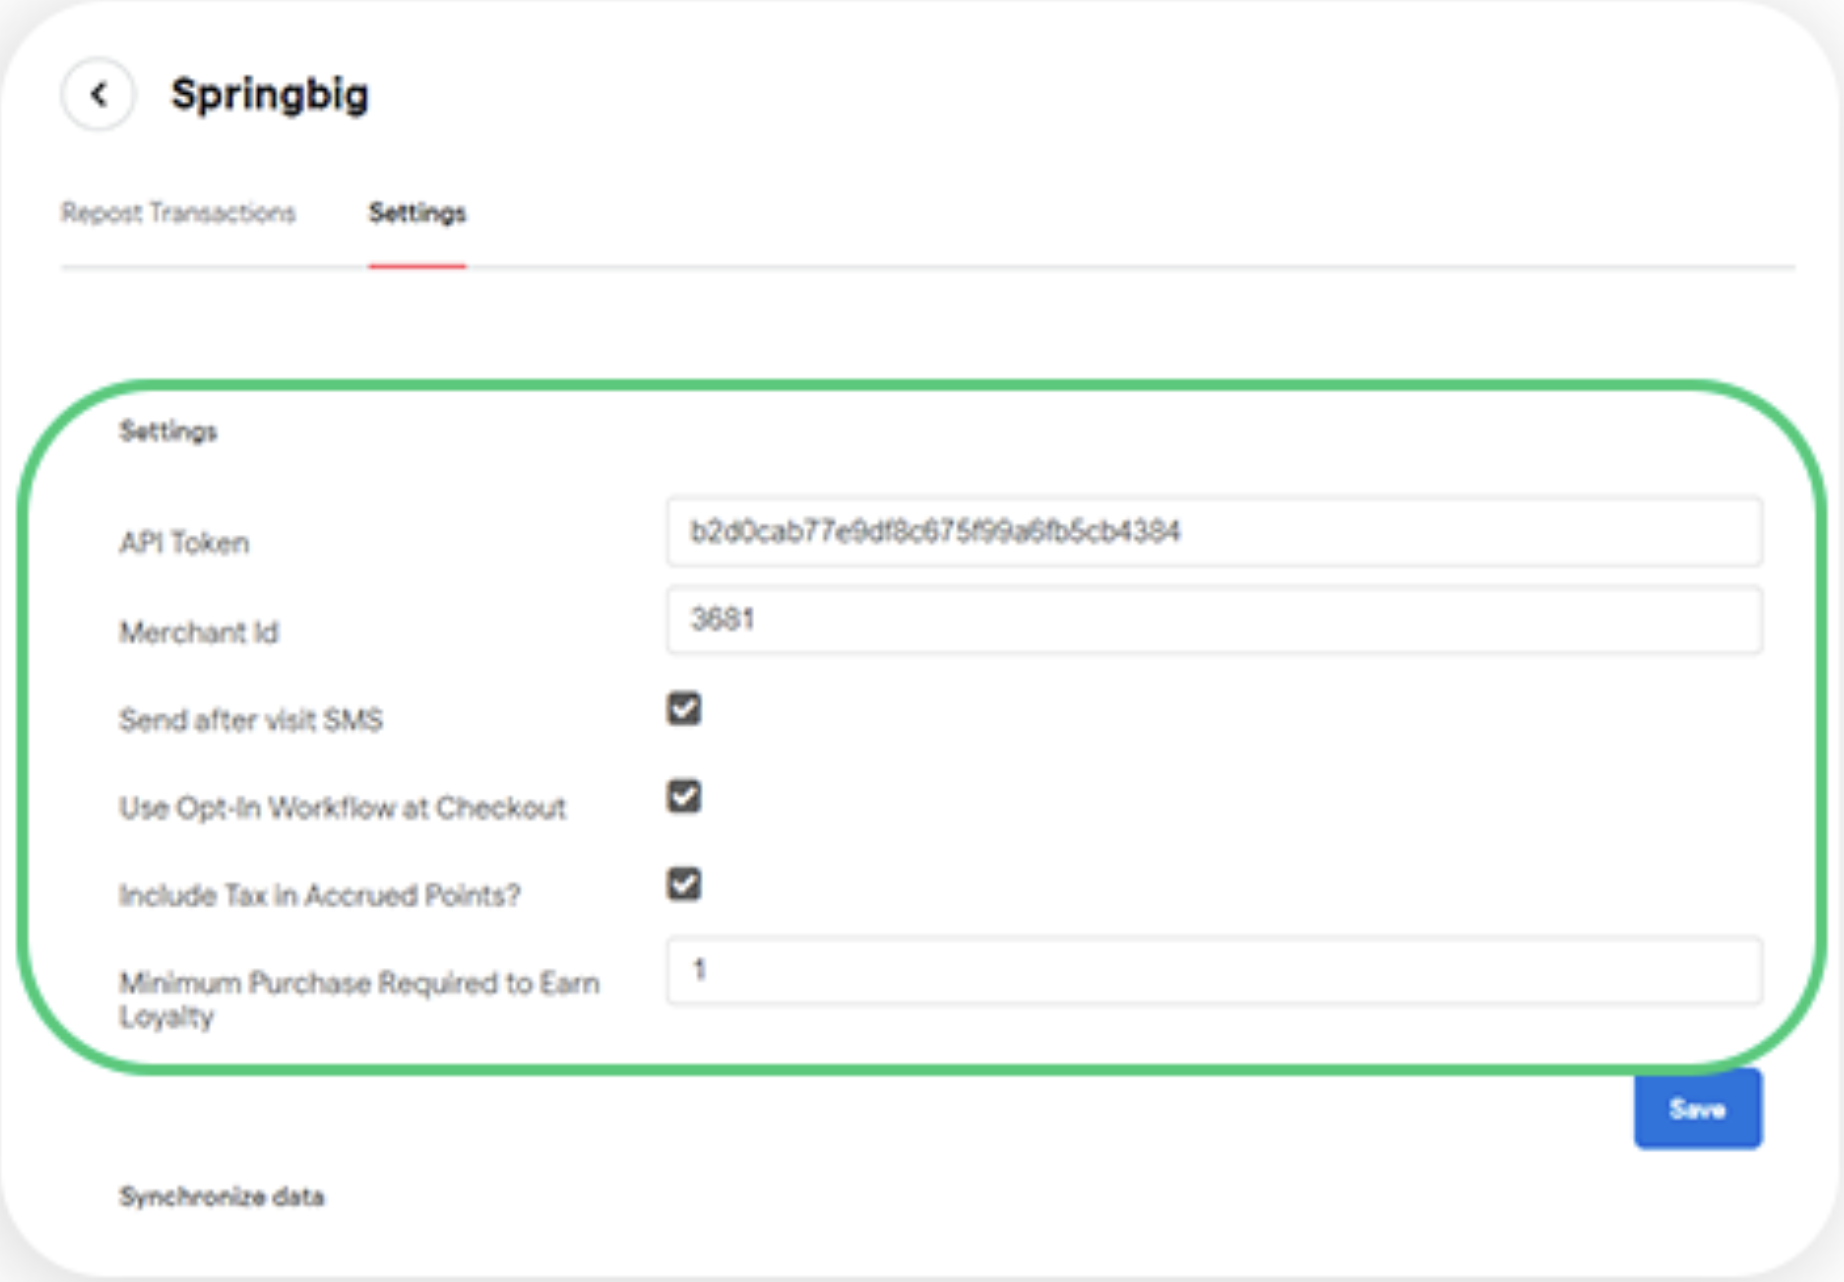
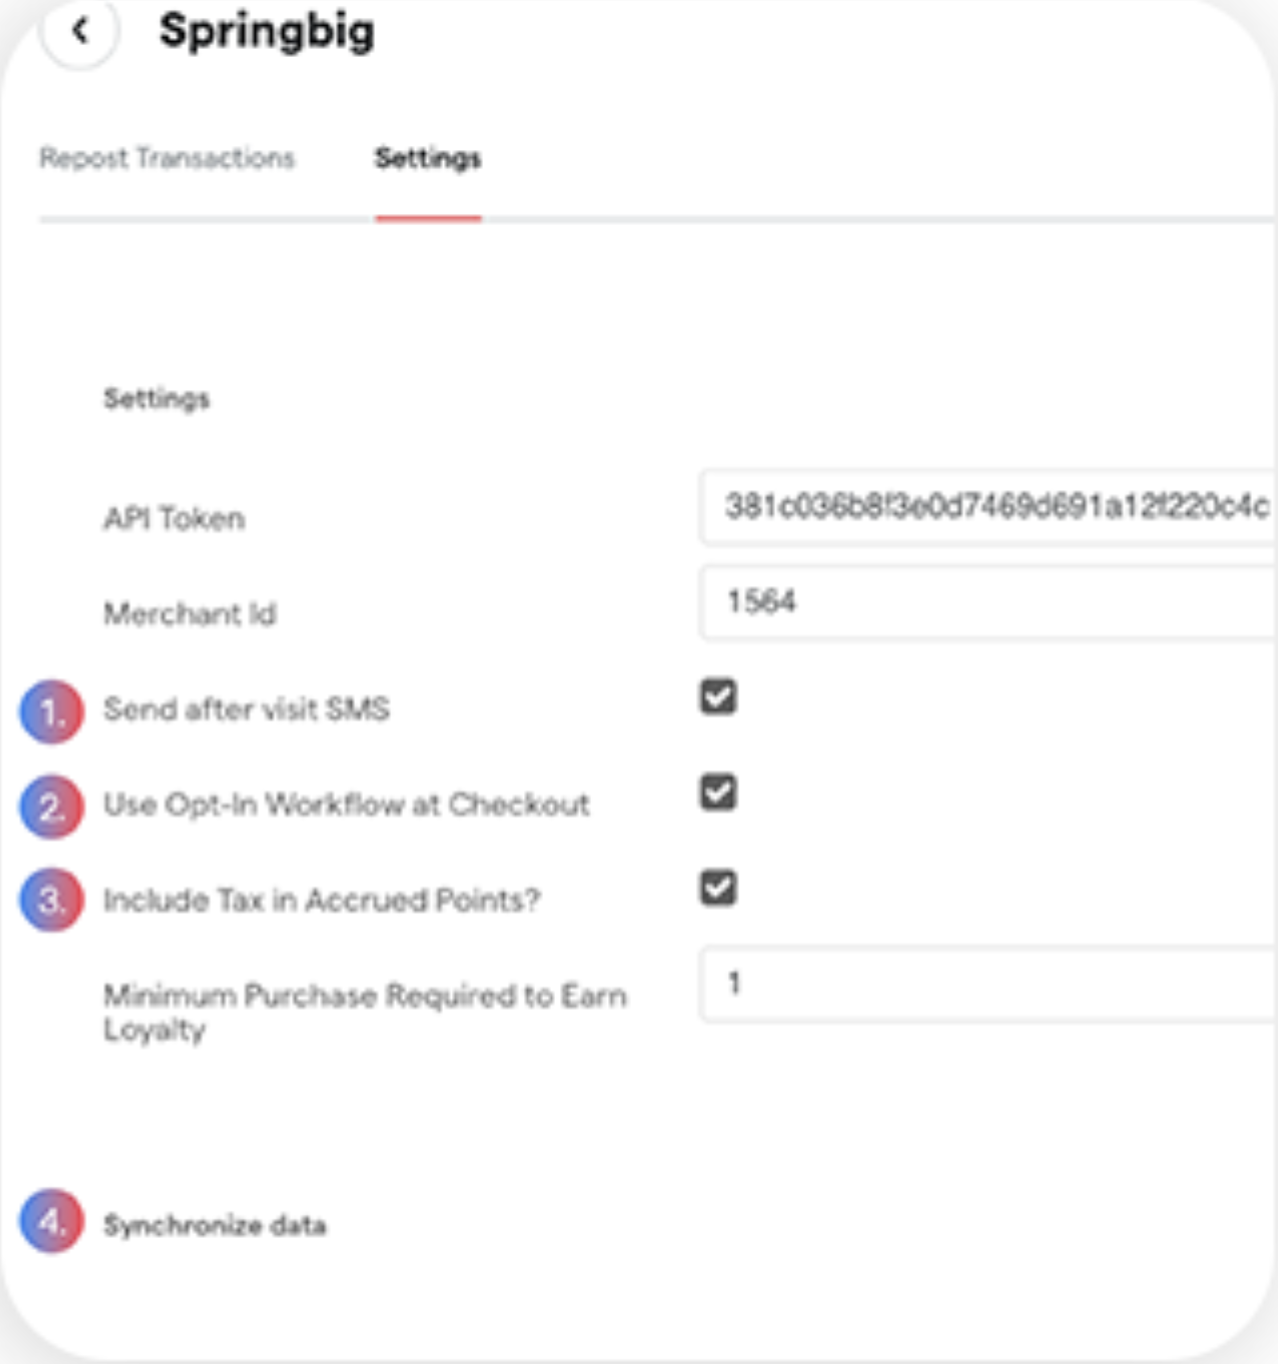
Step 5: On this page, you can fill out the necessary information needed to activate the integration and choose which settings you would like to have enabled.
Send after visit – Springbig will send our default after-visit notification as long as POS after visit is enabled on the Springbig side.
User opt-in workflow at checkout – Springbig check box will appear at the checkout page for a new customer, the check box must be enabled for Dutchie POS to share the member’s data.
Include tax in accrued points – loyalty points calculated at the end of the visit will also take the tax and final paid amount into account.
Synchronizing member data – click the sync members button on the bottom right of the window. once clicked, it searches all customers to see if they are enrolled in loyalty and are pre-existing Springbig members.
Note: If the member does not opt into loyalty, a search will be done to see if they are in the Springbig platform. the member will then be opted into loyalty if they are already in the platform, or a new member will be created with an allowed loyalty check.
Part 3: Discount Configuration (SPRINGBIG SIDE)
To create a discount that is functioning in both Springbig and Dutchie, the discount will need to be created on both sides with a matching discount ID.
Note:
Please set up the discount in Springbig first and then Dutchie.
It is advisable in case to reach out to your account manager to assist in setting up your Springbig discounts.
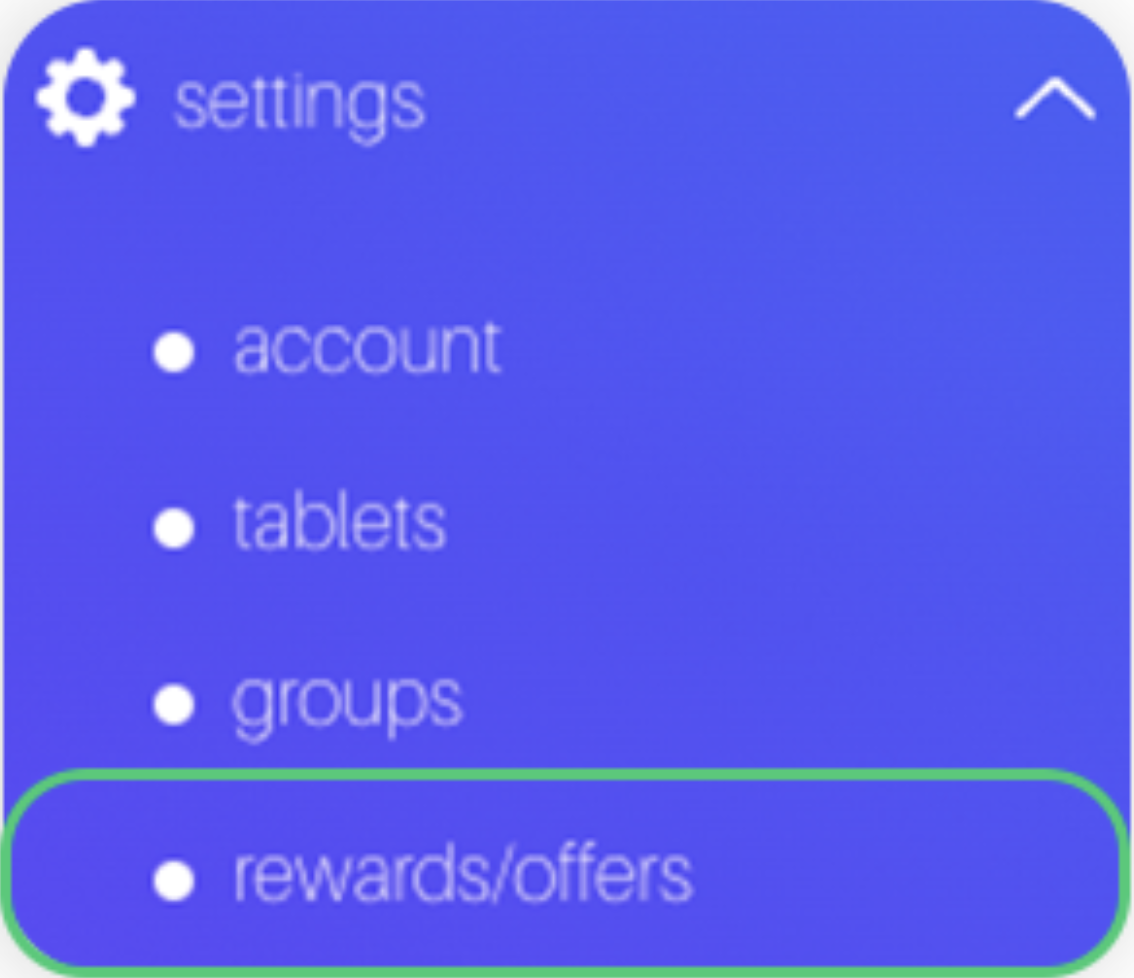
Step 1: On the Springbig merchant platform, choose settings from the menu dropdown.
Step 2: Next, select rewards/offers.
Step 3: Once on the rewards/offers page, select new reward.
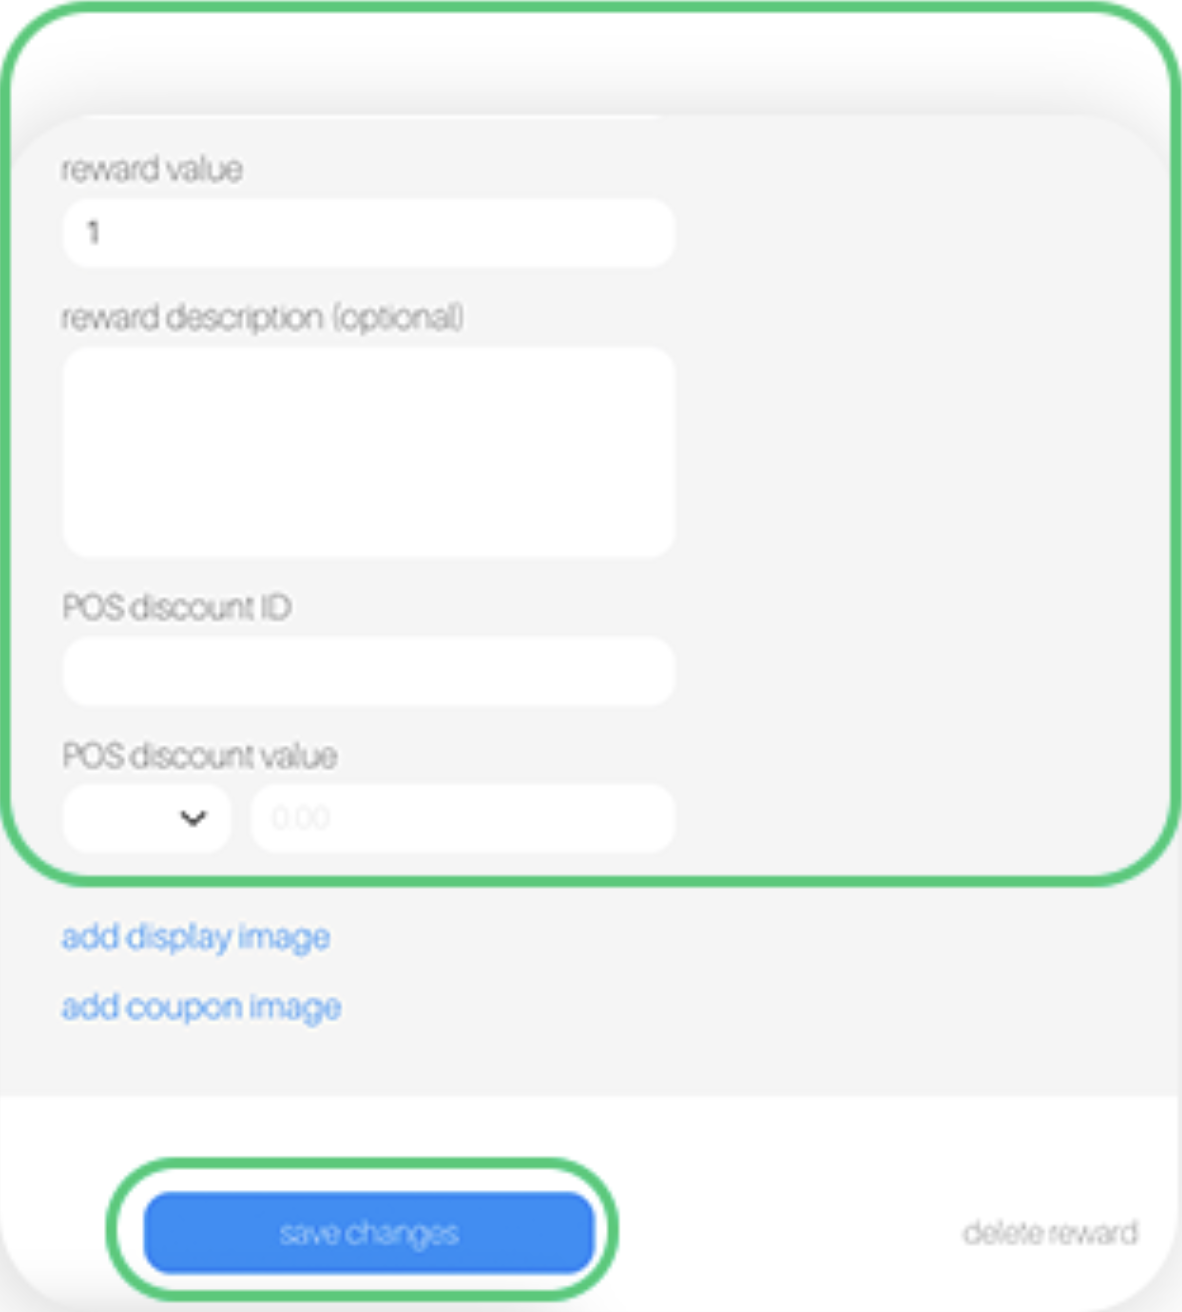
Step 4: Fill out the reward/discount.
Step 5: Please create a unique POS discount ID.
Step 6: Follow the same steps for campaign, autoconnect and member offers. Autoconnect offer configuration is outside the reward/offer page.
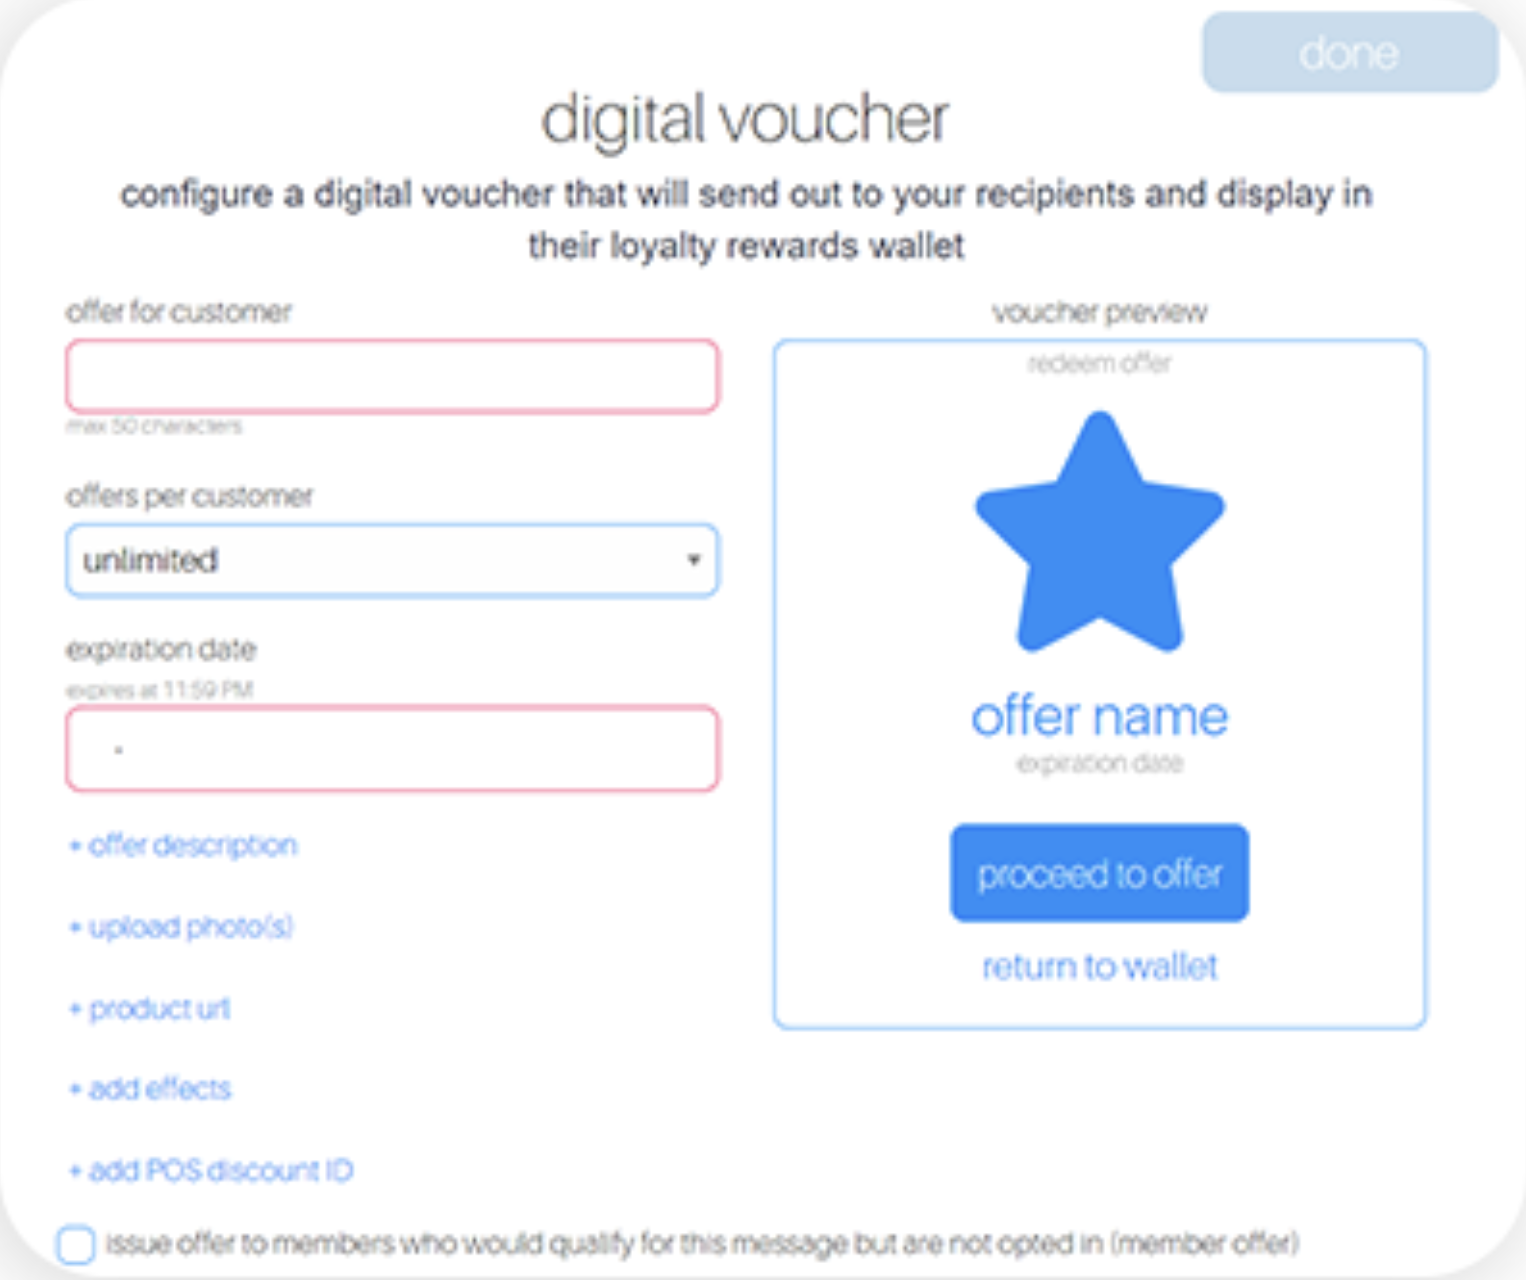
Step 7: Direct to the intended autoconnect and configure the offer/digital voucher repeating the same steps as a reward, with the addition of including an expiration date and amount of offers per customer.
Part 3: Discount Configuration (DUTCHIE SIDE)
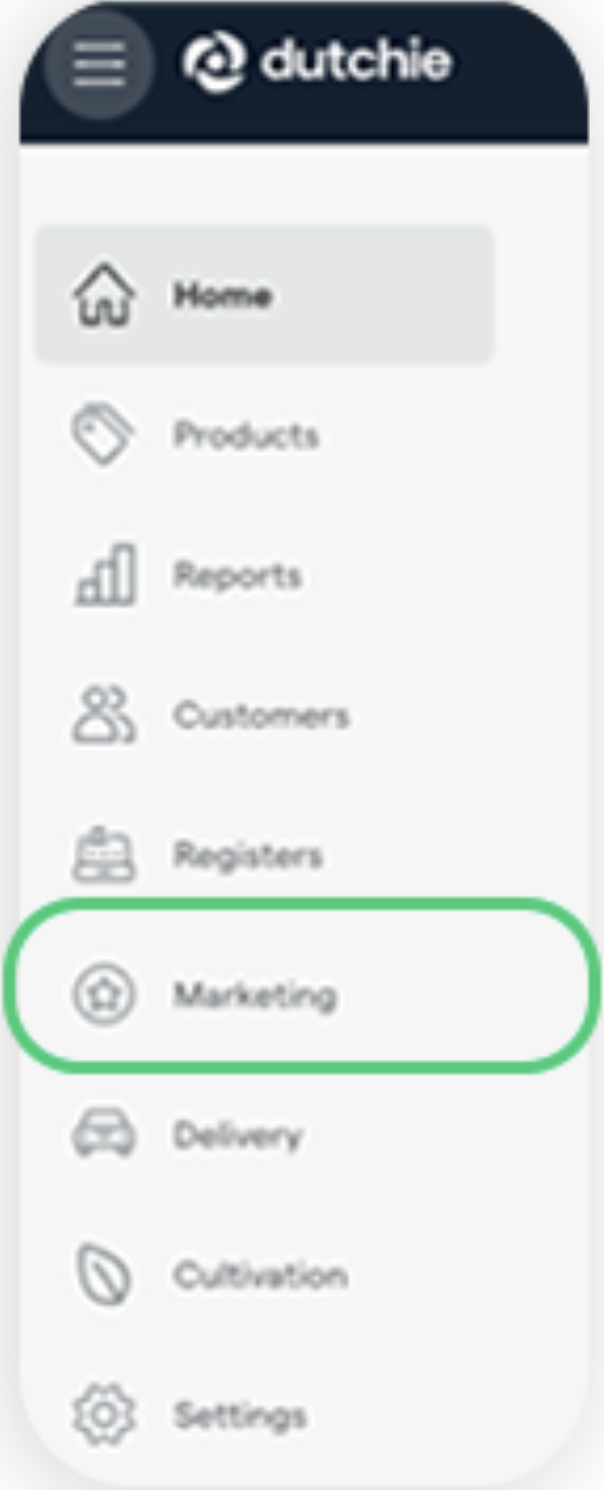
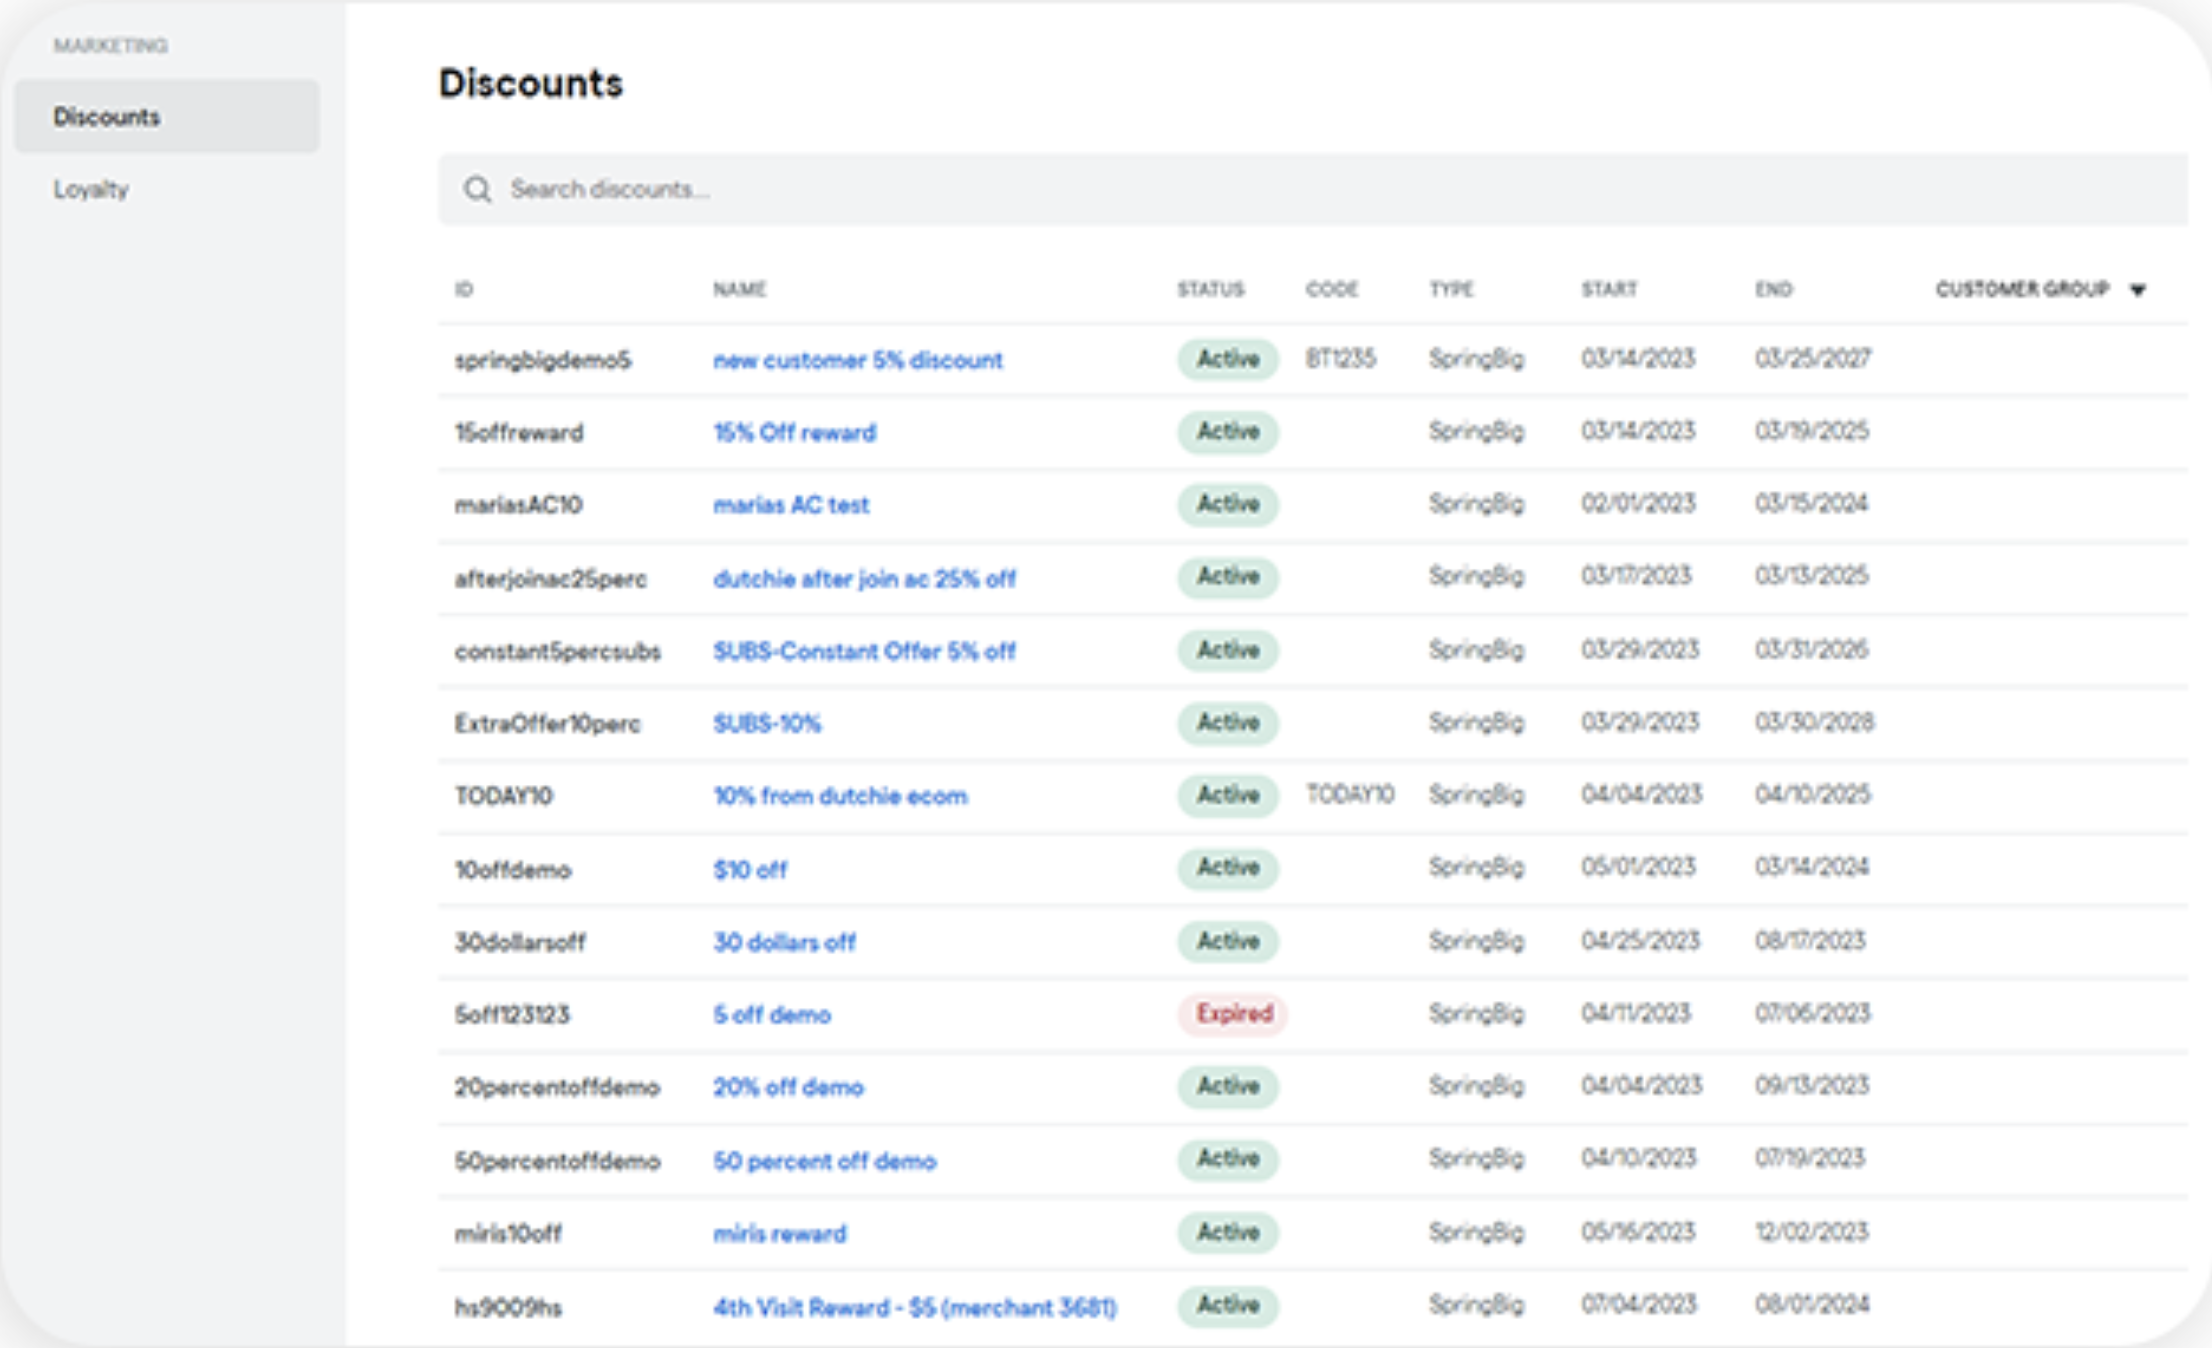
Step 1: On the Dutchie back office, select marketing on the left menu of the screen.
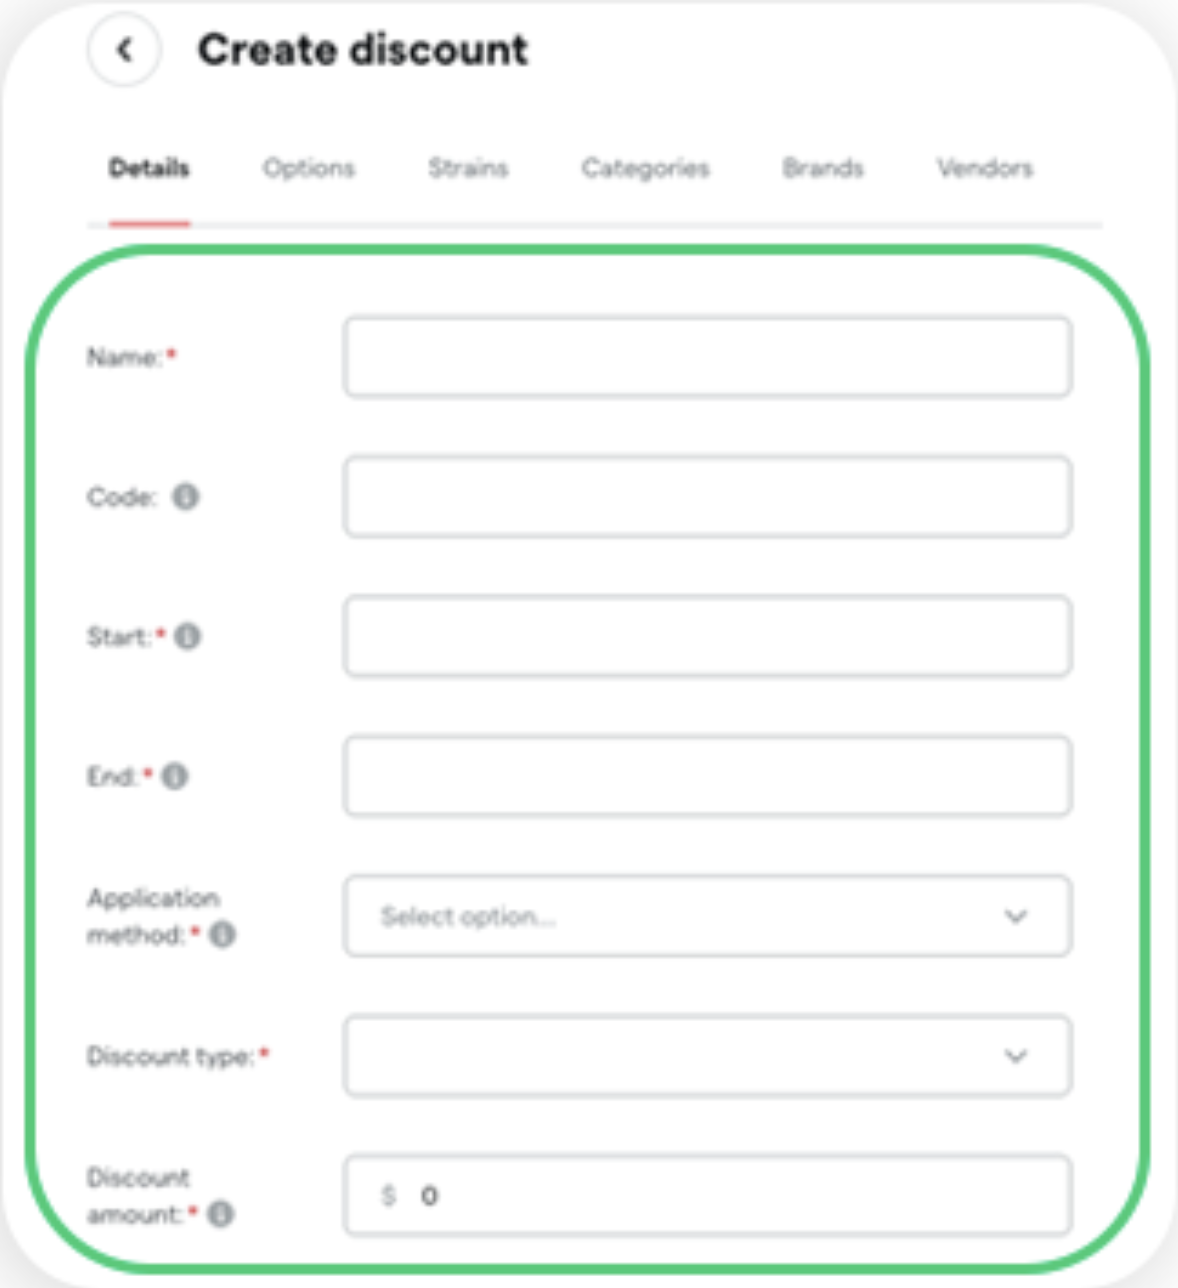
Step 2: Select create discount.
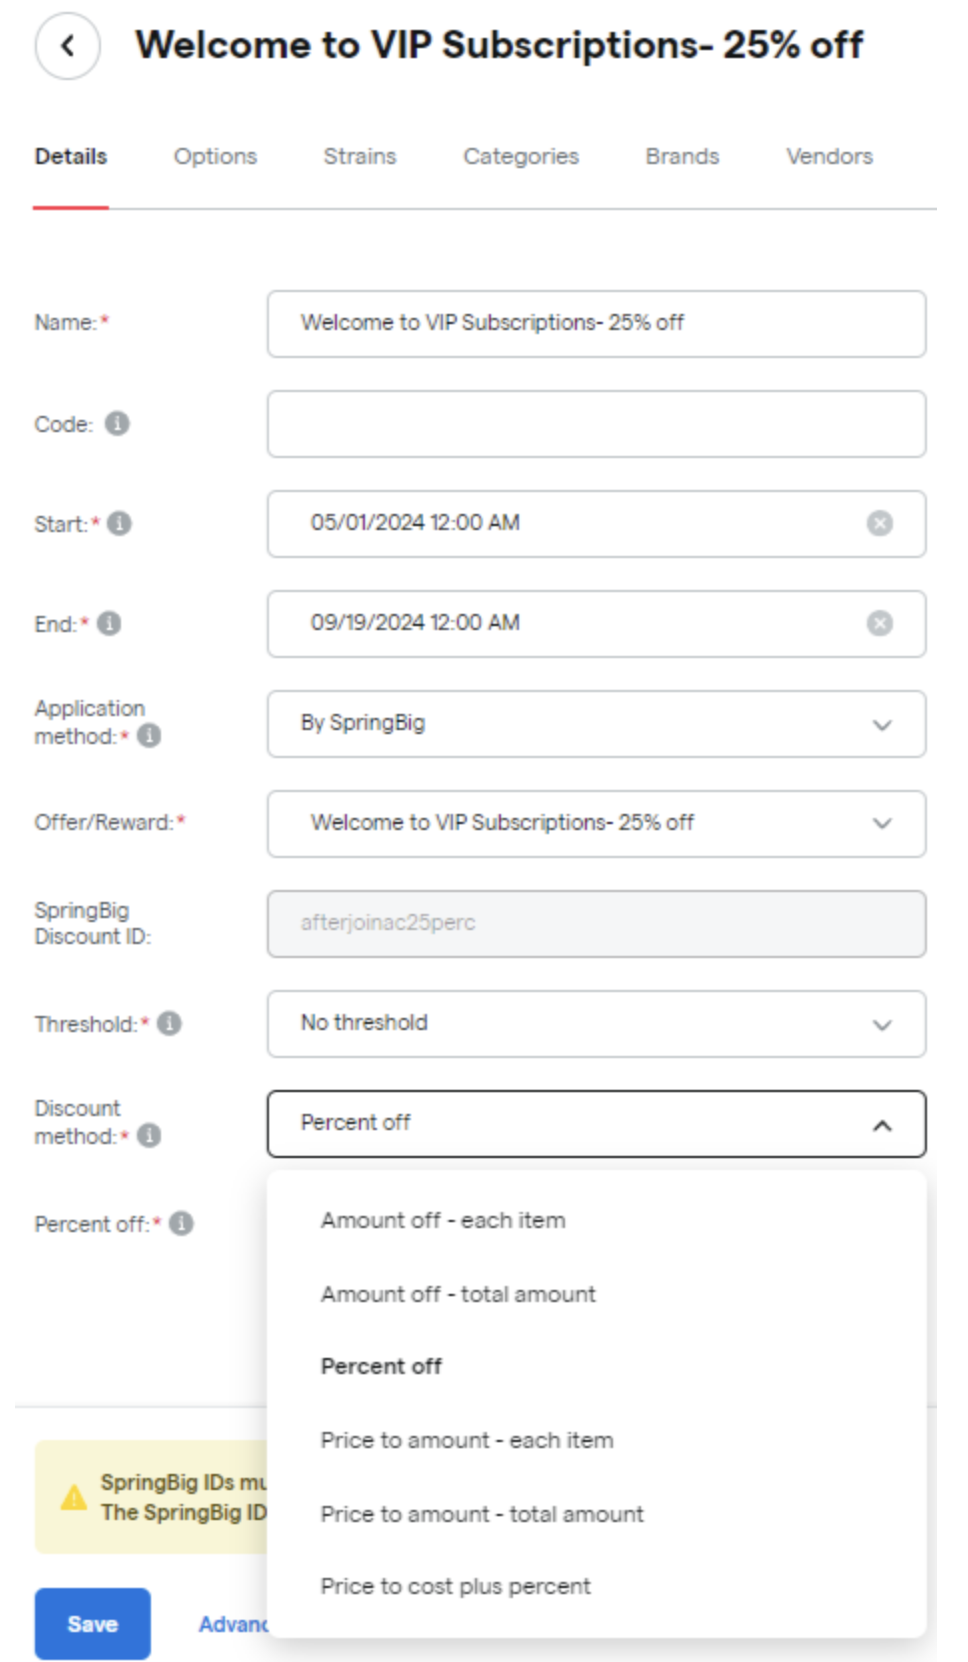
Step 3: Fill out the required fields as indicated by the red asterisk (excluding the code field):
Name
Start
End
Application Method – Select By Springbig
Offer/Reward
Note: The discount id is automatically applied once an offer/reward is selected.
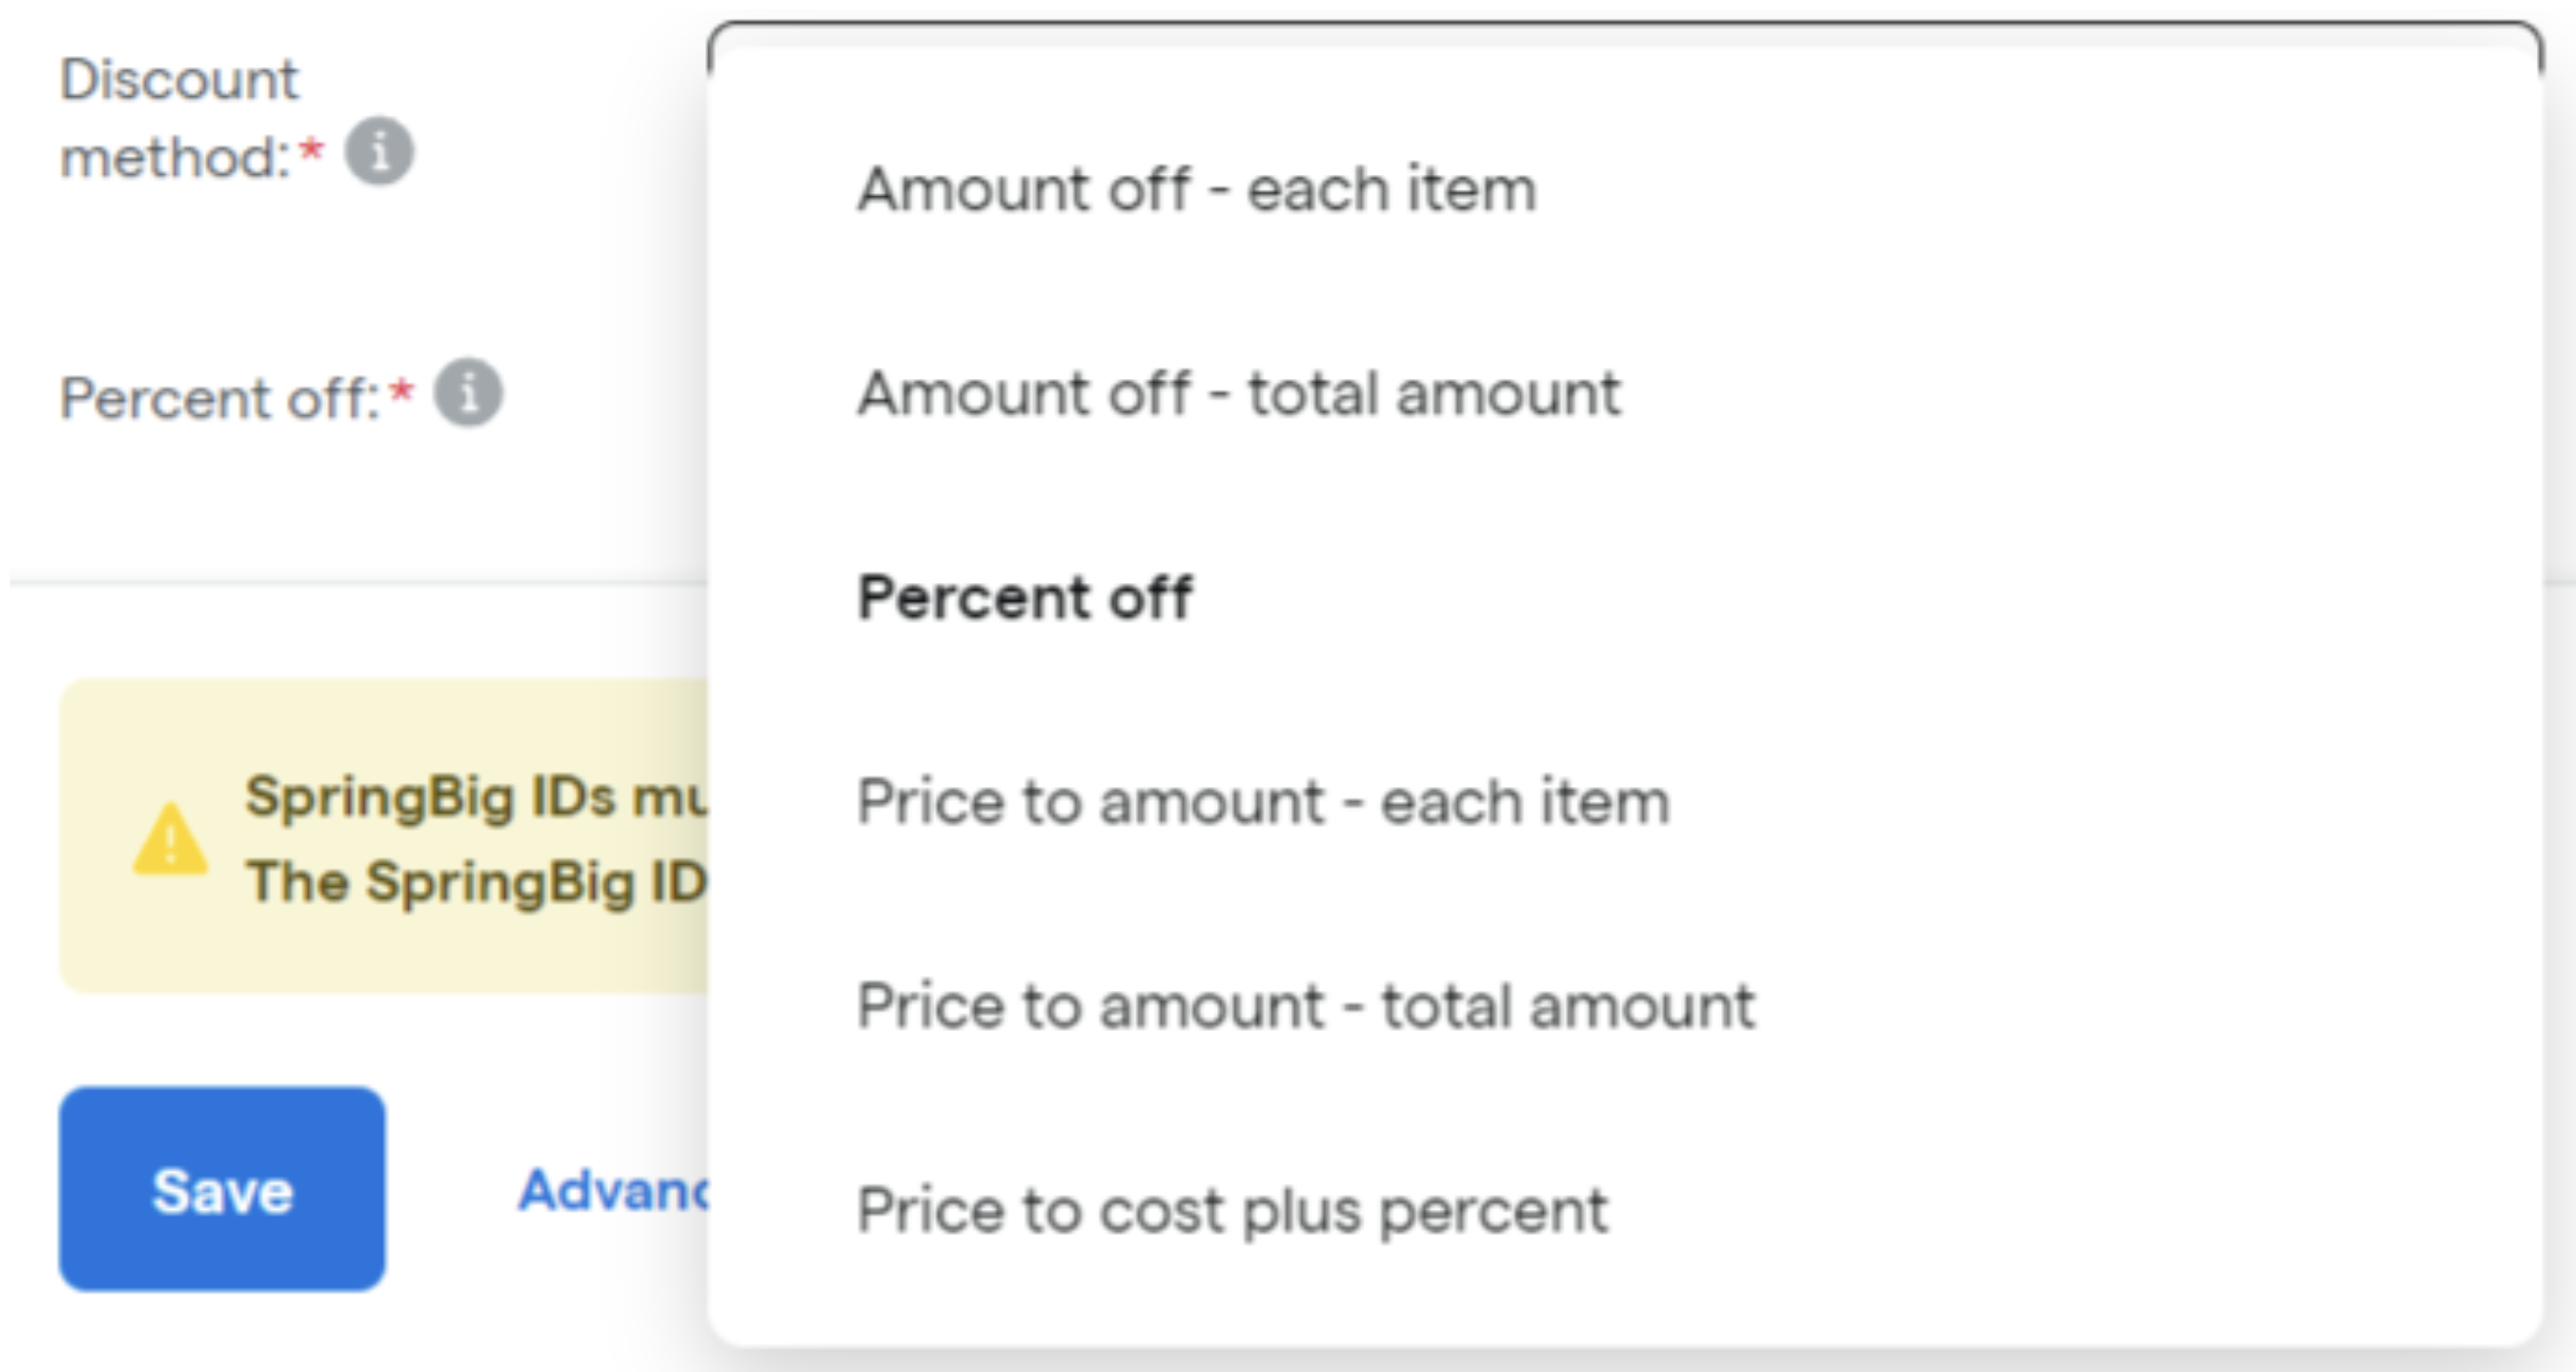
Discount Method:
Amount off- Each Item- Discounts a dollar amount off every line item in the cart and processes only one redemption.
Amount off- Total Amount– Discounts a dollar amount off of the subtotal and processes only one redemption.
Percent off– Discounts a percentage off of every line item/subtotal and only processes one redemption.
Price to Amount- Each Item- Discounts down to the set value of every line item that exceeds the set value and only processes one redemption.
For example: If the set discount value is $20 and two items are added: item_1 being $10 and item_2 being $25, it would discount $5 off of item_2 since it exceeds the set value of $20.
Price to Amount- Total Amount- Discounts every line item to the set subtotal value and only processes one redemption.
For example: If it’s set to $12 and there are two items, both for $10, it would subtract $8 from $20 so that the subtotal equals $12.
Price to Cost Plus Percent- The price of the item drops to its cost (the retailer’s cost to the supplier), and then adds the set percentage value to increase the price from the cataloged cost. This only processes one redemption.
For example: If the set percentage is 10% and there is an item added with the price of $5 and cost of $2.50, it will apply 10% to $2.50 equaling $0.25 and add that to $2.50 equaling $2.75. It will then take the difference of $5 and $2.75, equaling $2.25, which that value will be the discount amount for that item.
Step 4: Once complete, click save.
Note: Once you click save, the discount should be fully functional in both the Springbig and in the Dutchie platforms.
Part 4: Visit Flow
For a visit to be recorded and shared with the Springbig platform, the member that is purchasing products will need to be enrolled in the Springbig loyalty program.
Step 1: When a member enters the dispensary, their profile will need to be accessed within the POS and check in. If they do not have a profile yet, refer to the section on creating a members sign up on page 28 of this guide.
Step 2: Once the member is checked in and they begin their order process, items can be added to their cart from your inventory.
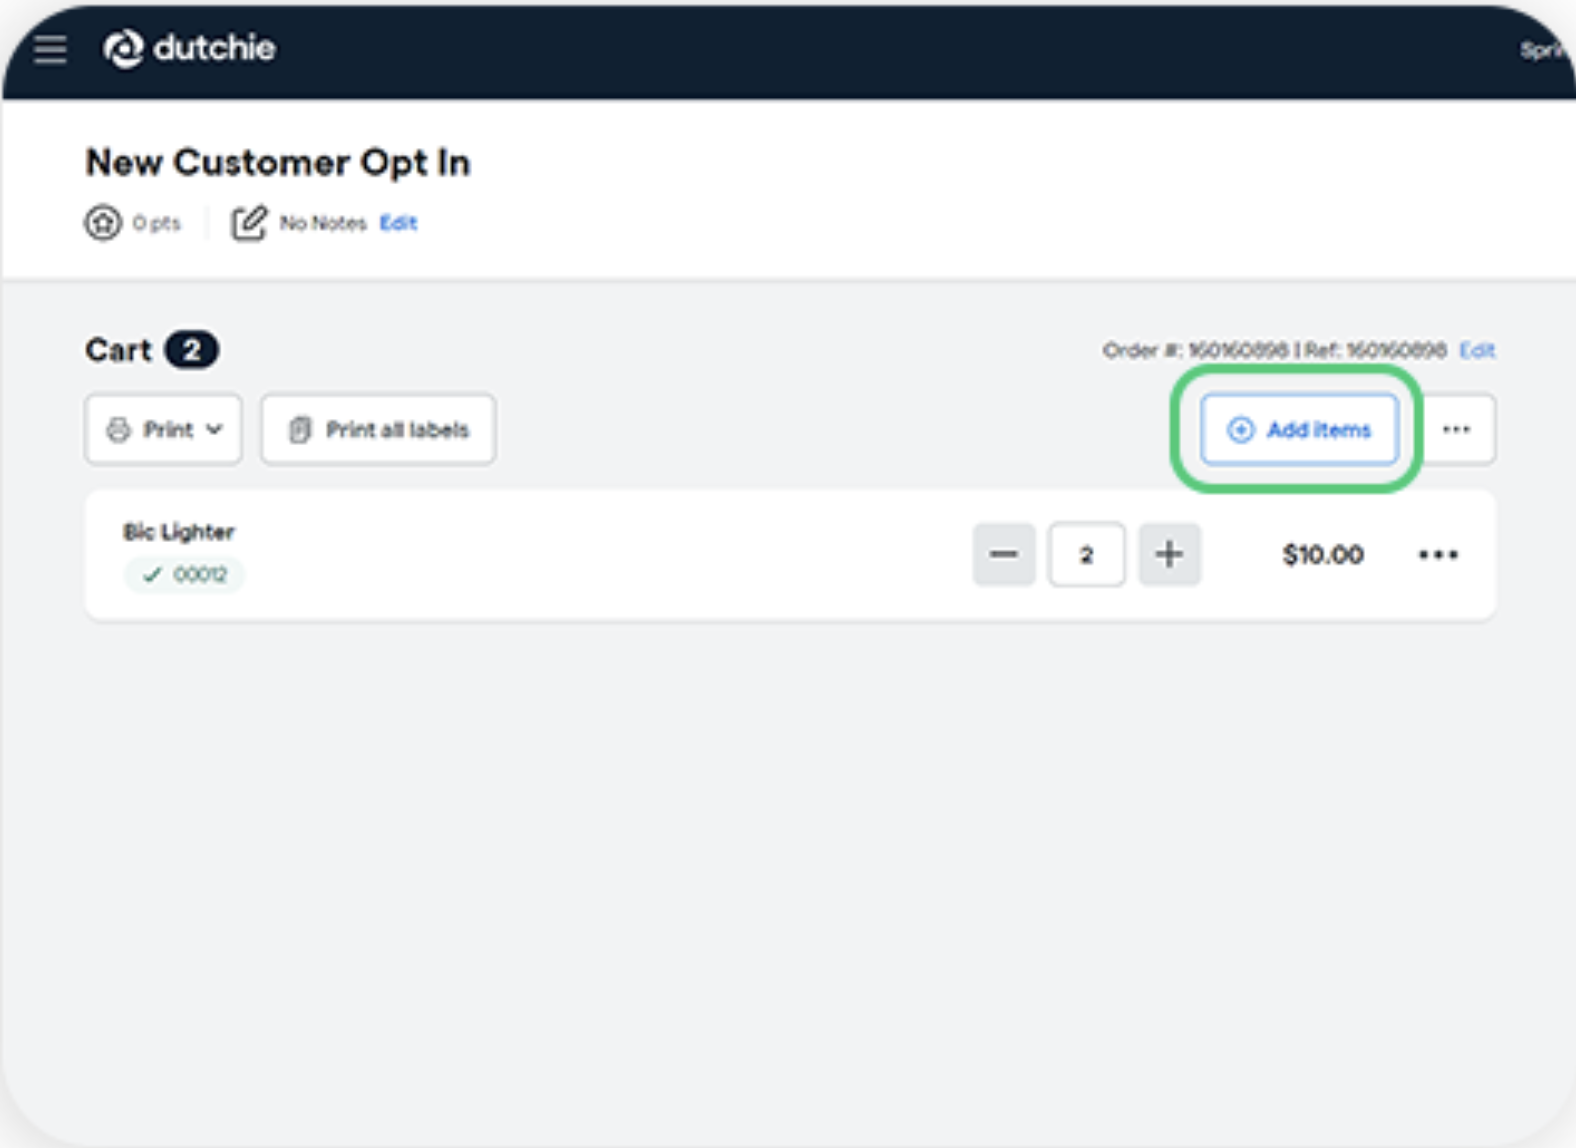
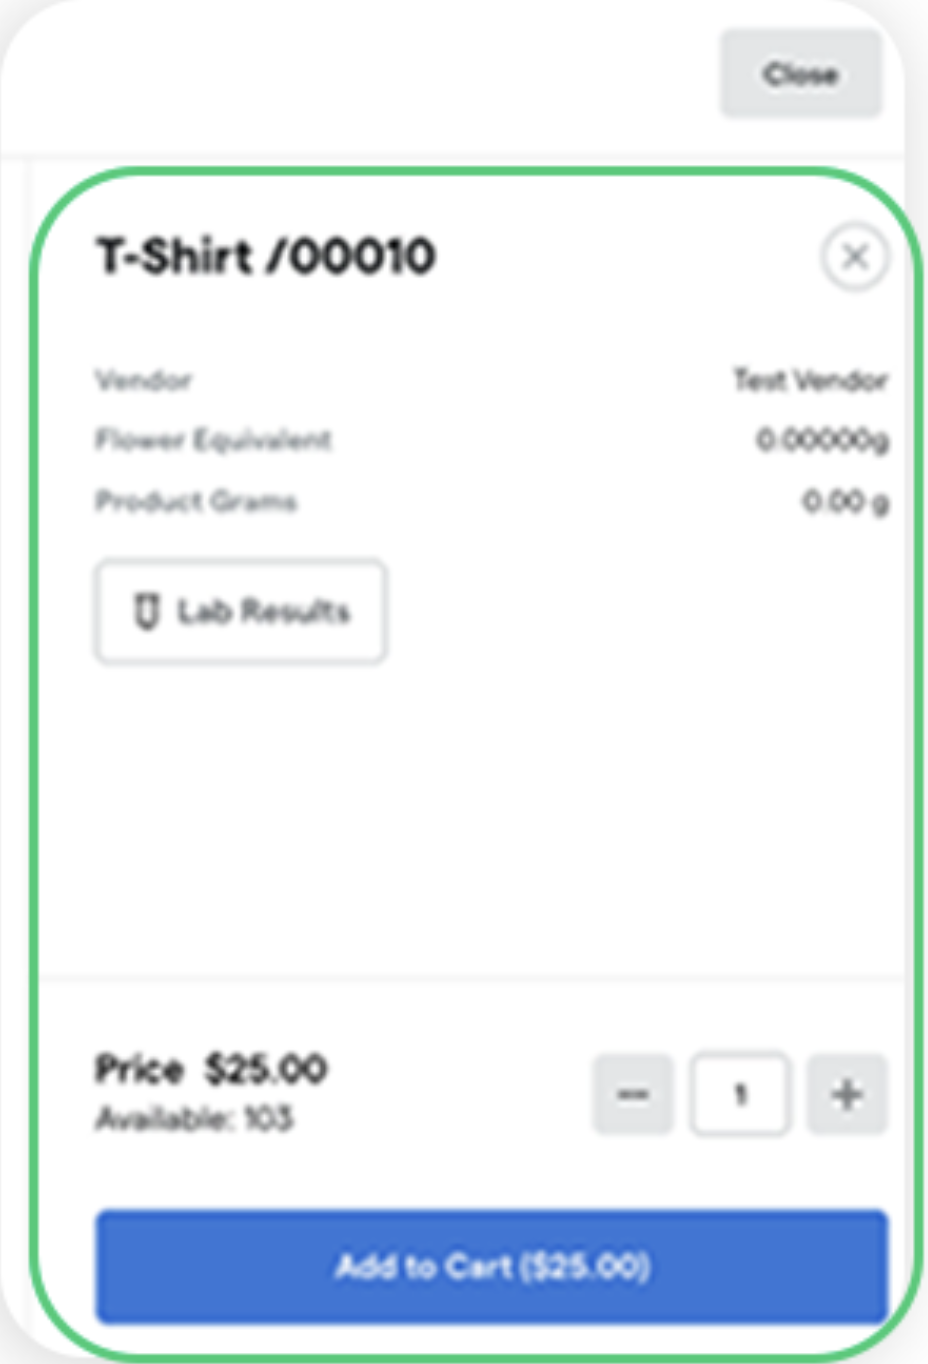
Step 3: Clicking add items will bring up a catalogue of your products. from this catalogue, you can choose a product and the amount of that product the customer requests.
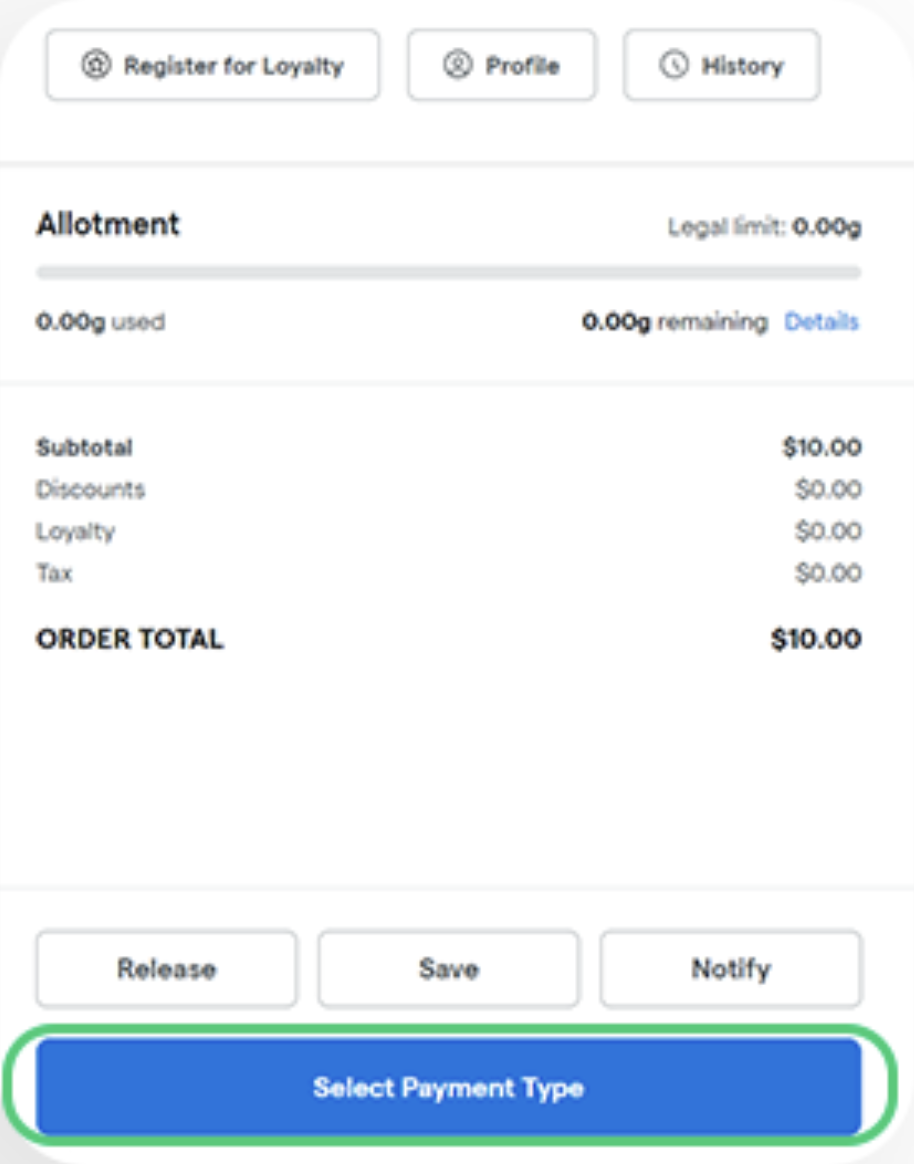
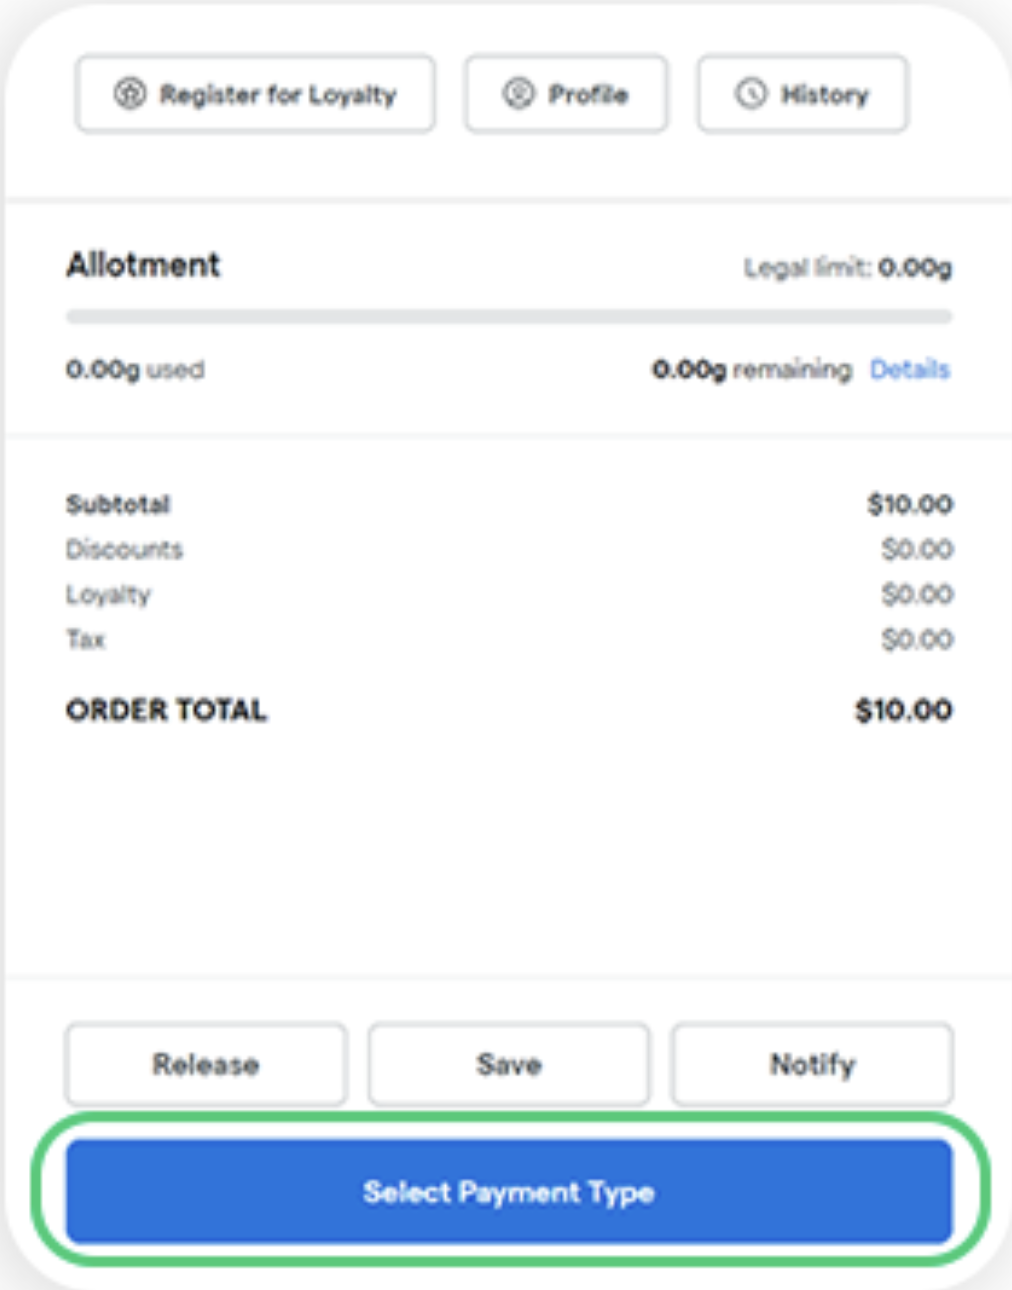
Step 4: Once you have added the items to the cart, you can close the catalogue and click on select payment type to complete the transaction.
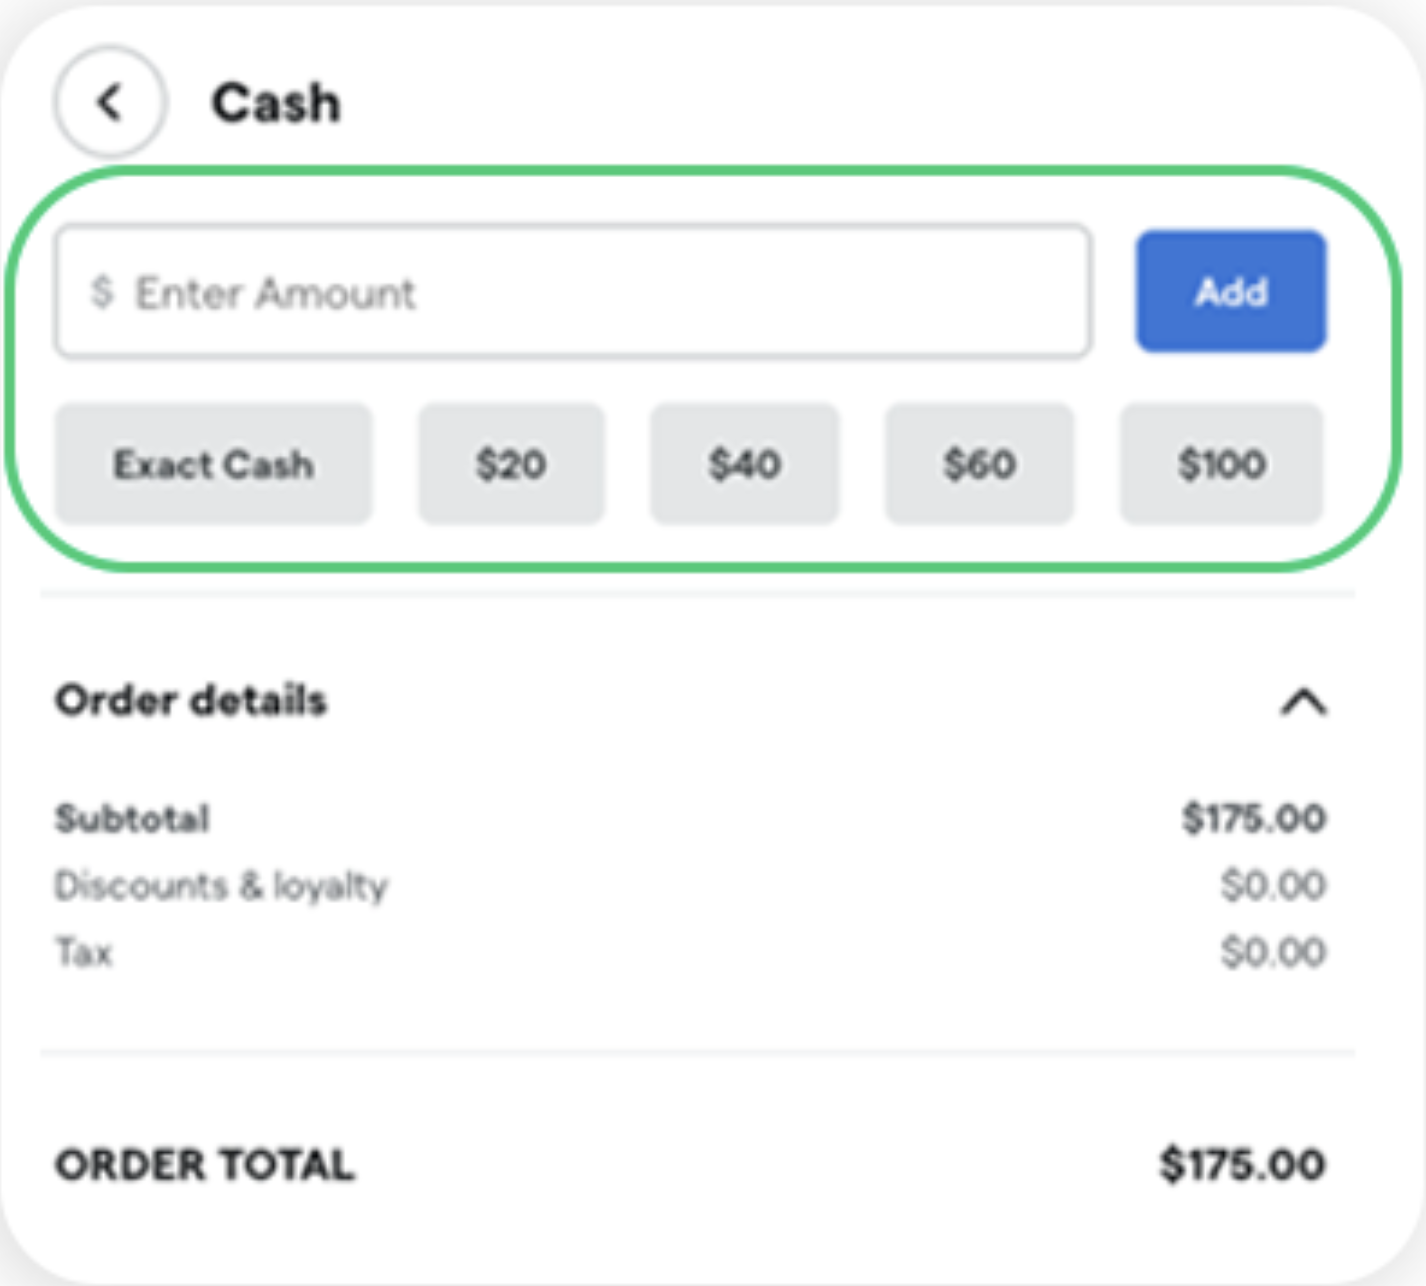
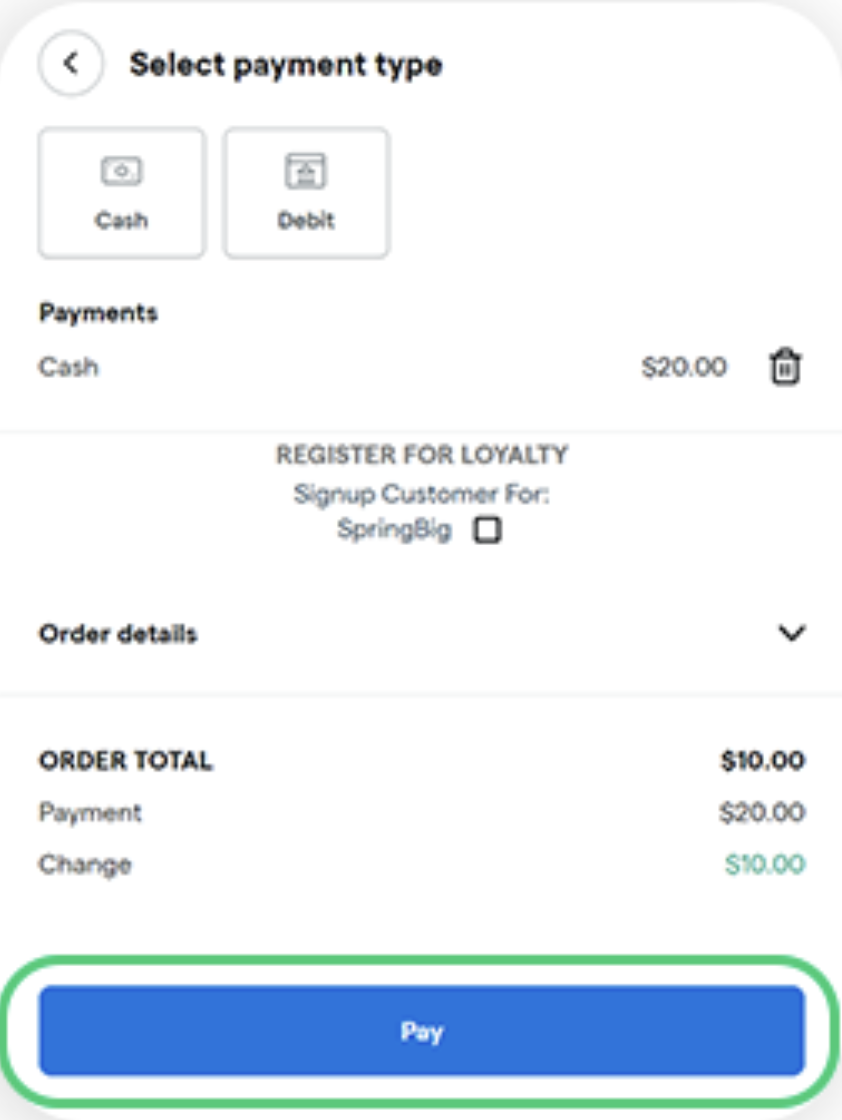
Step 5: To finish up the transaction, you can choose either cash or debit depending on the payment method the member wishes to utilize.
Step 6: Once their payment method is selected, you will be required to enter the amount to offset the order total.
Step 7: Once completed, click pay on the bottom of the page to complete the transaction.
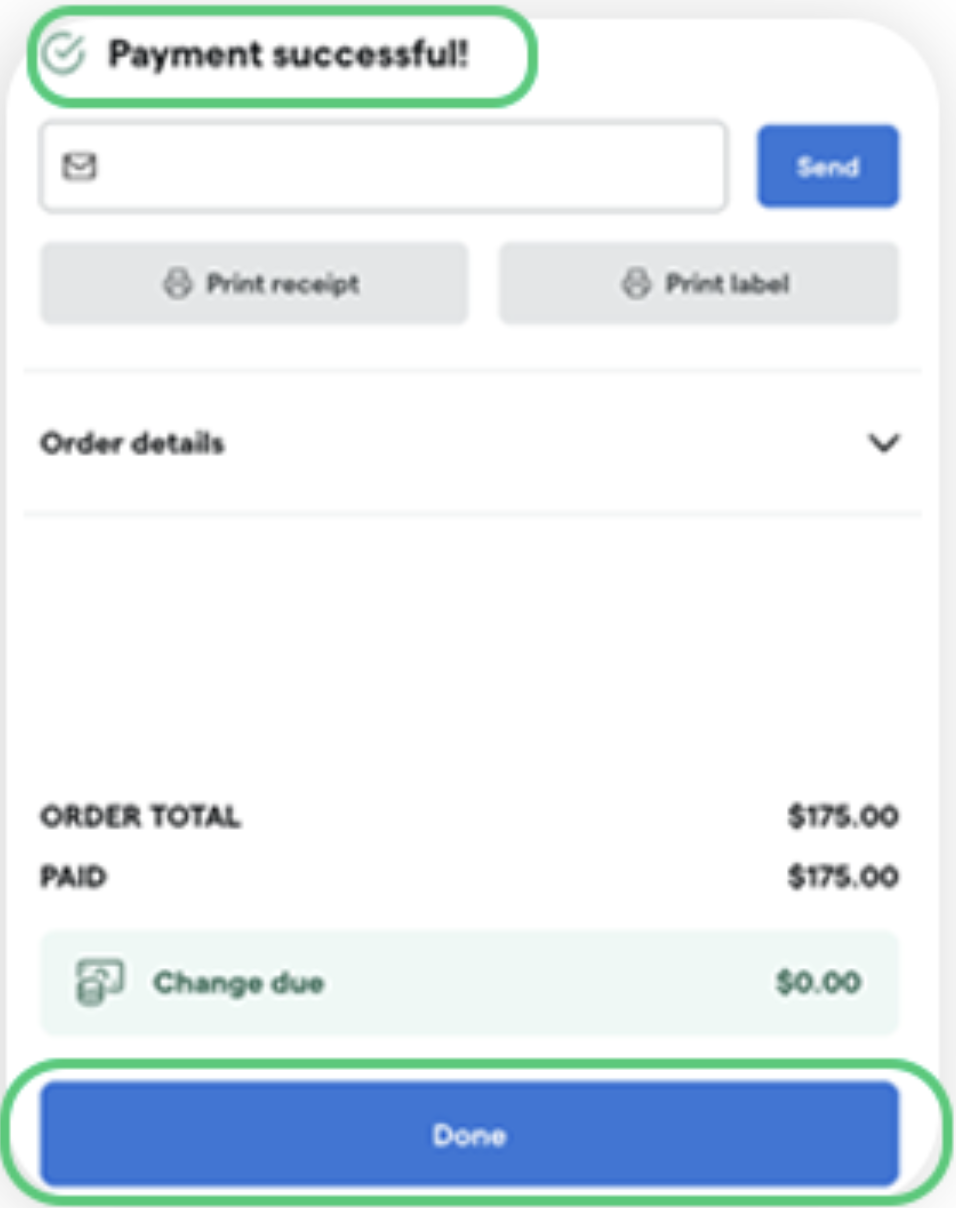
Step 8: When finished, you will be brought to the payment successful window, this will confirm the transaction has been successfully completed. From here select done.
Part 5: Member Sign Up
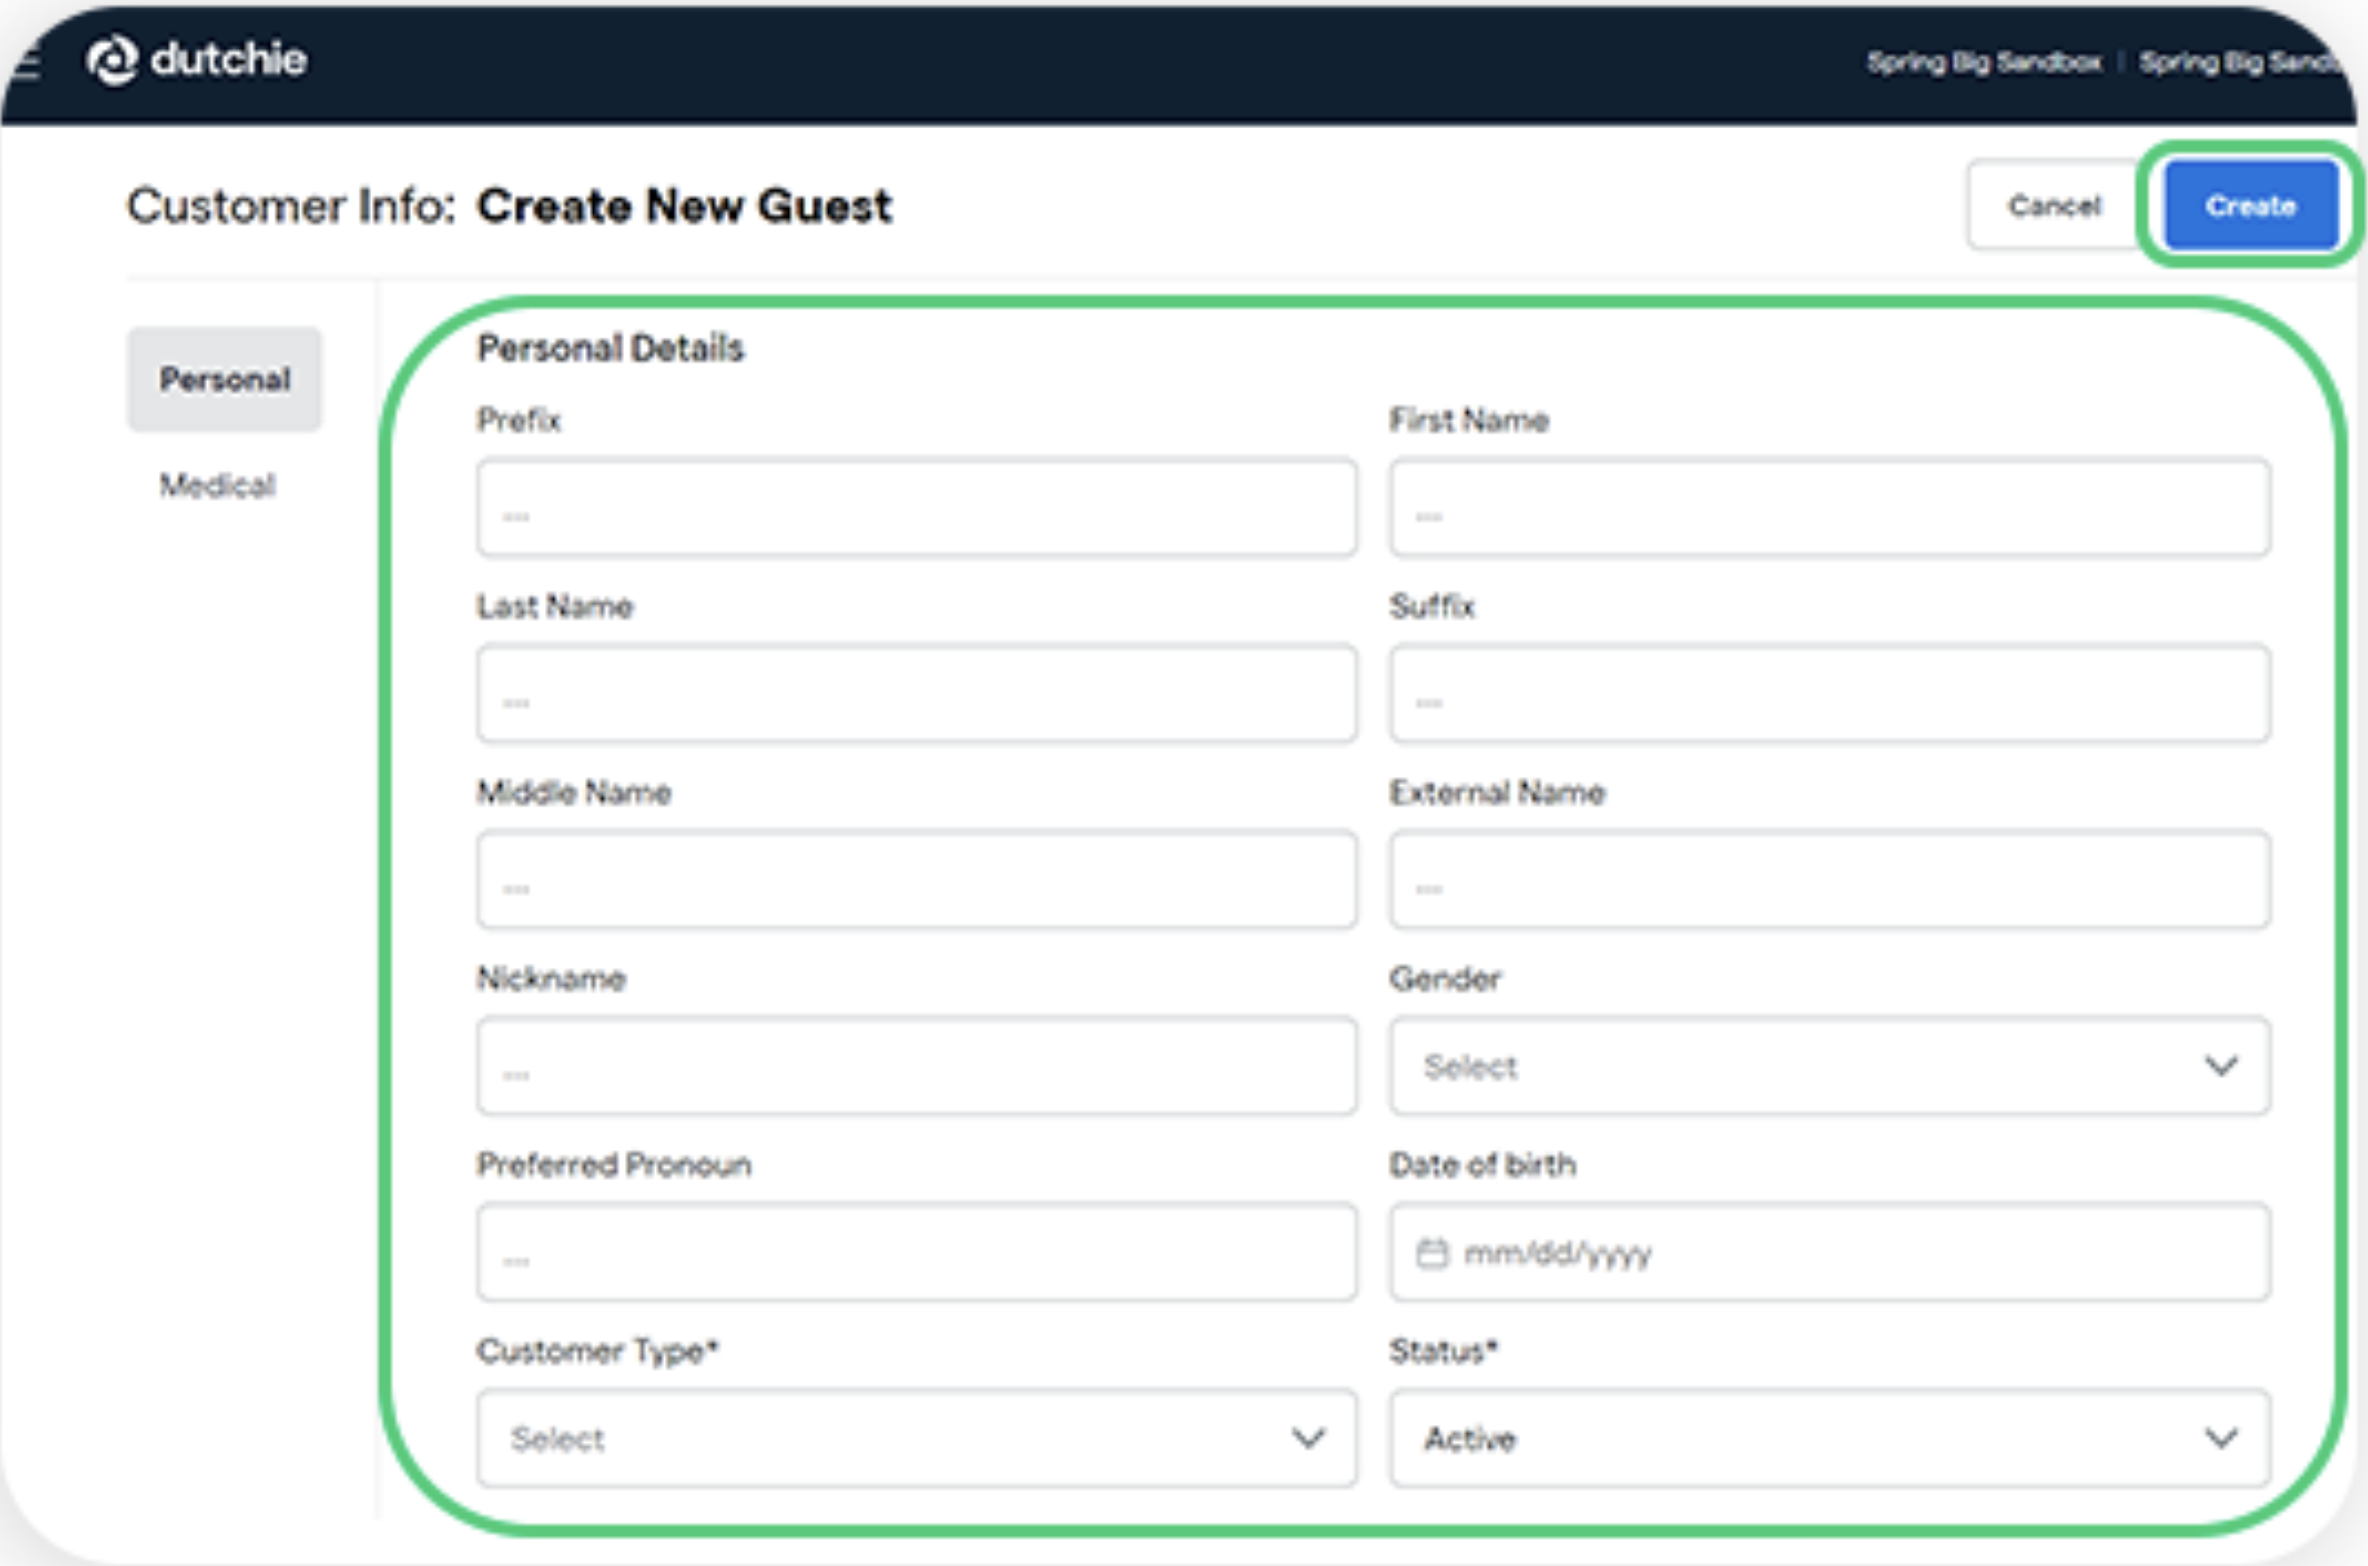
Step 1: To start you can create a customer by selecting customers on the menu bar and then selecting create new guest.
Note: You must have the opt-in workflow enabled to be able to sign customers up with Springbig.
Step 2: Fill in the customer’s information.
Step 3: Select create
Member data received:
First Name
Last Name
Street
City
Postal Code
Birthday
Gender
Phone Number
Email
Customer Type
Note: Please do not edit points in the members profile since it will not be relayed over to Springbig.
Step 4: Select create order
Note: From here there are two ways that your members can be signed up with Springbig.
First Way
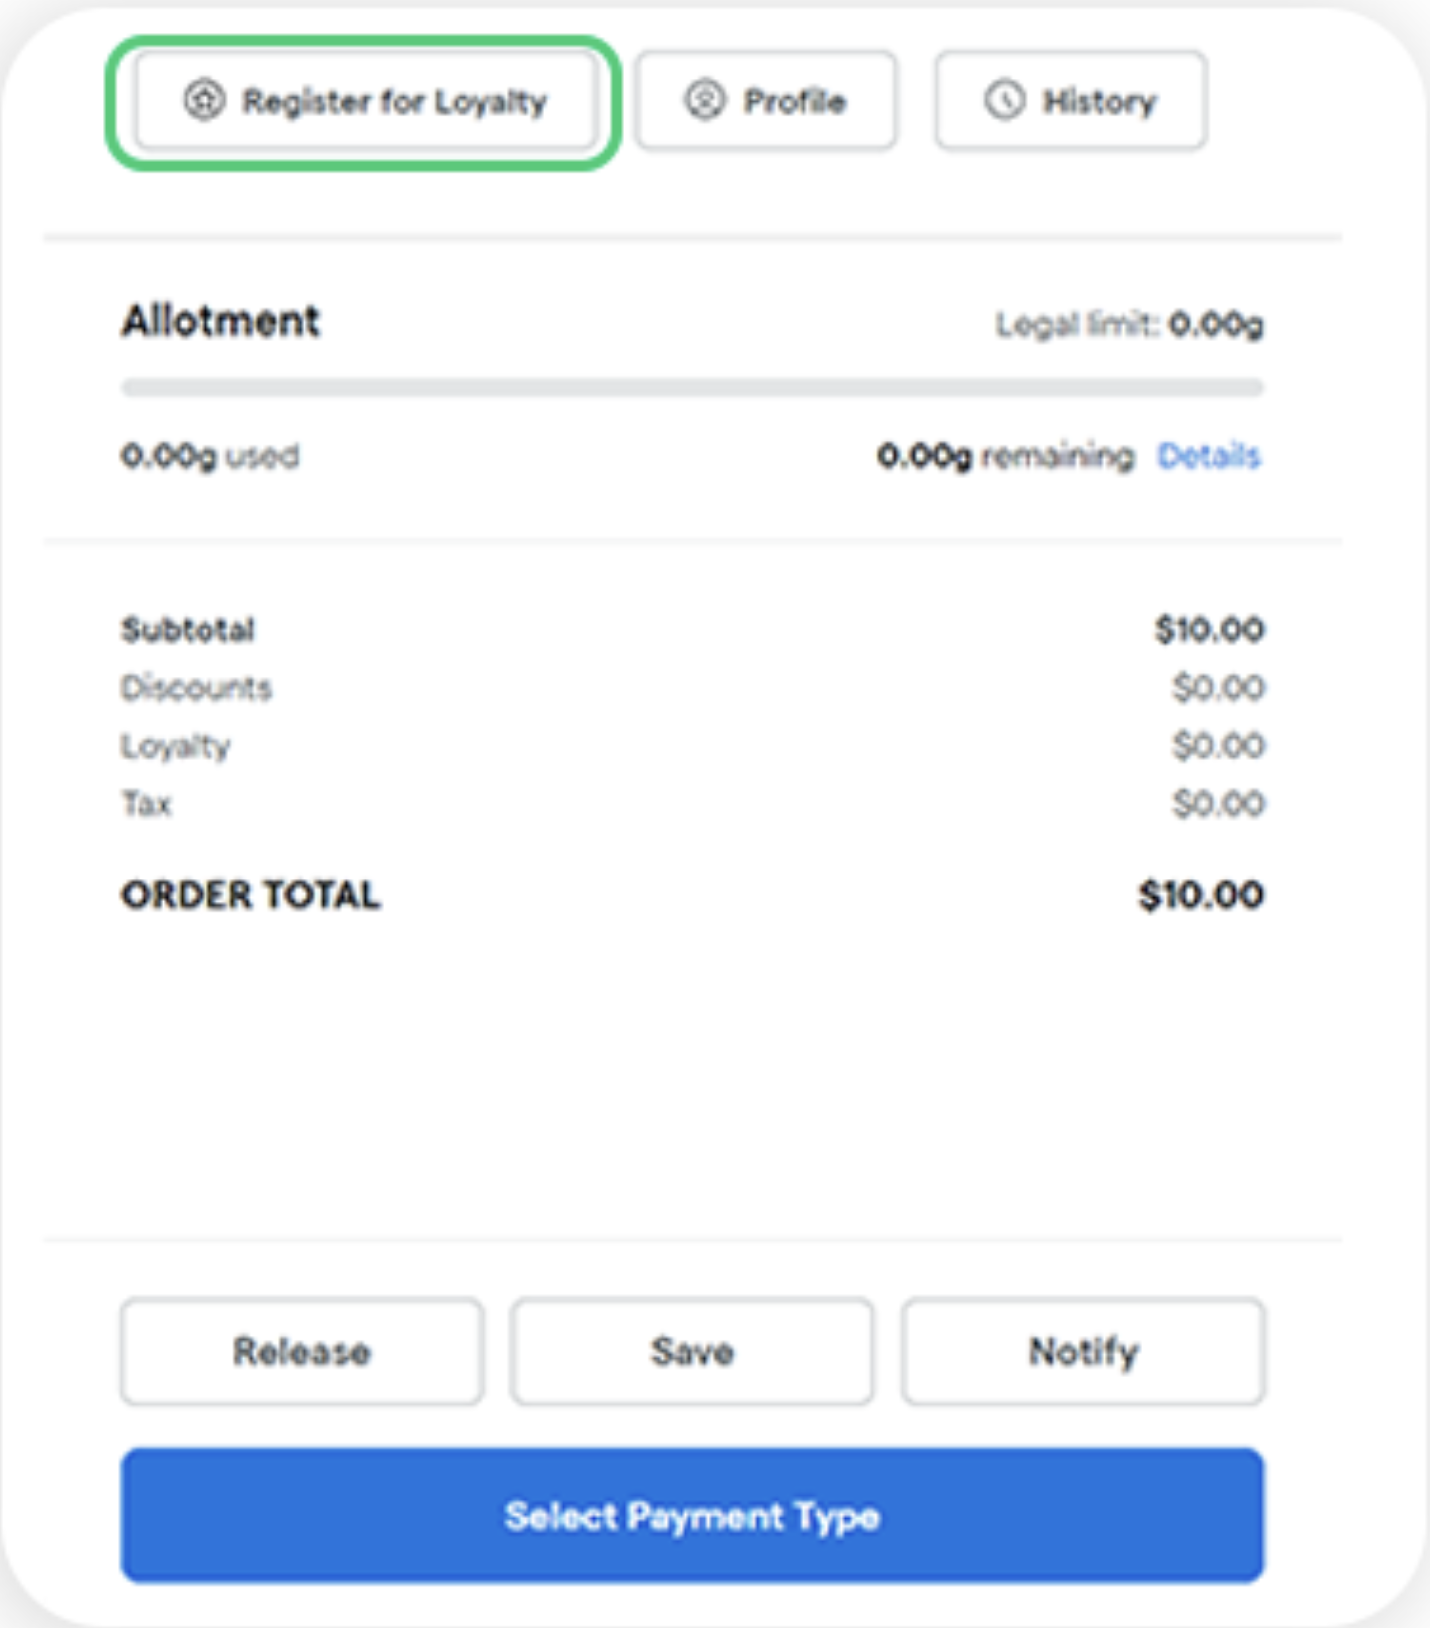
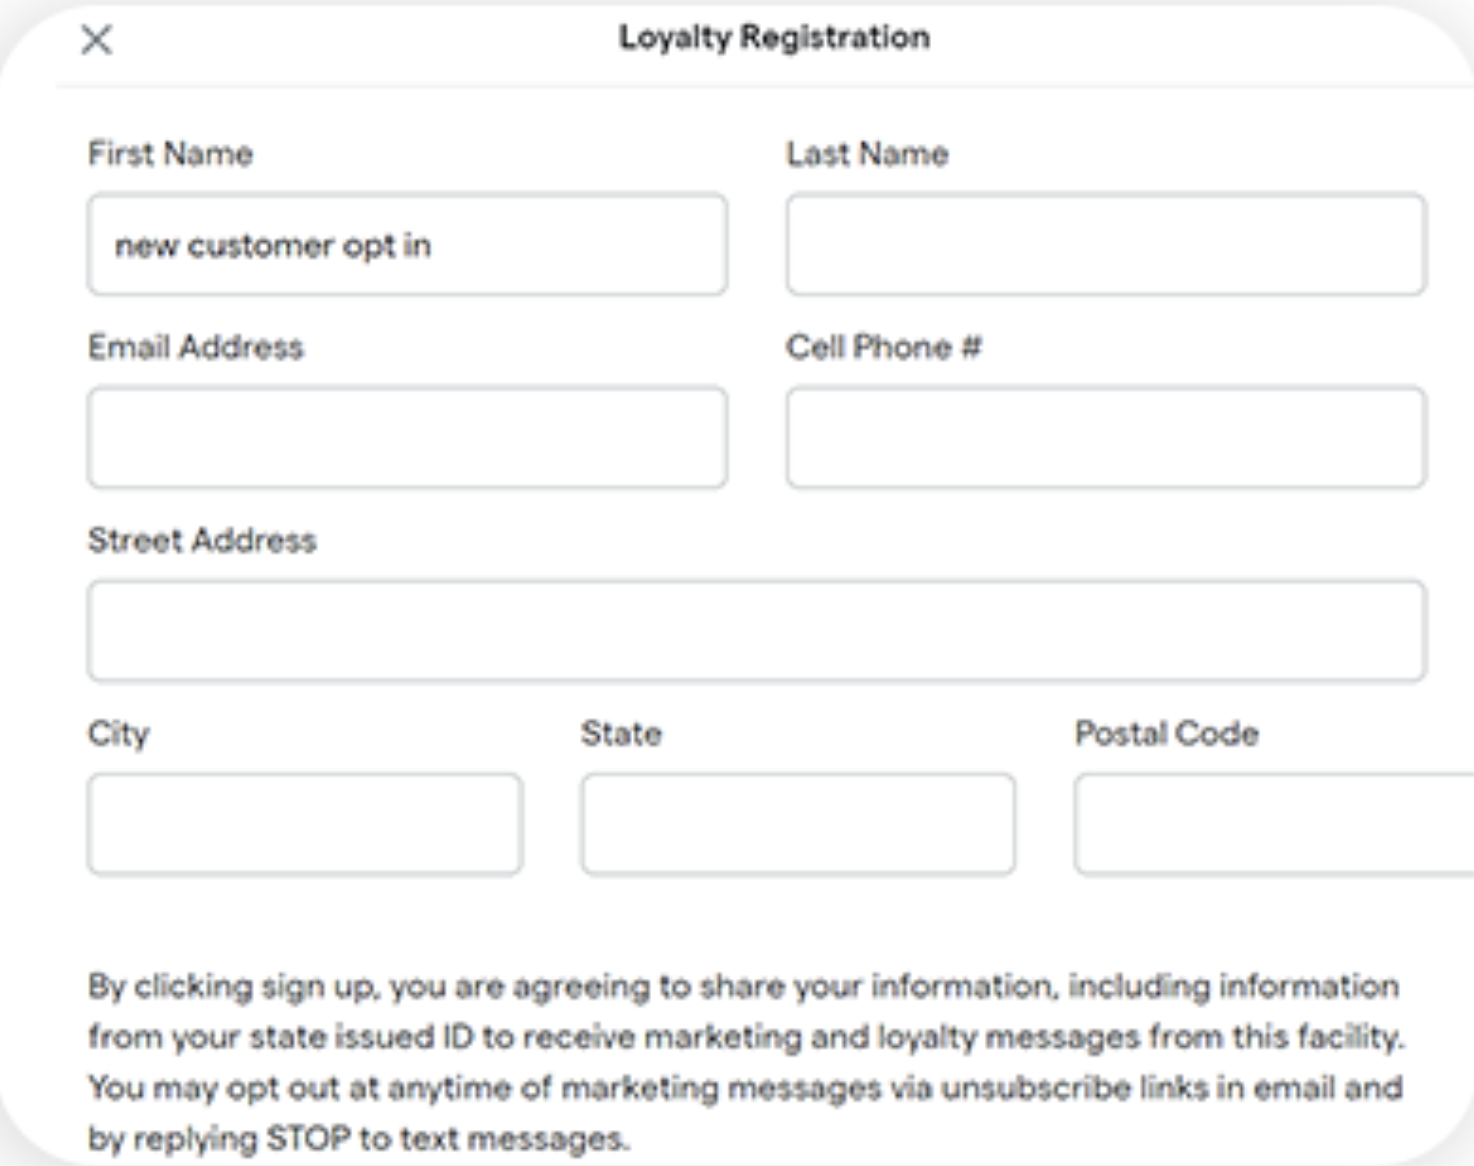
Step 1: Once you are in the Dutchie POS, there will be an icon with three dots. Once clicked, a drop down will appear, select the register for loyalty. Once selected it will allow you to register for loyalty.
Second Way – Using the opt-in check box at checkout.
Step 1: Once you are in the Dutchie POS, click on select payment type.
Step 2: Confirm all the information is correct. to save, click on the bottom sign up button.
Note: Once clicked, the member will be created in the Springbig platform.
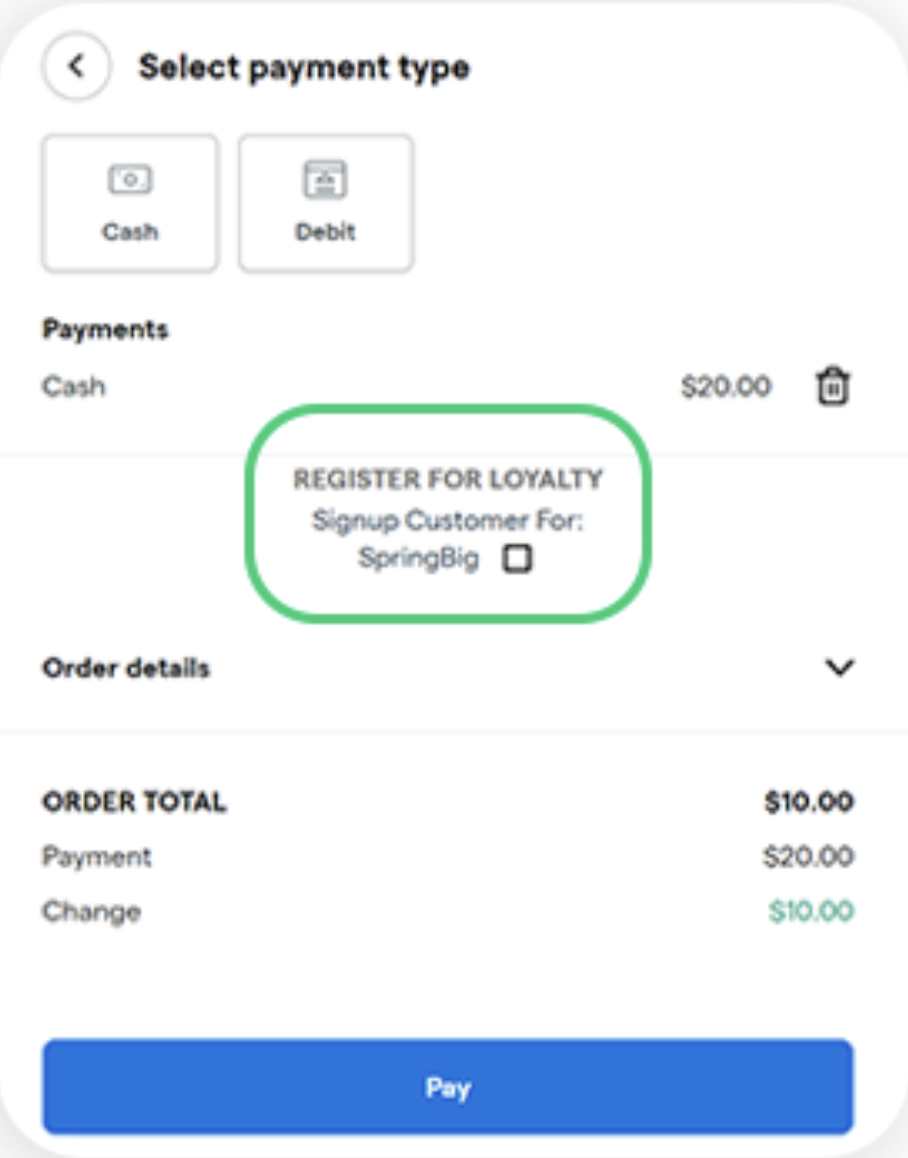
Step 2: Select the method of payment and check the box labeled sign up customer for Springbig.
Step 3: Once you select pay on the bottom of the page, the member will be created in Springbig.
Note: Dutchie will do a lookup by phone number to see if there is an existing member with the same phone number. if the member exists in Springbig, then neither tag icon or opt-in check box will appear.
Part 6: Redemptions
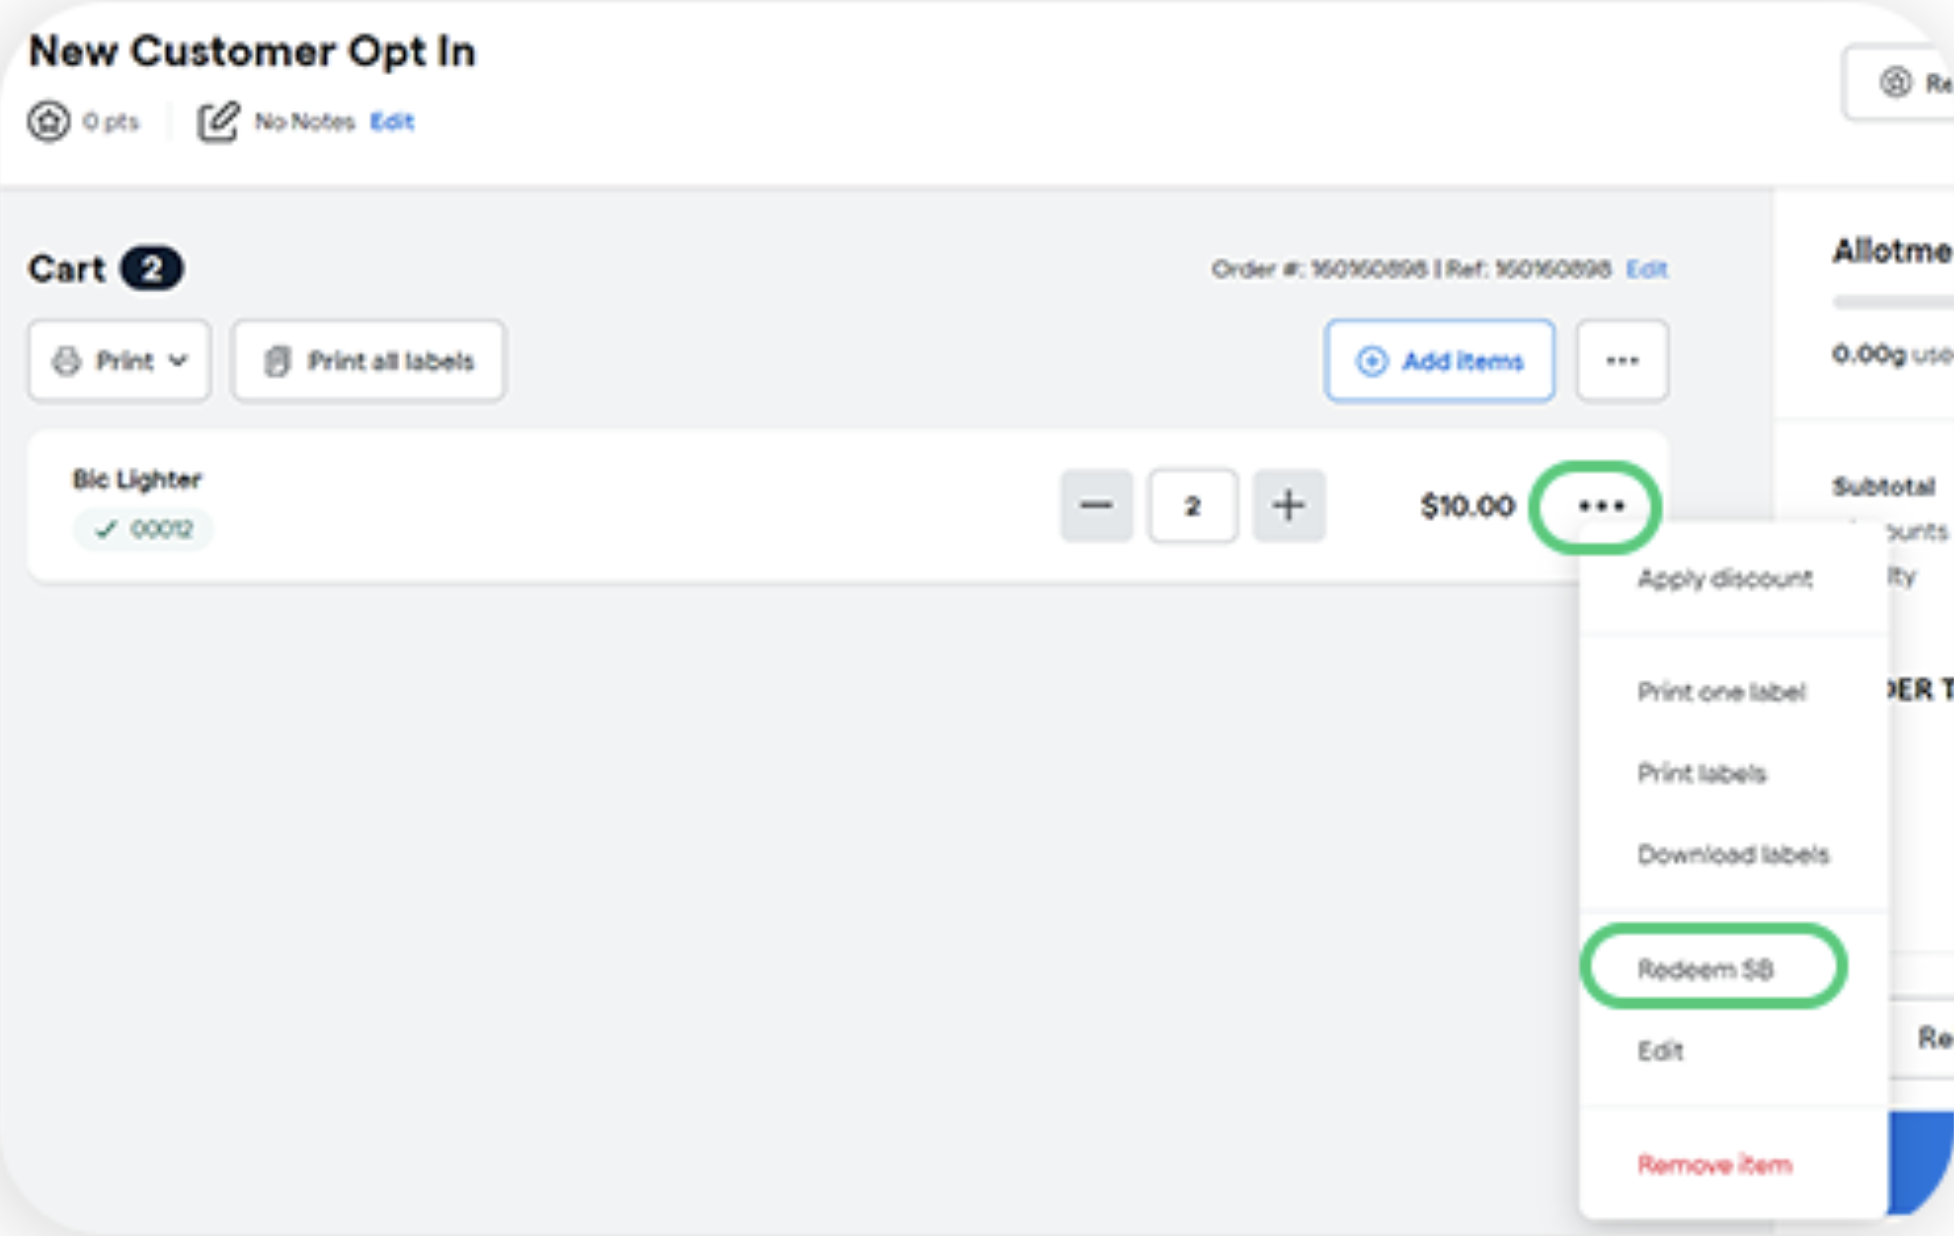
Step 1: Apply items to your members cart and toggle one of the three dot icons to the right of the item in the cart.
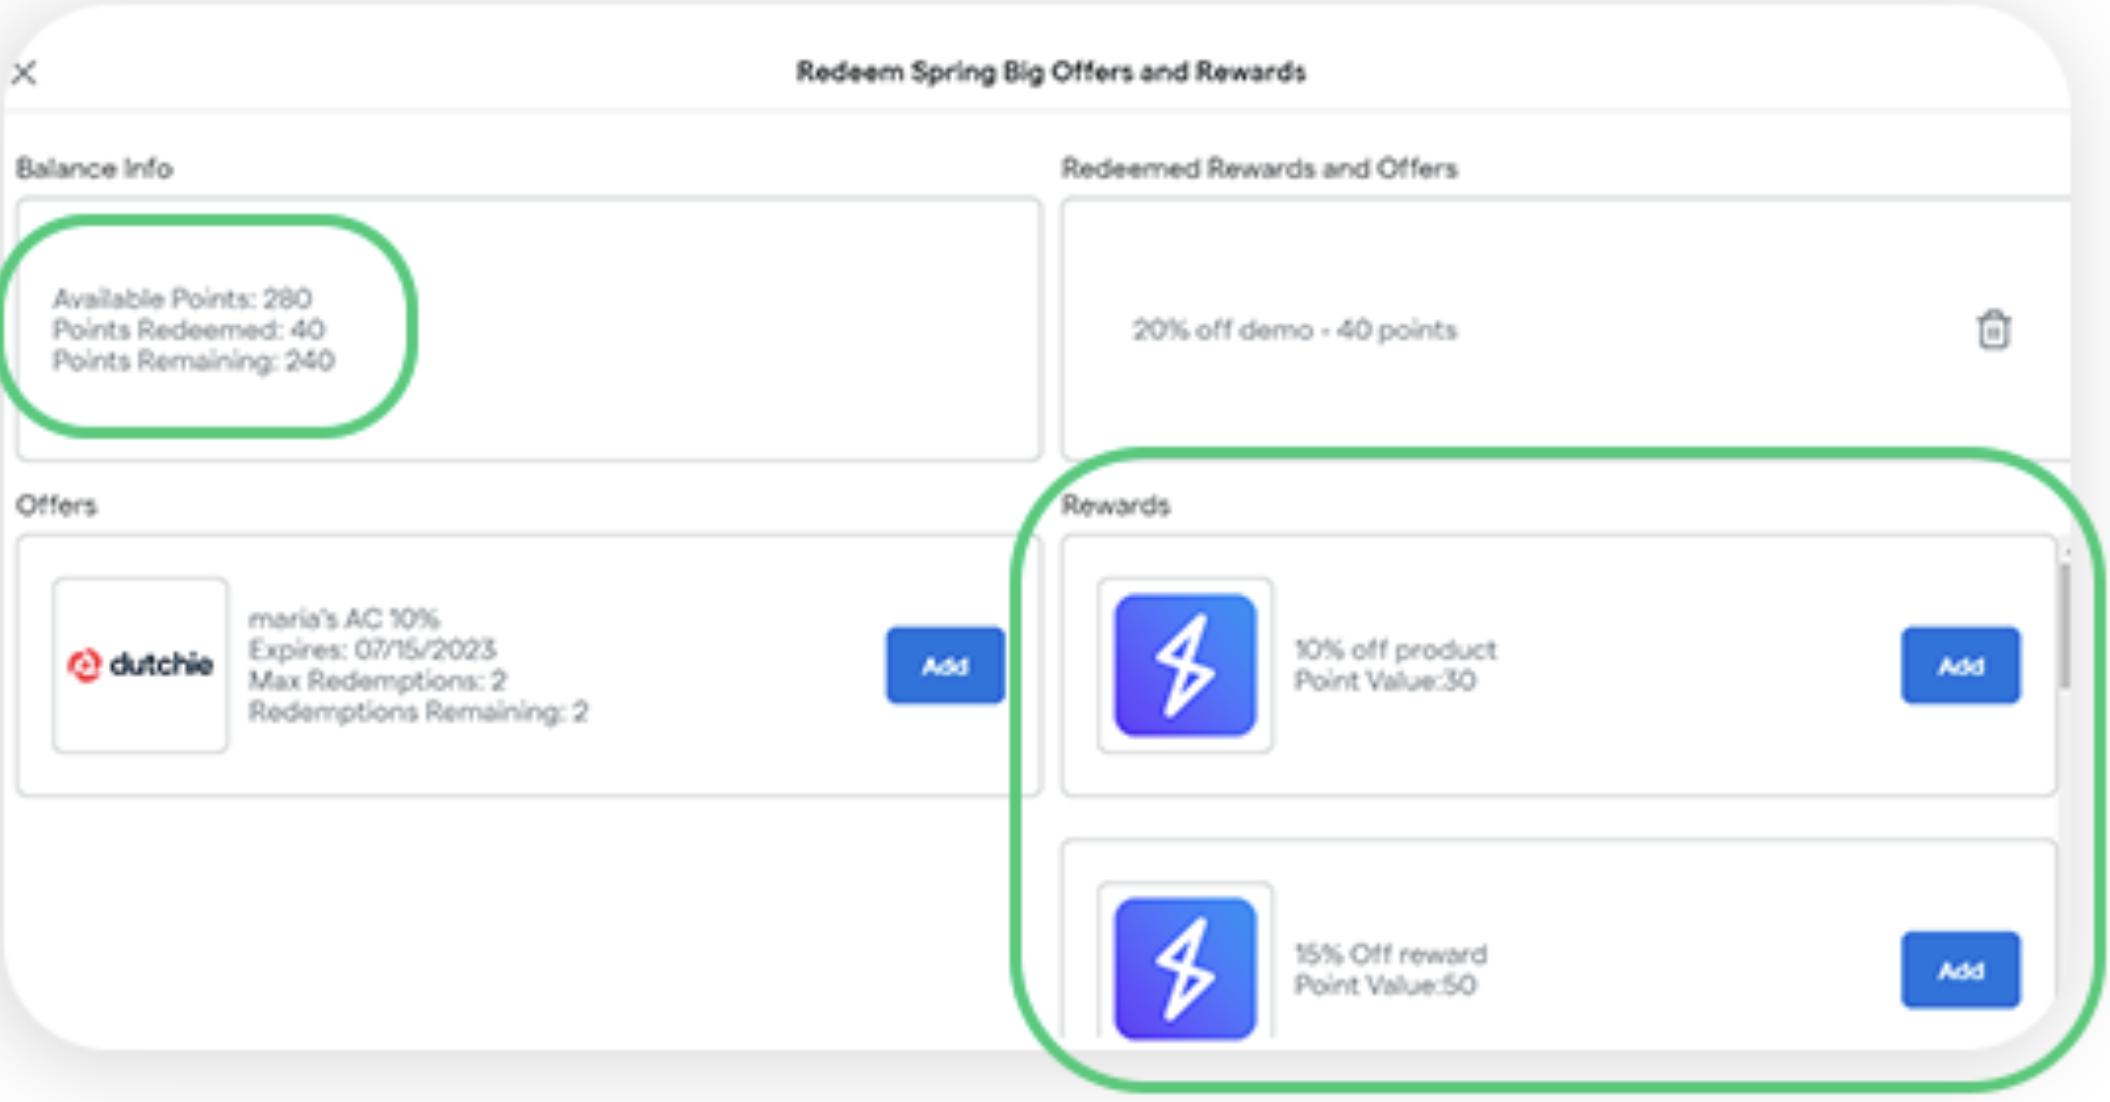
Step 2: Select Redeem SB
Step 3: On this page, you will see all available offers and rewards that can be redeemed as well as the member’s total available point balance. Select a reward to be redeemed.
Note: The redemption will not process until the transaction has been completed.