Campaign Follow-up Guide
After merchants have sent or scheduled a campaign, merchants will be able to send or schedule a series of different follow-up messages to members receiving that campaign based on how they interact with it. This feature enables merchants to boost interaction with campaigns and improve their overall performance.
Step 1: On the campaigns page, set up and either send or schedule a campaign.
Note: The campaign’s status must either be sent, pending, or scheduled in order to set up the campaign’s follow-up messages.
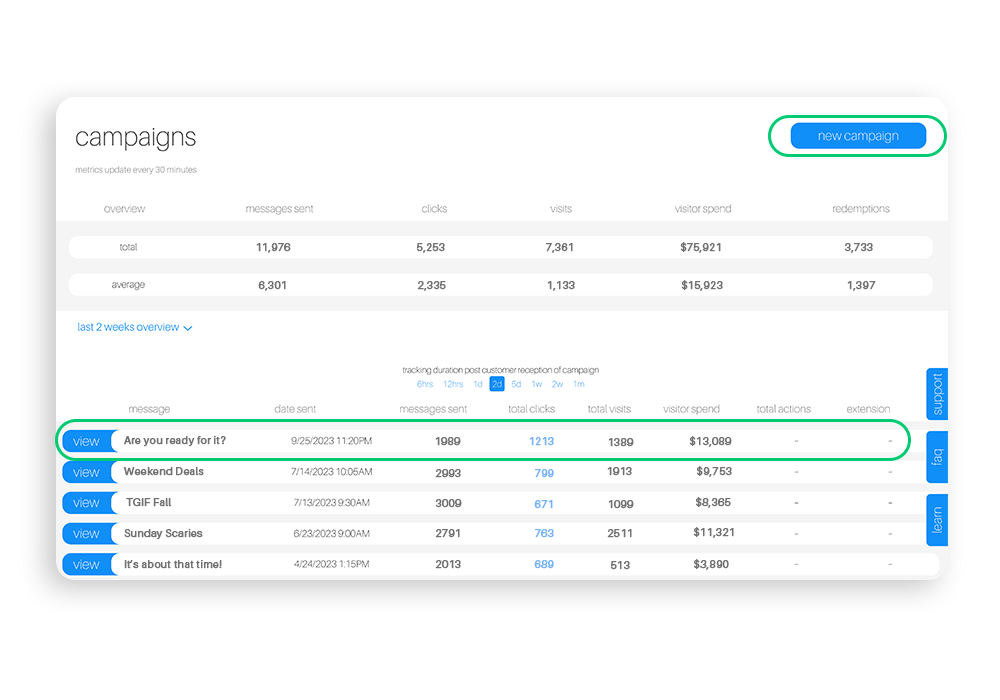
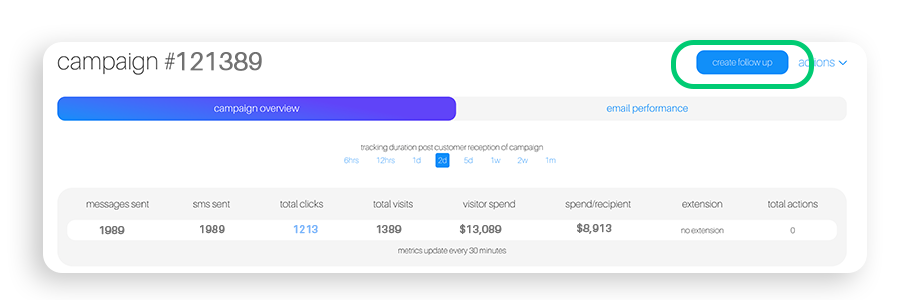
Step 2: Once the campaign is created and either sent or scheduled, the create follow up button will appear at the top right of the campaign’s landing page. Click create follow up.
Note: As stated in step 1, the campaign’s status must either be sent, pending, or scheduled in order for the create follow up button to appear.
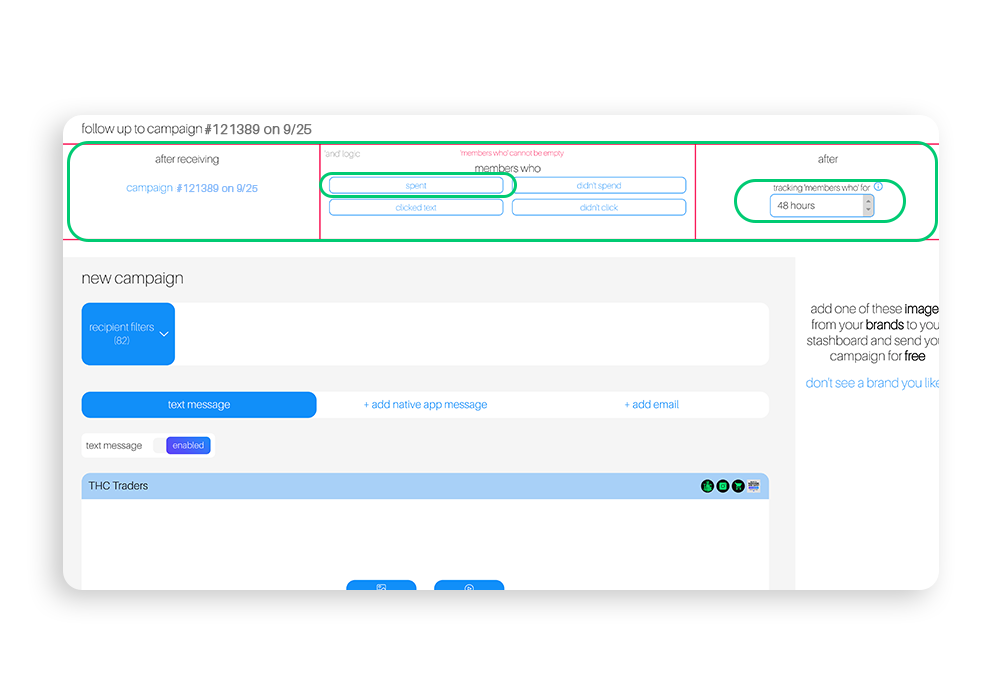
Step 3: Once clicked, you will be taken to a campaign creation page for the follow up. Set up the message as you usually would and use the tab at the top of the page to configure the rules for the follow up.
Example: Let’s say you want to set up a follow up message to go to those members in the campaign who, after 48 hours of the campaign being sent, opened and clicked the message as well as spent money at your store. In the tab at the top of the page, in the members who box you would select clicked, opened, and spent. In the after box, you would set the duration to 48 hours.
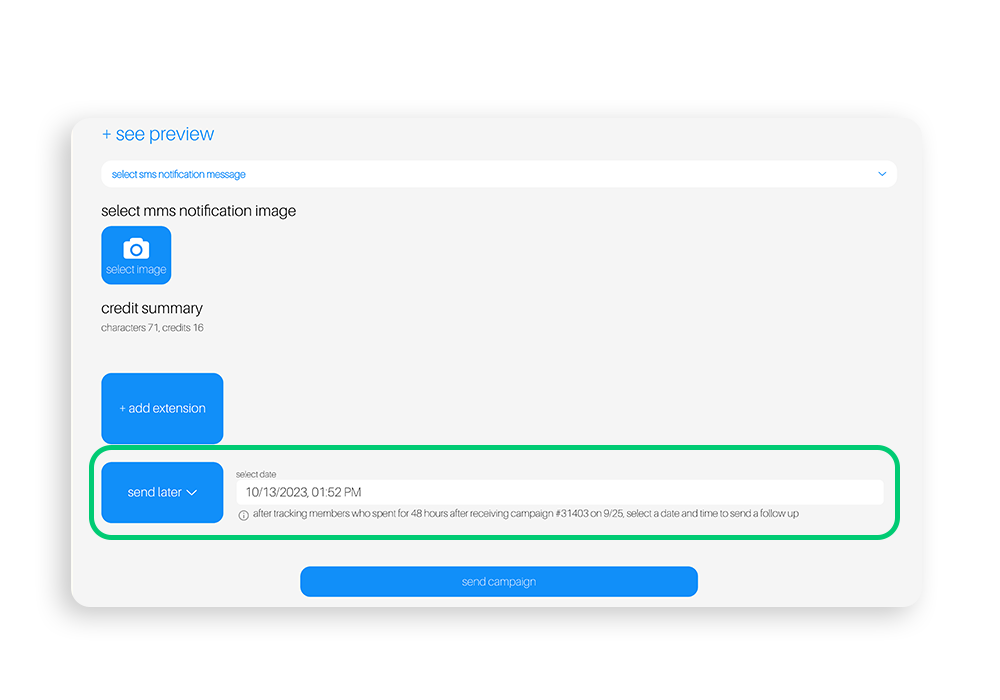
Step 4: Once you’ve built the follow up, you must schedule it to be sent. To do this, scroll to the bottom of the campaign follow-up creator page and click the “send now” dropdown under the “+add extension” dropdown. Once clicked, select “send now” or “send later.” If you select send later, input the date and time you’d like to send the follow up into the text box that appears.
Note: When selecting a date, be mindful of the time you selected in the after box within the tab at the top of the page. The date you schedule the follow up to send on should be after that time has passed. In the case of the example in the previous step, you would have to schedule the follow up to send at least 2 days after the campaign is sent.
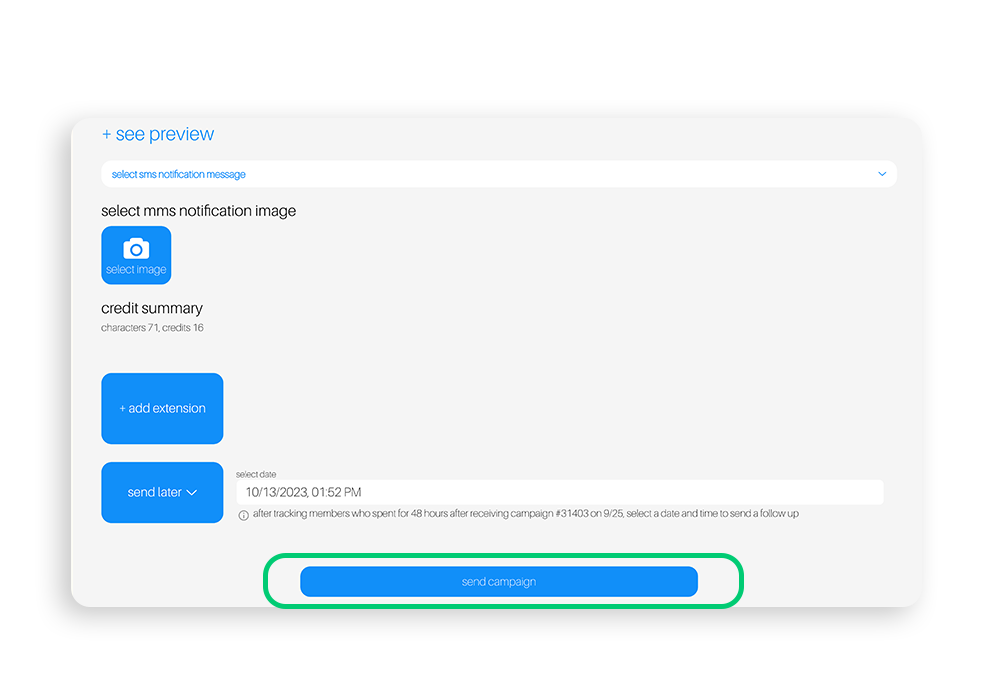
Step 5: Once you’ve built the follow up and scheduled it, click send campaign.
5a: You can create multiple follow ups for each campaign as seen in the confirmation message. For example, if you wanted to create another follow up for the same campaign that targeted members who opened the message but did not click or spend within 48 hours, you would select create new follow up in the message box, build the follow up by selecting opened, didn’t click, and didn’t spend within the members who box, and 48 hours within the after box. Once created and scheduled, both of these follow ups will be sent to their respective groups.
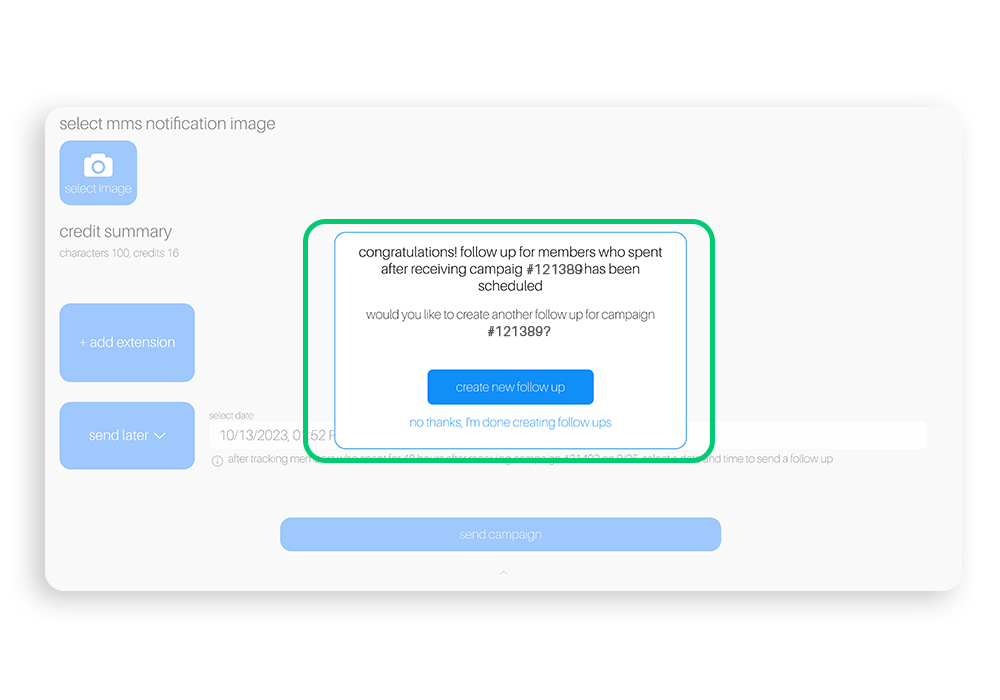
5b: Once scheduled, you will see a confirmation message that looks like the one in the image below.
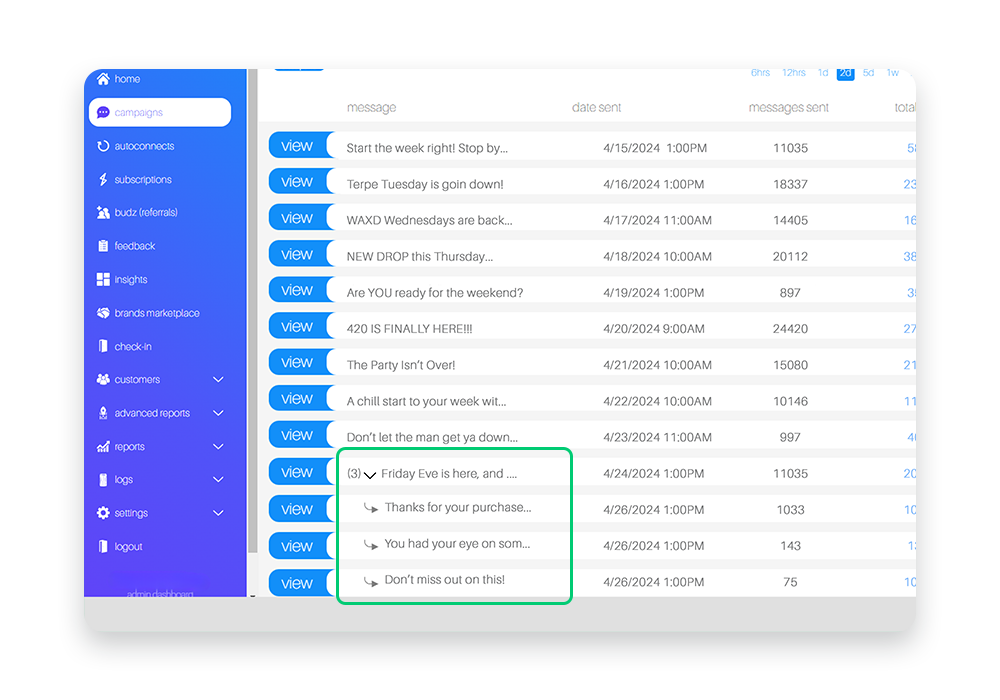
Viewing follow ups: Once you’ve created your follow ups, you’ll be able to view them within the main campaigns page by clicking the arrow under the main campaign they’re attached to.
Note: You can create follow up messages for your follow up messages, which will display under the follow up that came before it.